


MTX 5
 10-13-2011, 07:01 AM
#1201
Arrowmax released Clutch Shoe
 10-13-2011, 08:03 AM
#1202
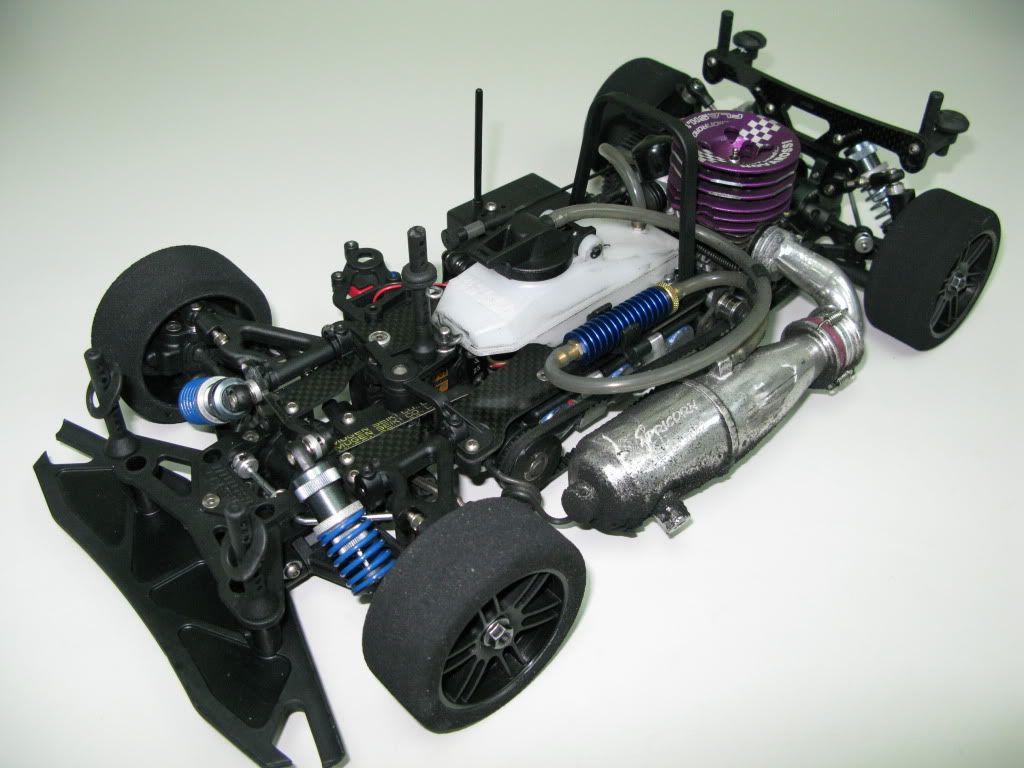
finished kit with savox 1257 servos ip 1450 life rx
p37 light body zac tires and titanium set screws
total weight 1675g
does anyone know if mugen mrx weights have hole drilled
to 3mm
if not ill just have to make my 2 own brass weights for 75g
as i usually run enneti light tires
p37 light body zac tires and titanium set screws
total weight 1675g
does anyone know if mugen mrx weights have hole drilled
to 3mm
if not ill just have to make my 2 own brass weights for 75g
as i usually run enneti light tires
10-13-2011, 11:37 AM
#1203
10-13-2011, 12:13 PM
#1204
finished kit with savox 1257 servos ip 1450 life rx
p37 light body zac tires and titanium set screws
total weight 1675g
does anyone know if mugen mrx weights have hole drilled
to 3mm
if not ill just have to make my 2 own brass weights for 75g
as i usually run enneti light tires
p37 light body zac tires and titanium set screws
total weight 1675g
does anyone know if mugen mrx weights have hole drilled
to 3mm
if not ill just have to make my 2 own brass weights for 75g
as i usually run enneti light tires
10-14-2011, 01:30 AM
#1206
I'll find out soon enough, ordered a couple of low profile Savox last night, and the rest of the bits I needed to finish mine without borrowed parts (thanks Steve :-)).
Got to admit I'm a tiny bit worried about a good fit with the LP servos, with me wondering if I maybe should have ordered some of the regulars, but the LP's are so nice and compact now, off the top as well as the bottom case, hard not to want to use them, and keeps weight in more on the steering and creates some wire, weight and maybe transponder room behind the throttle servo.
Really though I did look at the Savox LP in my electric, and you can fold the lead basicly flat against the case and it does not seem to strain the wire, or bother the grommet much, and I know the Savox come up a shortish in length, so pushing the servos against one end of the mounts may create just enough of the room you need for the wire.
But I am tempted to grind a hole like Robert did, seems a nice place to route the battery wire to me.
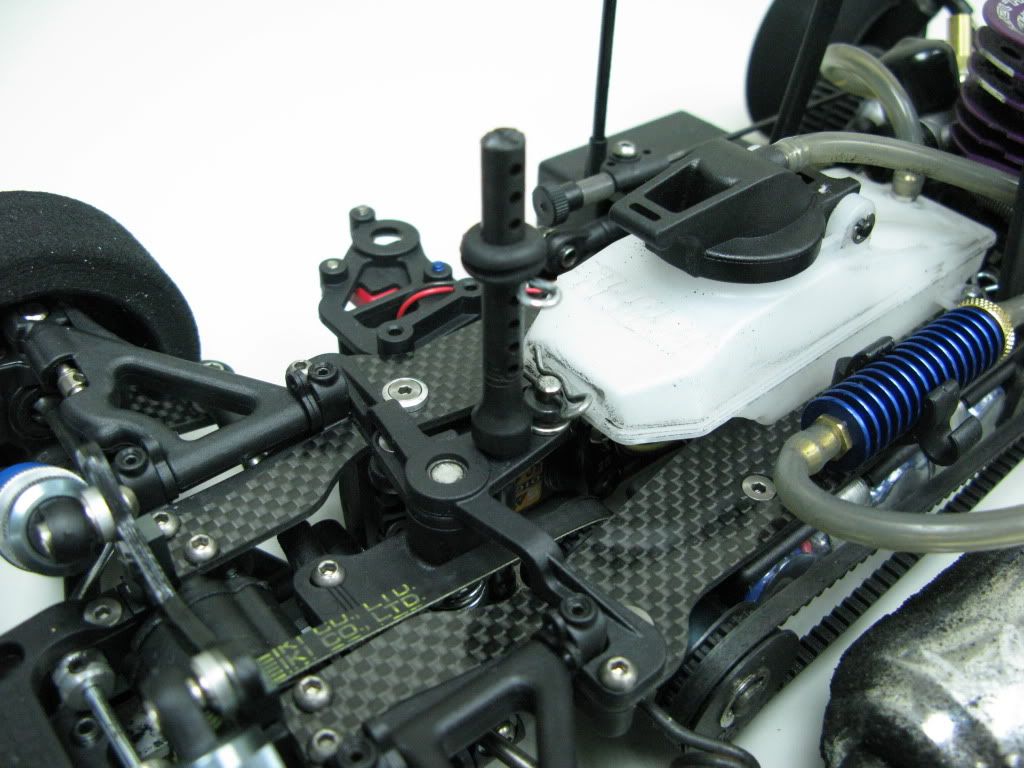
What i did was i cut the area that the throttle servo goes screwed into (on the servo horm side). You will see what i mean when you go to installt he servo. you might also need to cut the entire section between the screws on the horn side of the throttle servo.
hard to explain man, and i took no pics. you'll realise when you go to install it what needs to be dremelled out. If you dremel it right though, the steering servo wire will exit neatly behind the throttle servo horn area, and you will have a clean no wire look on the outside
10-14-2011, 01:32 AM
#1207
do you think this is really needed? i can see this being useful if the brakes do not have a nice transitional feel (ie an on/off feel) but if they have a good transitional smooth bite then i don't think it is needed. I guess it would be handy if you have a low power servo though.
10-14-2011, 08:54 AM
#1208
do you think this is really needed? i can see this being useful if the brakes do not have a nice transitional feel (ie an on/off feel) but if they have a good transitional smooth bite then i don't think it is needed. I guess it would be handy if you have a low power servo though.
Because I have is FUABA BL351 servo, and I have also used sandpaper grinding disc brakes too, but the braking effect is not very good, so the use of leverage 8mm longer brake arm, you can wait for my test notice.
10-14-2011, 11:14 AM
#1209
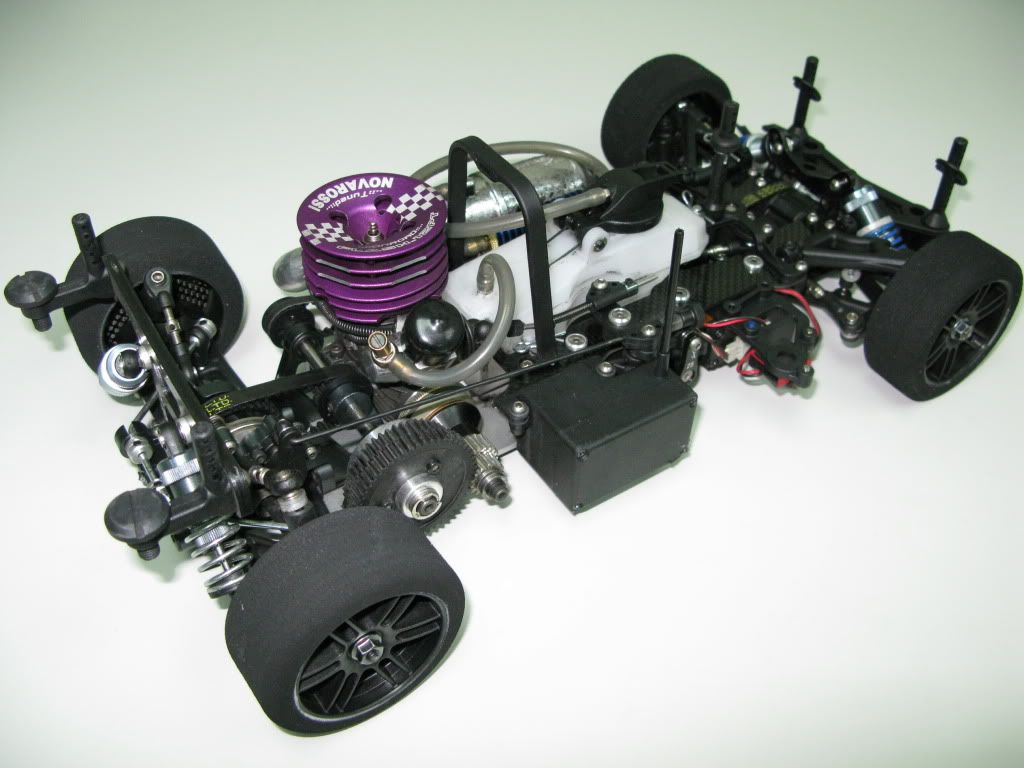
some updated. fifth post, 2.3mm rear roll bar, and a P37. now the car ran fast and smooth(to me) ")


10-14-2011, 12:33 PM
#1210
Tech Elite

iTrader: (13)
Join Date: Feb 2007
Location: Landsborough, Queensland, Australia.
Posts: 2,142
Trader Rating: 13 (100%+)
[QUOTE=FF25510;9782137]some updated. fifth post, 2.3mm rear roll bar, and a P37. now the car ran fast and smooth(to me)
Nice; but it would look even better with red bulkheads. The pipe looks very good though.
Kindest regards,
Capricorn Lars.
Nice; but it would look even better with red bulkheads. The pipe looks very good though.
Kindest regards,
Capricorn Lars.
10-14-2011, 12:48 PM
#1211
[QUOTE=Chickentrader;9782399]
a red Mugen, i don't think so (i know what you mean  ) yeah, this is my second, i try the first one and never come back again. it's good for NR and MAX engine.
  and a third in my store box.
) yeah, this is my second, i try the first one and never come back again. it's good for NR and MAX engine. and a third in my store box.
10-14-2011, 10:52 PM
#1213
Not so sure any touching of the clutch is required, someone else said something about shaving the shoes so they don't touch or bind on each other, but two points of the clutch, one is all those weights move out equally at the same time, they should not touch in use, and really they give .5mm of clutch throw, so they are never going to move enough to hit anything surely?.
10-15-2011, 12:04 AM
#1214
Diy double-bearing belt tensioner plate
10-16-2011, 04:55 AM
#1215
Tech Rookie
hola si alguien de habla hispana me puede ayudar se lo agradezco. He montado el centax completo que viene con el kit en mi 353 2010 y cuando monto el conjunto completo y de doy el apriete final al tornillo el conjunto se tranca. es decir, monto el cono y el volante, zapatas, masa, plato, muelle y tuerca de apriete, le pongo las arandelas necesarias para que no roce la campana le pongo los dos rodamientos internos y luego el conjunto exterior con el axial, la seta y el tornillo. Cuando aprieto queda una holgura considerable entre la cabeza del tornillo y la seta, incluso las arandelas las puedes mover con las manos pero la campana queda pegada literalmente a la masa, no se mueve libremente hacia delante o hacia atras... estuve viendo y repitiendo el montaje una y otra vez y nada. Si alguno sabe lo que puede estar pasando se lo agradezco... muchas gracias! Un saludo!