


Hot Racing 17mm hubs review on my brushless Jato
 05-01-2008, 02:49 PM
#1
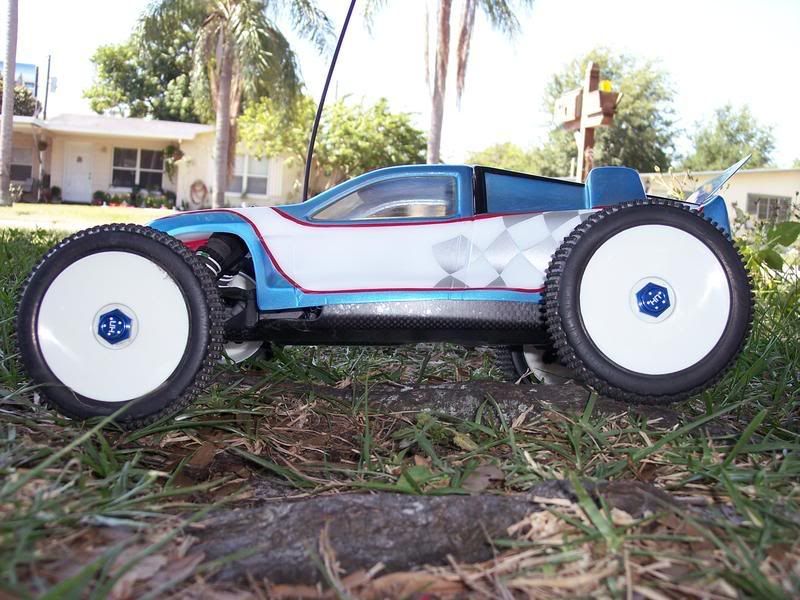
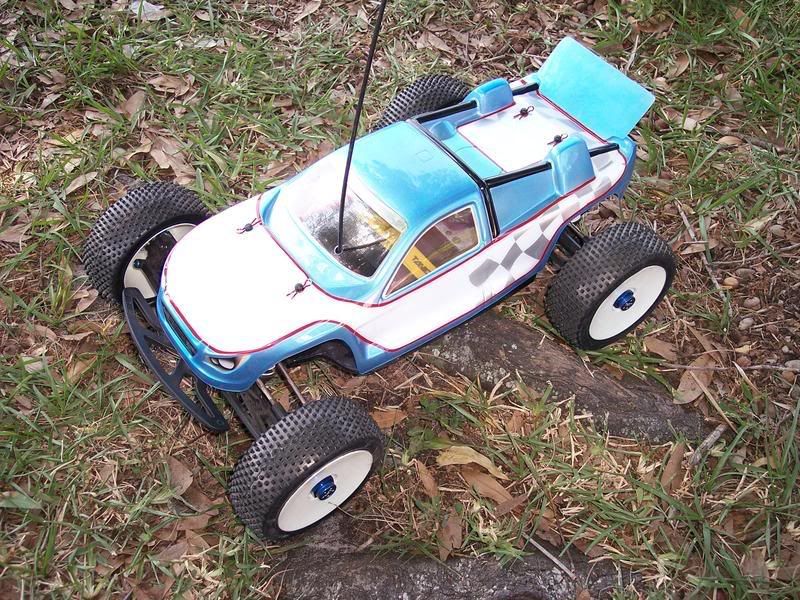
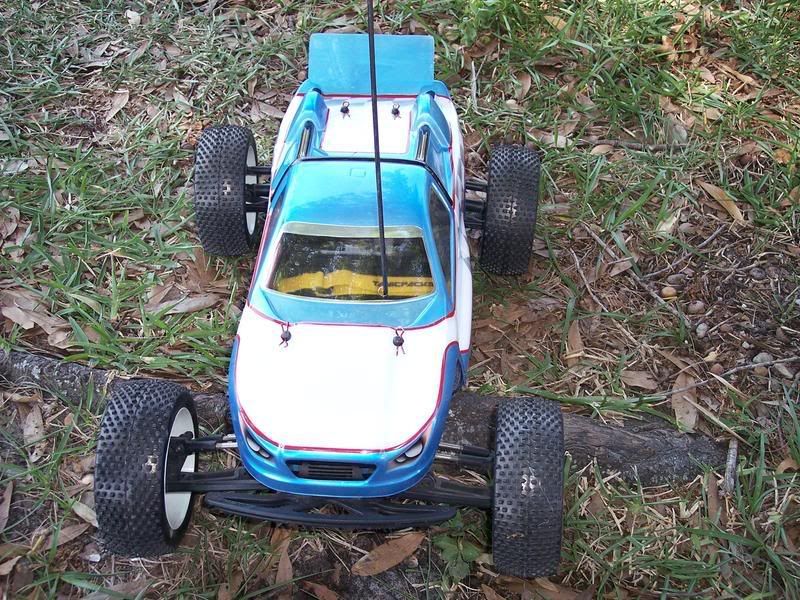
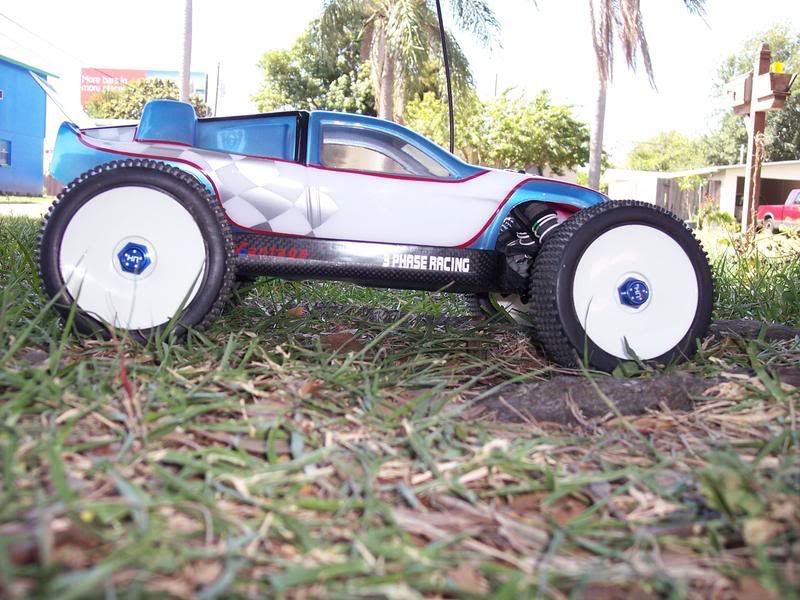
It just hit me I never posted the final photos of the Jato E3.6 brushless conversion on the Vantage carbon fiber chassis with the body after I did the build on it. I have been slammed and I totally forgot to do it. Please forgive me.
Anyhow here it is with one addition; I received a set of Hot Racing's 17 mm hub adapters in the mail and here is a review on them as well.
The Hot Racing (HR) 17mm hub set for the Jato ( part number JT107M06) comes as pictured below.
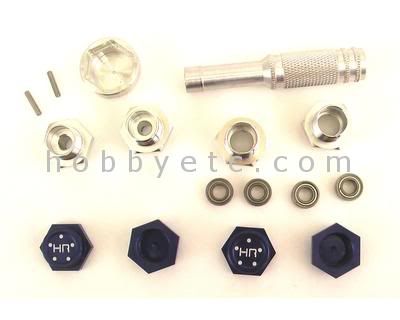
They thought of everything. The original bearings will not fit into these new hubs so just add them to your collection of spare parts. I dont know about you but I have a lot of spare parts. They even include a thin walled nut driver that works just fine, with one little problem. It's handle is small and getting good grip to tighten the lock nuts is not easy. I put new nuts on and it was even harder, but it still works well. None of my other nut drivers would fit in to the hole so you have to use it. The set up dose not have any instructions at all. This may seem straight forward but the bearing race spacers from the original Jato is 0.88mm thicker than the spacing in the HR hub. I first assembled it without the race spacer. I did not like the feel. It was not as smooth as I felt it should be. This feeling got better when I put the race spacer in. It spun smooth and long.
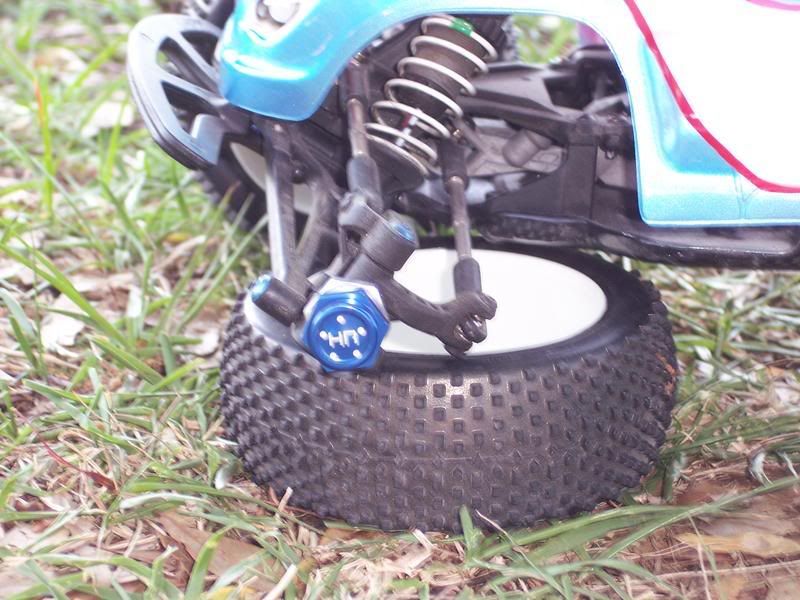
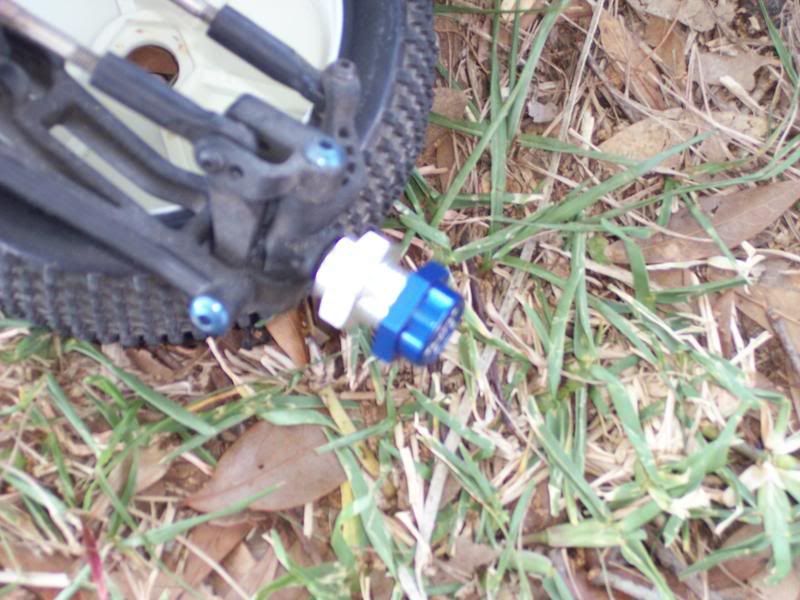
Aside from that the assembly was simple and straight forward. Now that they were mounted I had to mount the wheels. I took the wheels and tires I had just got for another brushless 1/8 scale buggy project and stuck them on. I tightened the front hubs and as soon as I got snug the wheel locked up. I loosened it and the wheel spun fine again. I removed the cap nut HR supplies (I like the cap nut much better than leaving that hole open to dirt and water) and looked in it. There at the inside top of the nut was a mark from the axle shaft. Now I was loosing respect for HR. This was nothing short of poor CAD work, I know this because I do CAD work daily. I did not like the fact that the surface of the nut that made contact with the wheel was not knurled also. This may seem like a small oversight but ask the guys that have nuts come off (even nylocks). Then you get the ones with knurled faces they dont come off. Well I had a great cure for both problems. I went to my local bolt store (they love my projects) and found large star washers. Those that are not associated with star washers they are a lock washer with serrated edges to bite into the nut and surface so both do not slip thus the nut stays tight with out having to wrench down on them too much.
In any event this worked well and I finished the hubs off neatly. It gave the needed spacing for the cap nut and locked the nuts to the wheels. I will say that the fit and finish of the HR parts is top notch. The anodizing on the parts is sharp and brilliant. I would recommend that you soften you suspension and lower your gearing on the motor. These taller tires raise the car and the final drive, but they look great I think. Tell me what you think.
Anyhow here it is with one addition; I received a set of Hot Racing's 17 mm hub adapters in the mail and here is a review on them as well.
The Hot Racing (HR) 17mm hub set for the Jato ( part number JT107M06) comes as pictured below.
They thought of everything. The original bearings will not fit into these new hubs so just add them to your collection of spare parts. I dont know about you but I have a lot of spare parts. They even include a thin walled nut driver that works just fine, with one little problem. It's handle is small and getting good grip to tighten the lock nuts is not easy. I put new nuts on and it was even harder, but it still works well. None of my other nut drivers would fit in to the hole so you have to use it. The set up dose not have any instructions at all. This may seem straight forward but the bearing race spacers from the original Jato is 0.88mm thicker than the spacing in the HR hub. I first assembled it without the race spacer. I did not like the feel. It was not as smooth as I felt it should be. This feeling got better when I put the race spacer in. It spun smooth and long.
Aside from that the assembly was simple and straight forward. Now that they were mounted I had to mount the wheels. I took the wheels and tires I had just got for another brushless 1/8 scale buggy project and stuck them on. I tightened the front hubs and as soon as I got snug the wheel locked up. I loosened it and the wheel spun fine again. I removed the cap nut HR supplies (I like the cap nut much better than leaving that hole open to dirt and water) and looked in it. There at the inside top of the nut was a mark from the axle shaft. Now I was loosing respect for HR. This was nothing short of poor CAD work, I know this because I do CAD work daily. I did not like the fact that the surface of the nut that made contact with the wheel was not knurled also. This may seem like a small oversight but ask the guys that have nuts come off (even nylocks). Then you get the ones with knurled faces they dont come off. Well I had a great cure for both problems. I went to my local bolt store (they love my projects) and found large star washers. Those that are not associated with star washers they are a lock washer with serrated edges to bite into the nut and surface so both do not slip thus the nut stays tight with out having to wrench down on them too much.
In any event this worked well and I finished the hubs off neatly. It gave the needed spacing for the cap nut and locked the nuts to the wheels. I will say that the fit and finish of the HR parts is top notch. The anodizing on the parts is sharp and brilliant. I would recommend that you soften you suspension and lower your gearing on the motor. These taller tires raise the car and the final drive, but they look great I think. Tell me what you think.
 11-15-2008, 06:12 PM
#2
Very nice looking jato. I read your build thread on another forum just a few minutes ago. I see you have more posts here so i will ask here.
I know you made the motor plate, did you make the clamps for the motor also?
thanks
I know you made the motor plate, did you make the clamps for the motor also?
thanks
11-16-2008, 08:42 AM
#3
Aside from those parts indicated I did make everything else.
I made the motor clamps, motor mount plate, and the battery tray. I made no mods to the carbon chassis. I only used the holes that were designed into the chassis because of this the kit I sold was able to bolt directly into the the aluminum chassis that comes with the Jato fro Traxxas. In fact now I have changed my personal one to a front mount plate with a cam style adjustment. I changed motor to a Hacker C40 and this motor works better with a front mount. I needed the Kontronic in my 1/6 scale Schumacher Ferrari.
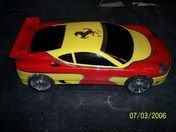
I made the motor clamps, motor mount plate, and the battery tray. I made no mods to the carbon chassis. I only used the holes that were designed into the chassis because of this the kit I sold was able to bolt directly into the the aluminum chassis that comes with the Jato fro Traxxas. In fact now I have changed my personal one to a front mount plate with a cam style adjustment. I changed motor to a Hacker C40 and this motor works better with a front mount. I needed the Kontronic in my 1/6 scale Schumacher Ferrari.
11-16-2008, 11:23 AM
#4
i actually made these fit my slash,by using some nitro stampede parts i think.
the reason for the dust cap 17mm nut is to help reinforce the threads of the adapter,as they had to machine that area a little thin to allow even enough room to get their thin walled nut driver in.all in all a good solution.i havent had any issues with the nut rubbing the axle ,even when i was using jato axles.my rims might be thicker in that area.
great product!my slash is hooked up now.plus it is is nice to use my old buggy tires as well.
11-16-2008, 01:43 PM
#5
Aside from those parts indicated I did make everything else.
I made the motor clamps, motor mount plate, and the battery tray. I made no mods to the carbon chassis. I only used the holes that were designed into the chassis because of this the kit I sold was able to bolt directly into the the aluminum chassis that comes with the Jato fro Traxxas. In fact now I have changed my personal one to a front mount plate with a cam style adjustment. I changed motor to a Hacker C40 and this motor works better with a front mount. I needed the Kontronic in my 1/6 scale Schumacher Ferrari.
I made the motor clamps, motor mount plate, and the battery tray. I made no mods to the carbon chassis. I only used the holes that were designed into the chassis because of this the kit I sold was able to bolt directly into the the aluminum chassis that comes with the Jato fro Traxxas. In fact now I have changed my personal one to a front mount plate with a cam style adjustment. I changed motor to a Hacker C40 and this motor works better with a front mount. I needed the Kontronic in my 1/6 scale Schumacher Ferrari.
thanks
Currently Active Users Viewing This Thread: 1 (0 members and 1 guests)
