


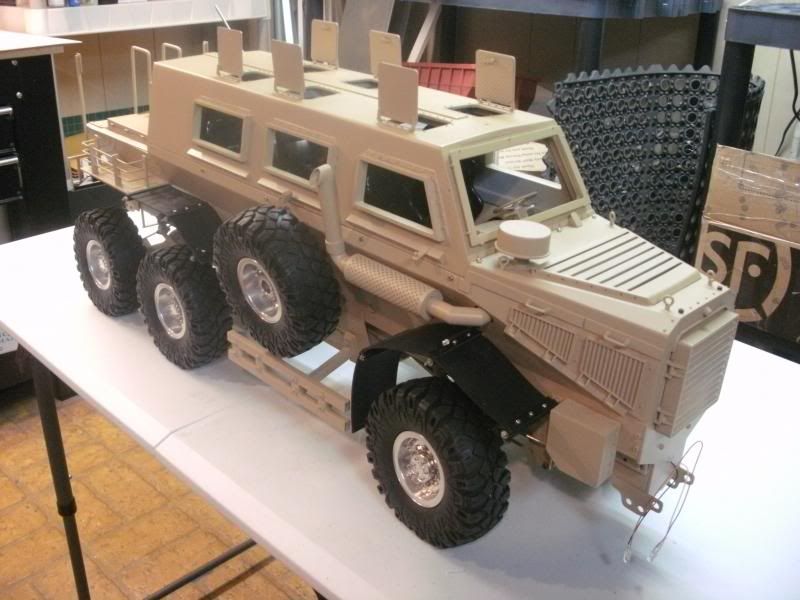
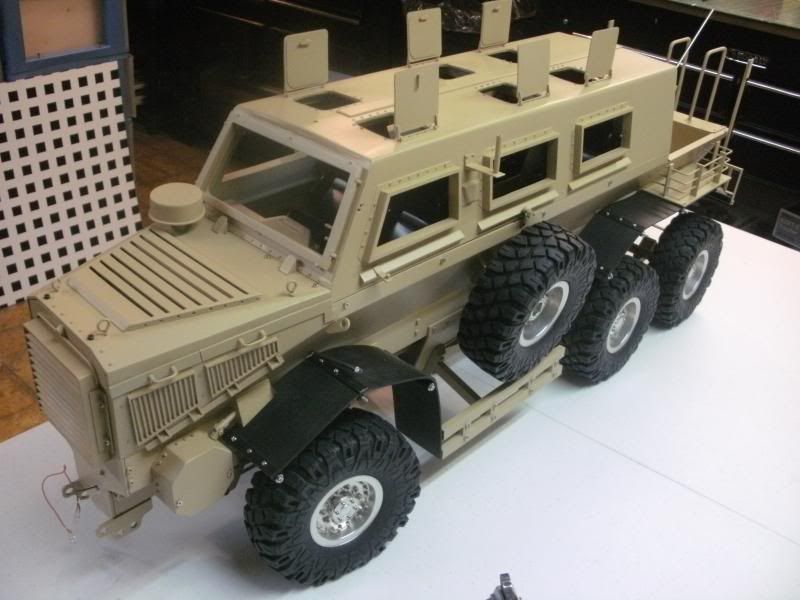
MRAP BUFFALO AKA BONE CRUSHER 1/10 mostly scratch
 09-19-2014, 04:32 AM
#31
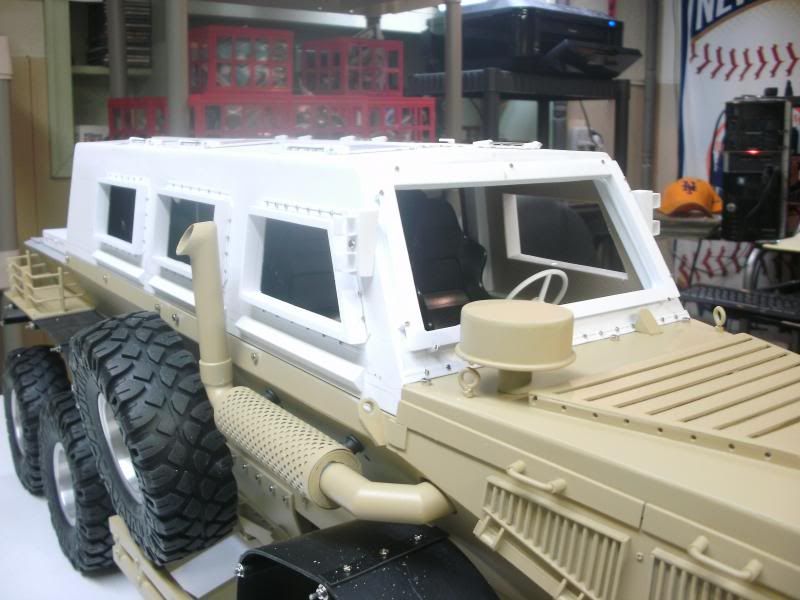
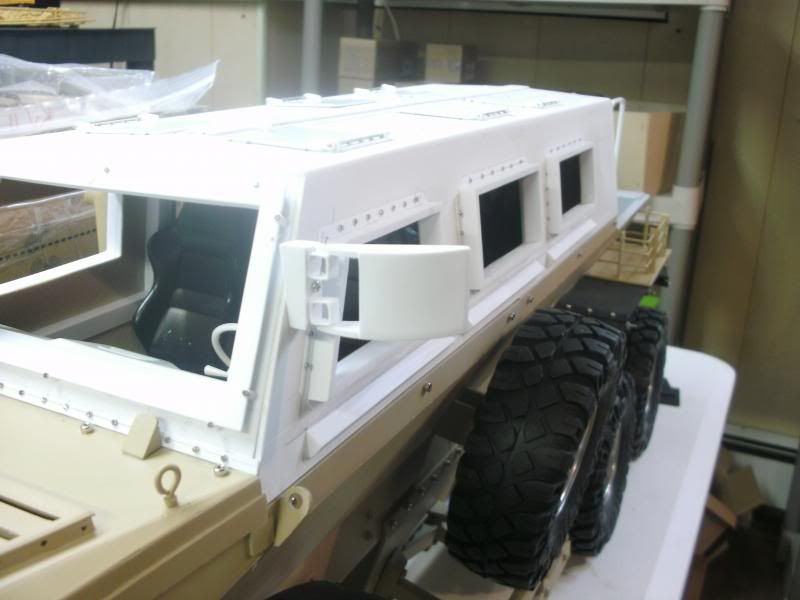
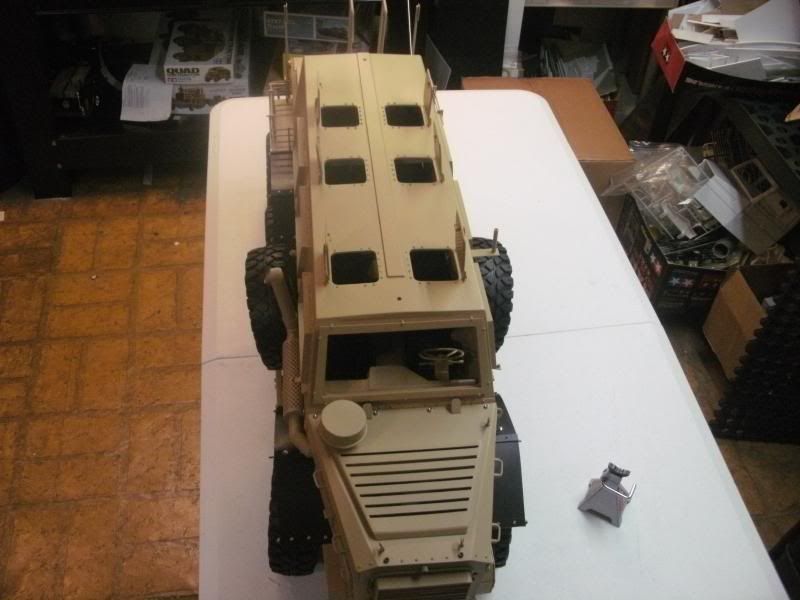
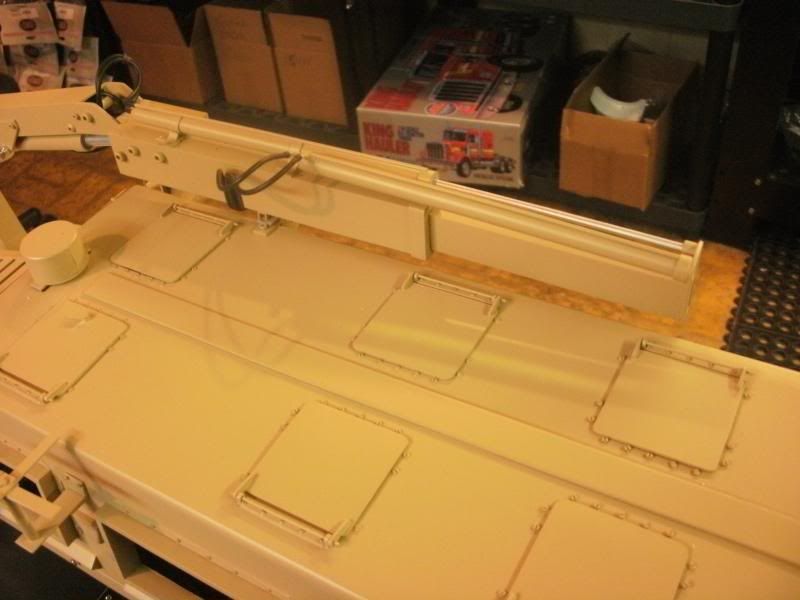
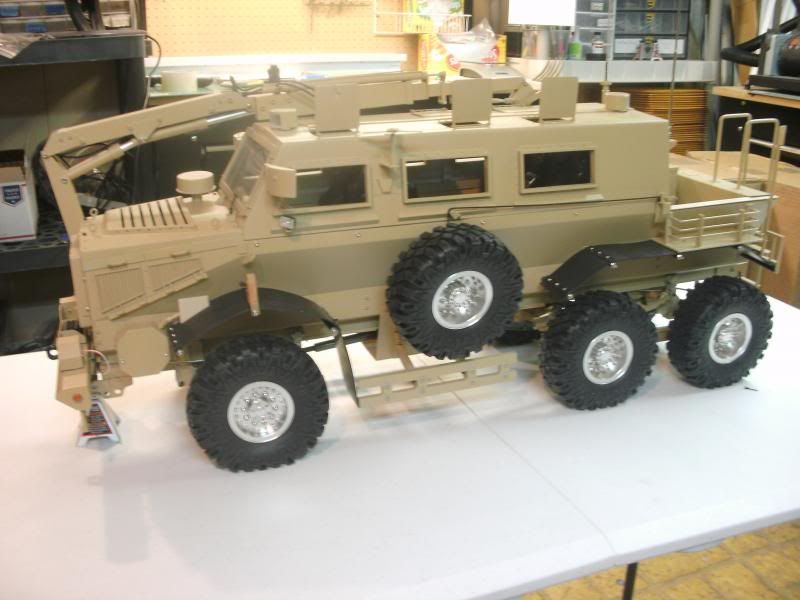
I put the inner panels on the hatches and made some handles
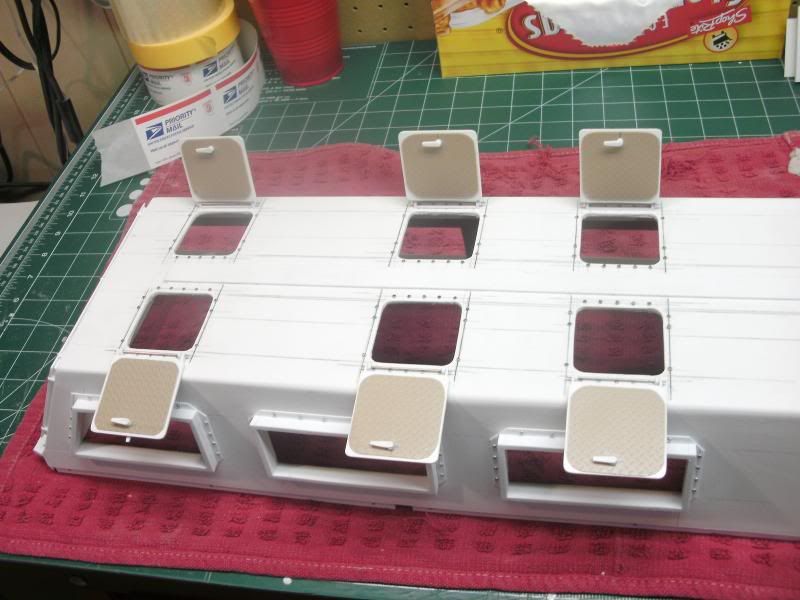
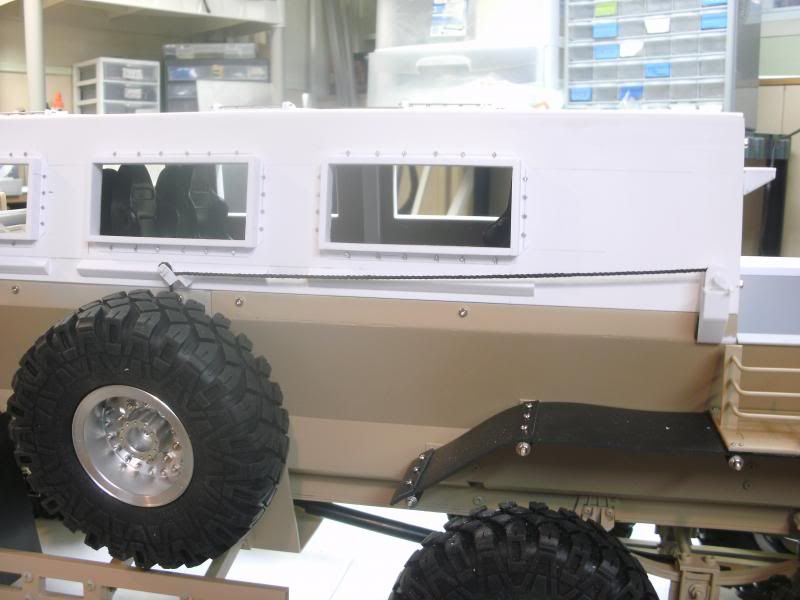
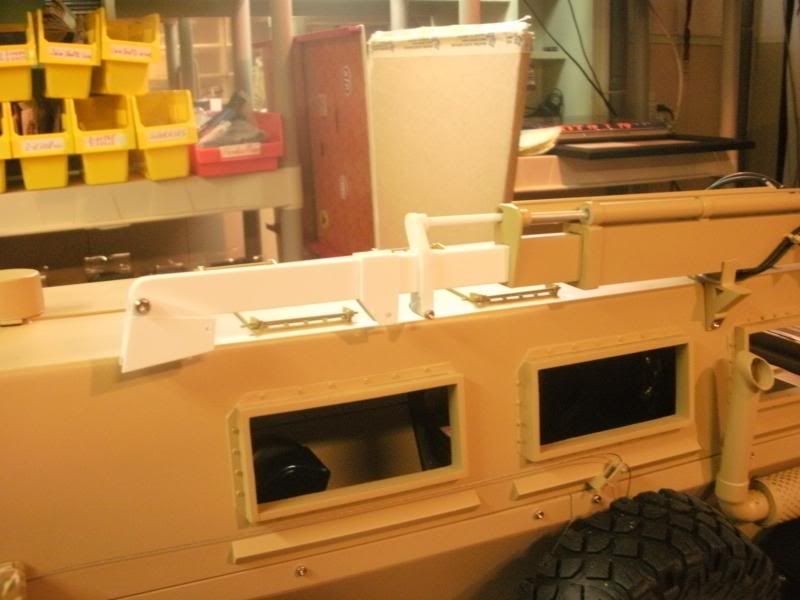
next I put some angles under the windows

I made some rear antenna mount
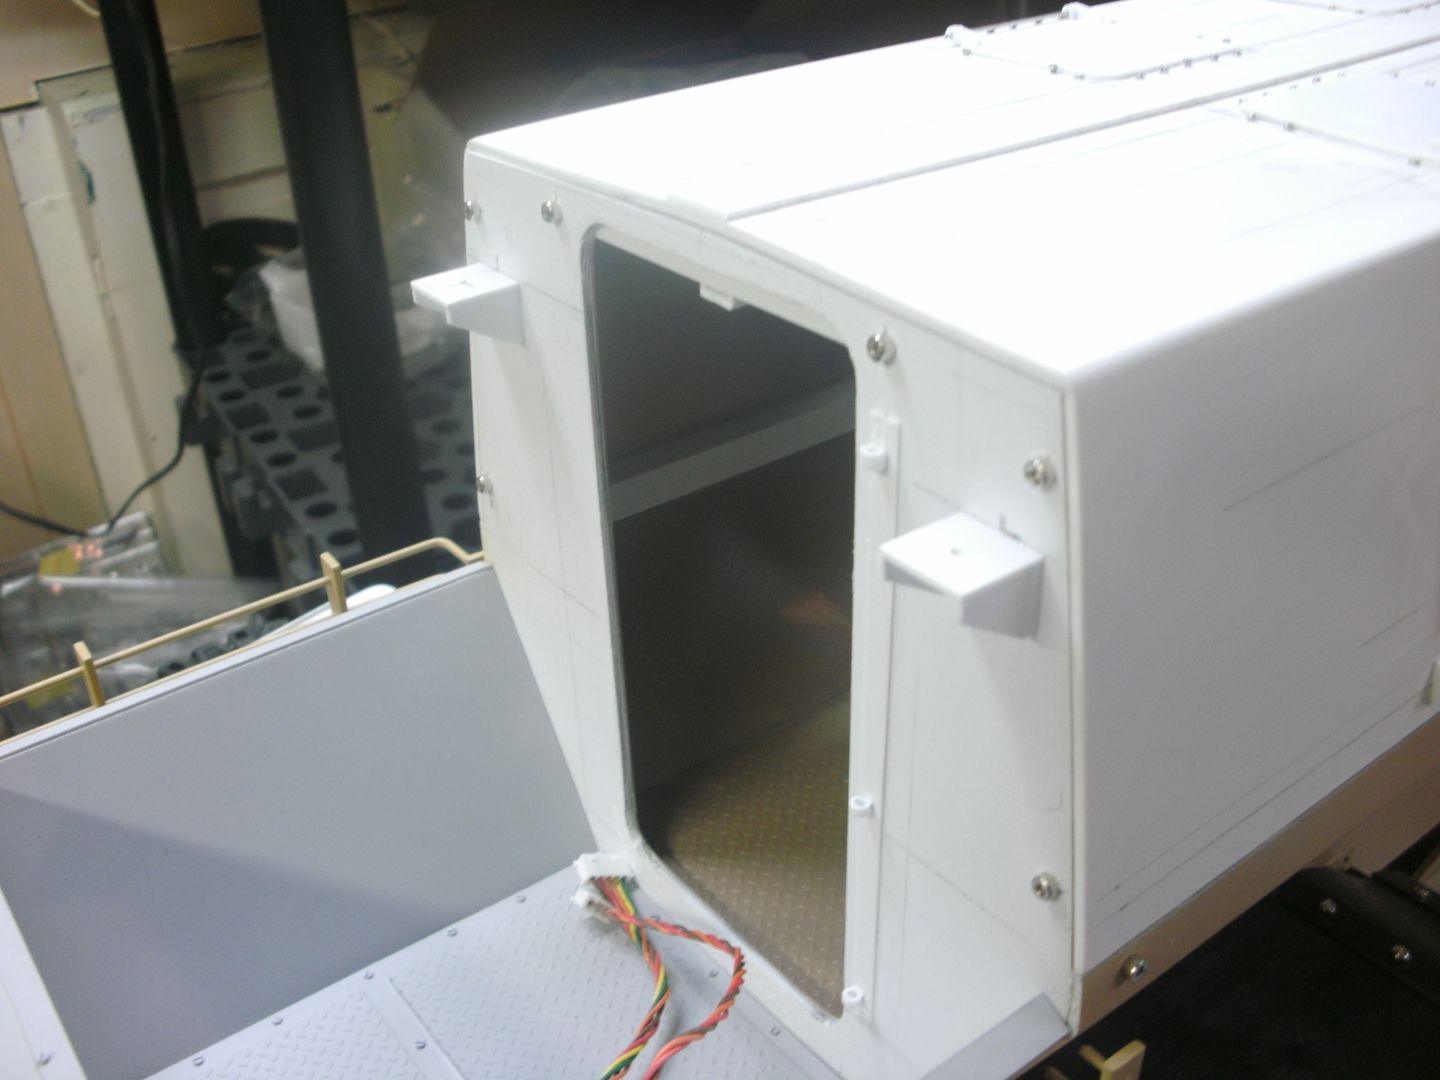
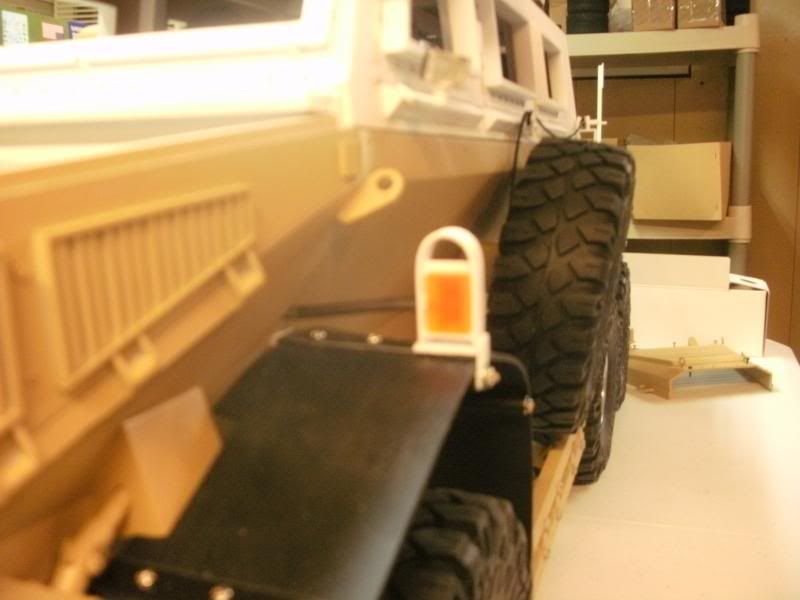
made some rear light mounts and use the knight hauler light buckets, perfect size

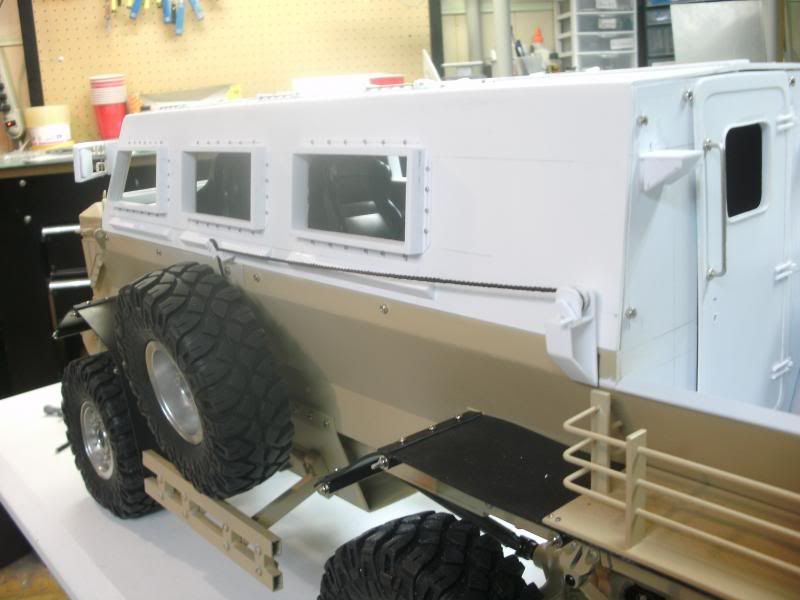
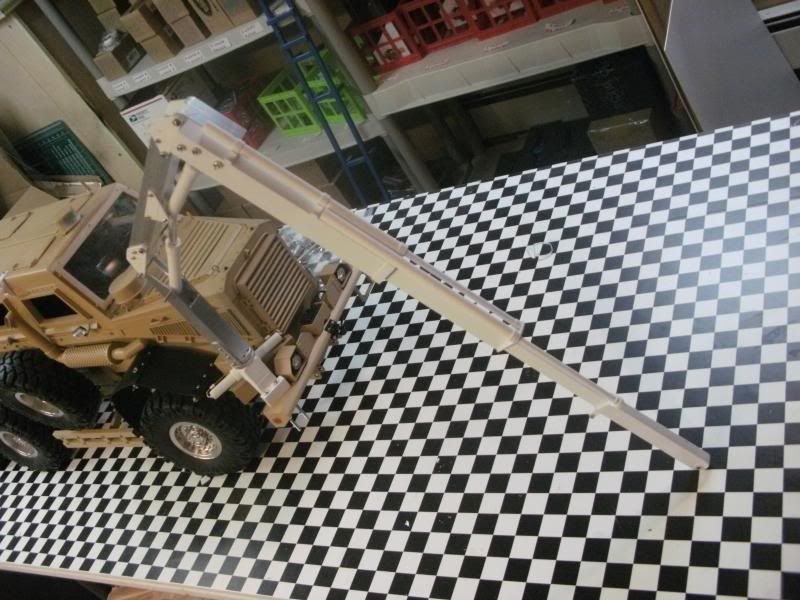
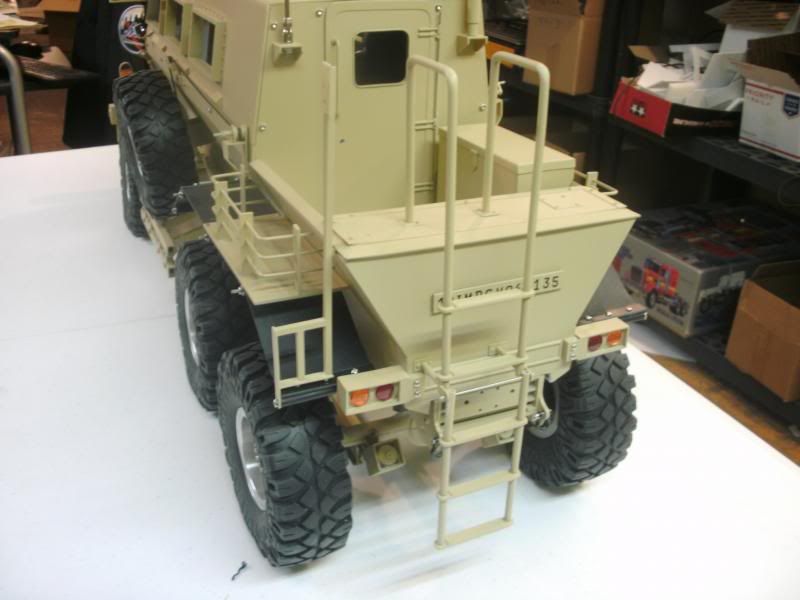
I started on the rear ladder, here i used hollow plastic tubing, solid metal rod for shaping and a threaded rod for mounting

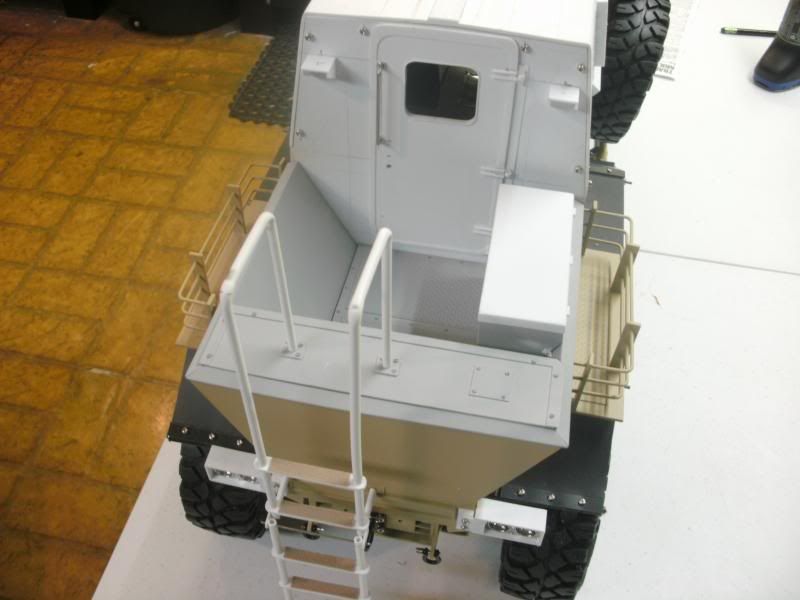
upper and lower ladder is made, hinged and mounted, here it is pictured up

pictured down , now i need to sand and add diamond plate for steps

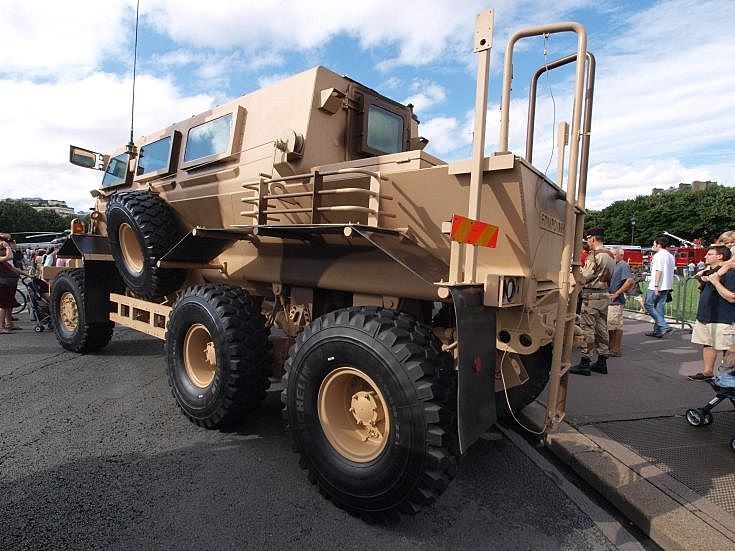
heres the 1:1

next I put some angles under the windows

I made some rear antenna mount

made some rear light mounts and use the knight hauler light buckets, perfect size

I started on the rear ladder, here i used hollow plastic tubing, solid metal rod for shaping and a threaded rod for mounting

upper and lower ladder is made, hinged and mounted, here it is pictured up

pictured down , now i need to sand and add diamond plate for steps

heres the 1:1

 09-19-2014, 01:19 PM
#32
thanks guys
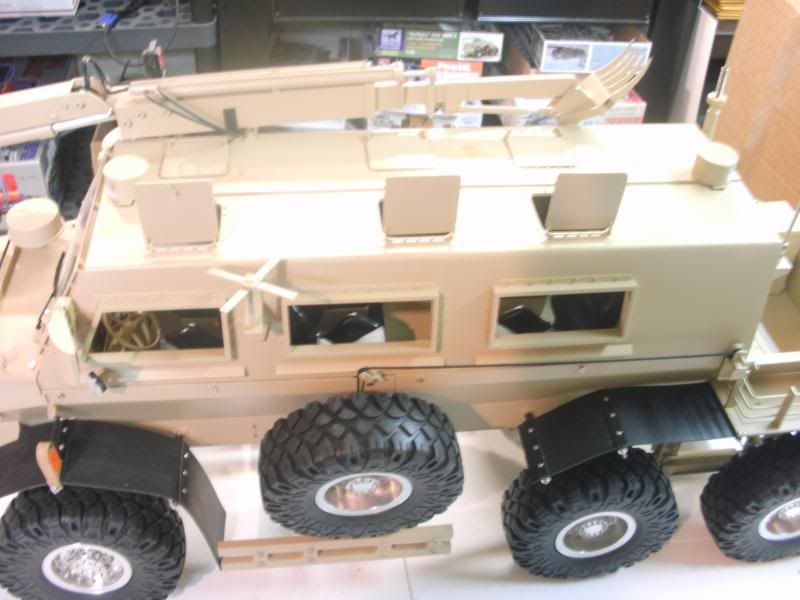
made the mirror mounts, added the diamond plate on steps and add couple things here and there
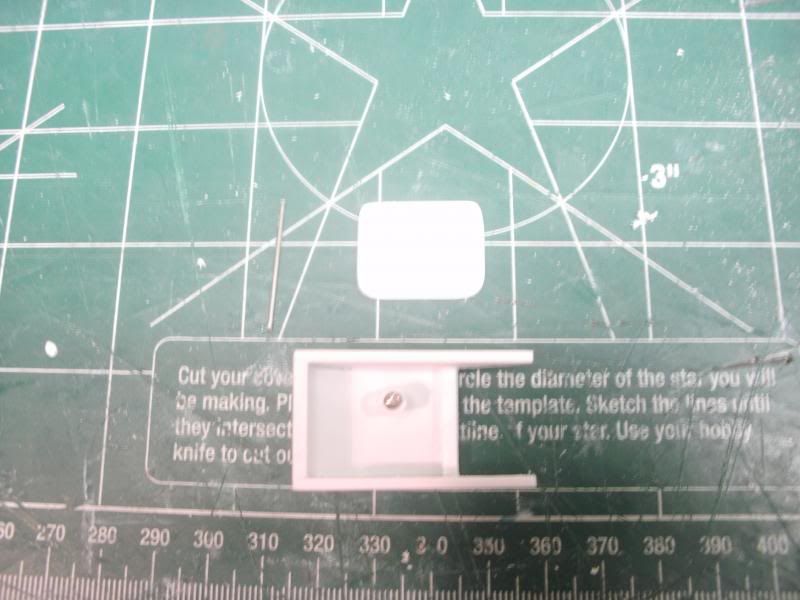
I made the next part for the mirrors, its the outer casing, next is the inner mirror
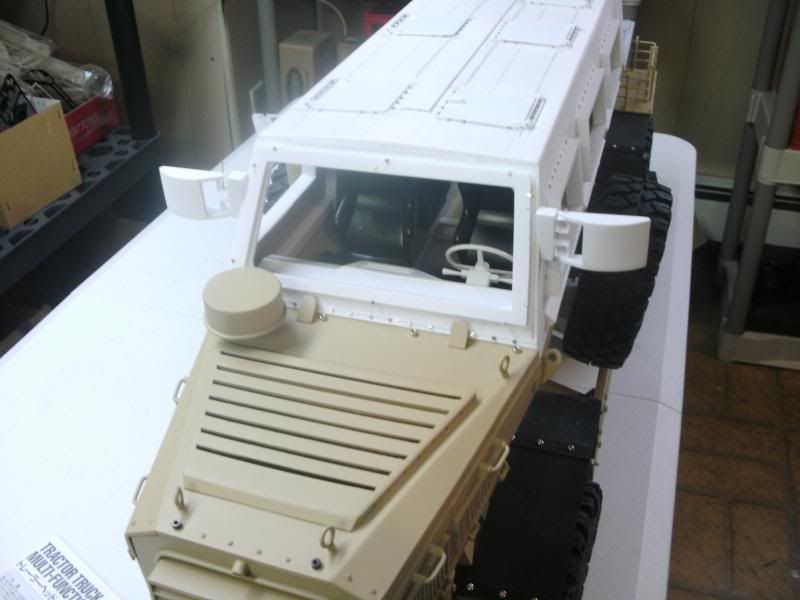
inner mirror holder is done, I will attach mirror when I dine painting it

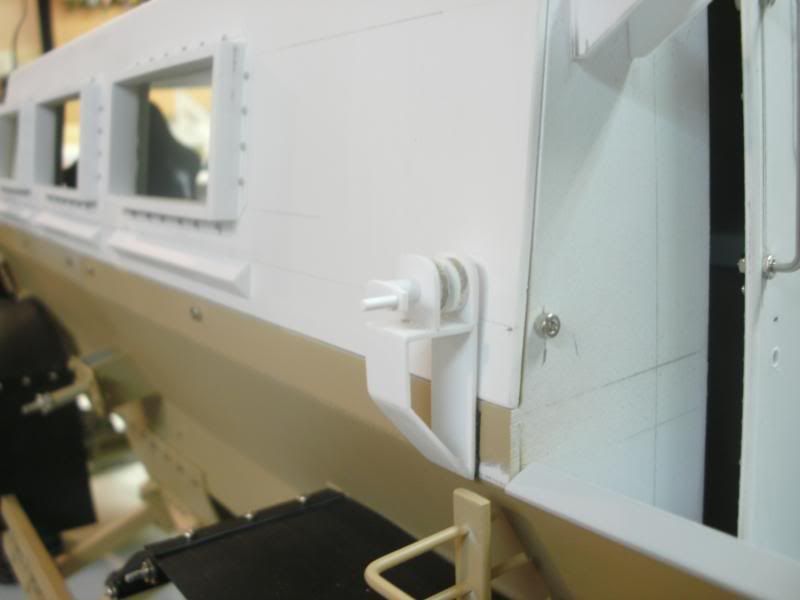
the truck has a crank, pully set up for the tire lift , its a 2 part system

today I made the fender light buckets and installed the lights, they work great

made the mirror mounts, added the diamond plate on steps and add couple things here and there


I made the next part for the mirrors, its the outer casing, next is the inner mirror


inner mirror holder is done, I will attach mirror when I dine painting it


the truck has a crank, pully set up for the tire lift , its a 2 part system


today I made the fender light buckets and installed the lights, they work great

 09-19-2014, 01:20 PM
#33
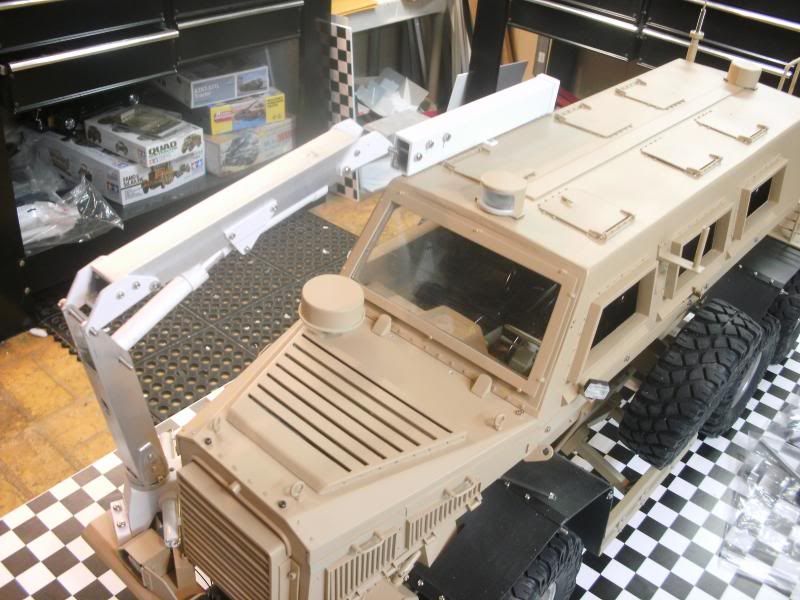
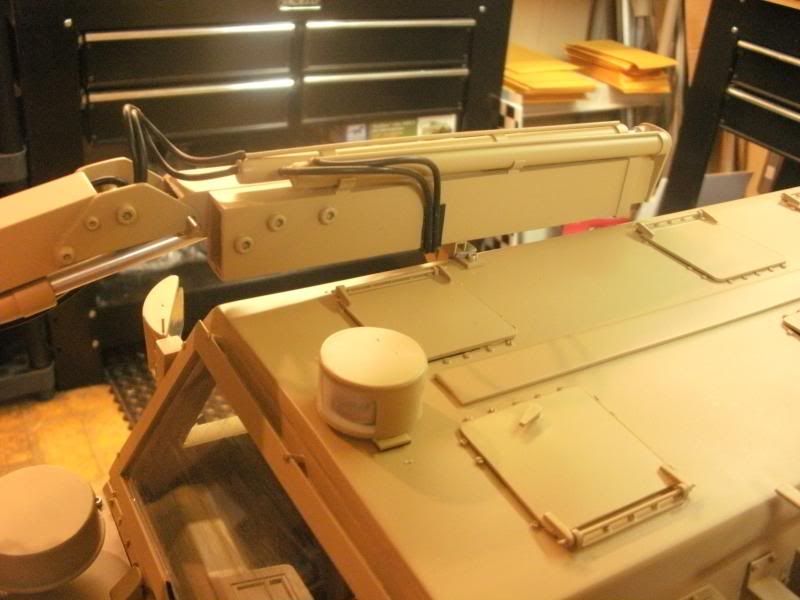
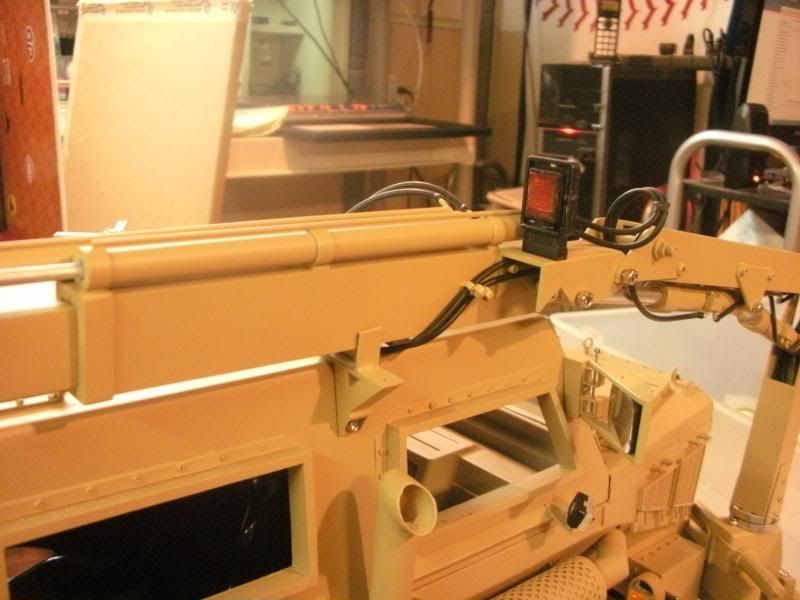
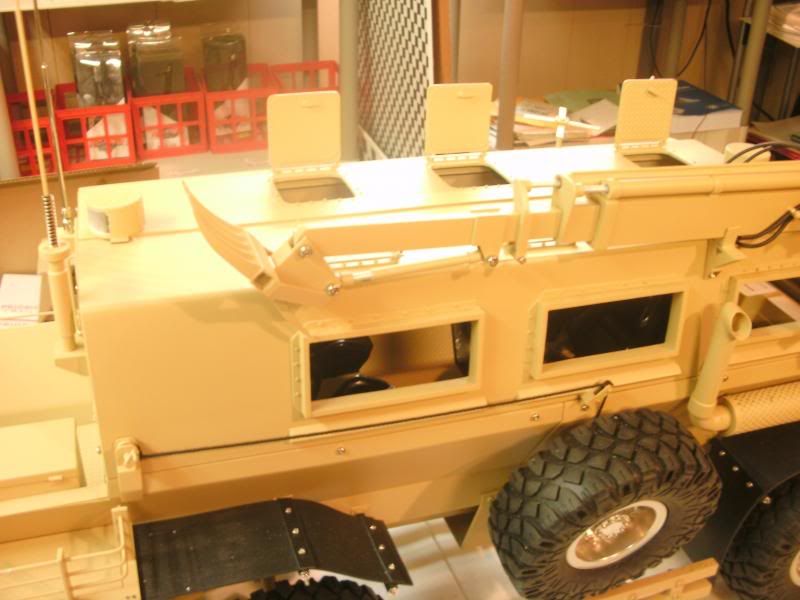
today I started on the roof mounted search lights, basically all scratch . im using .040, .060 styrene and clear .010 styrene , the light bucket is from the rear bumper of a king hauler . the driver will be able to rotate the search light from the inside. I will add lights later
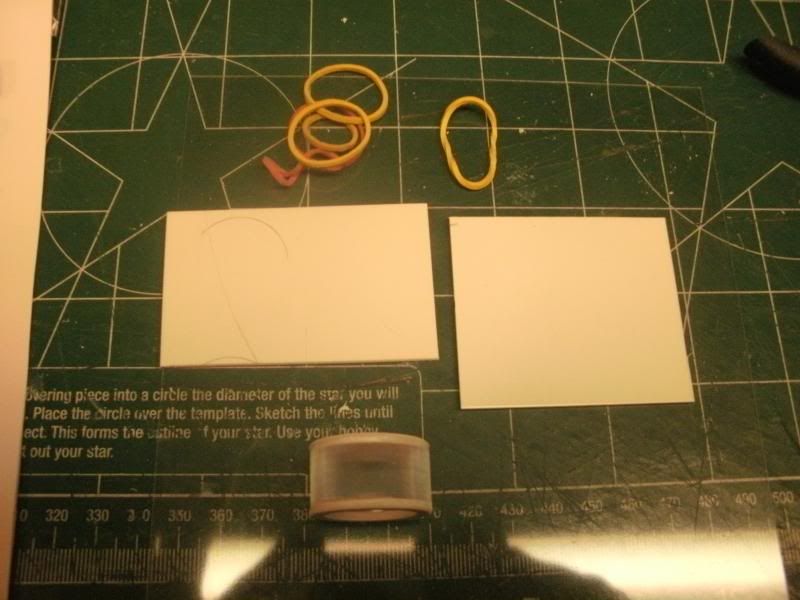
cant wait for paint and the round styrene to come in so I can finish the roof, should be here Thursday
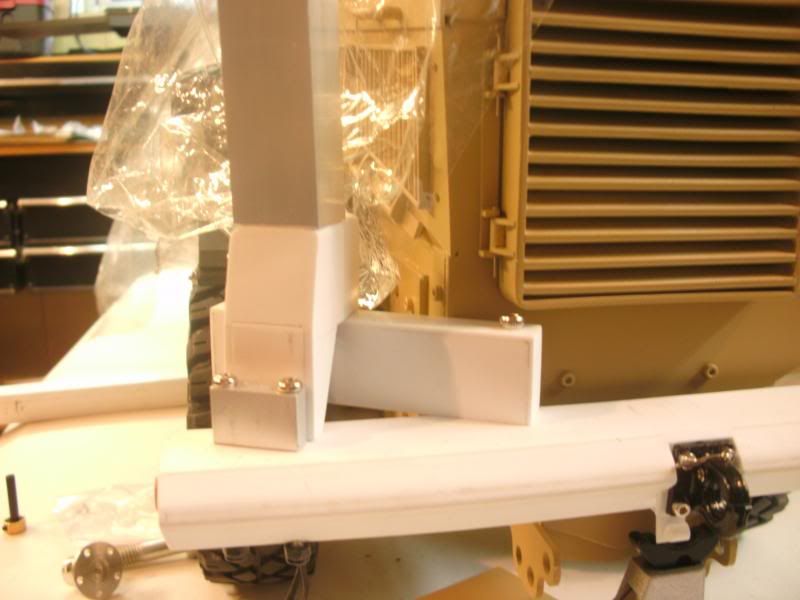
so in the mean time, I will get started on the bumper,i was able to mod the king hauler front bumper mount for this part
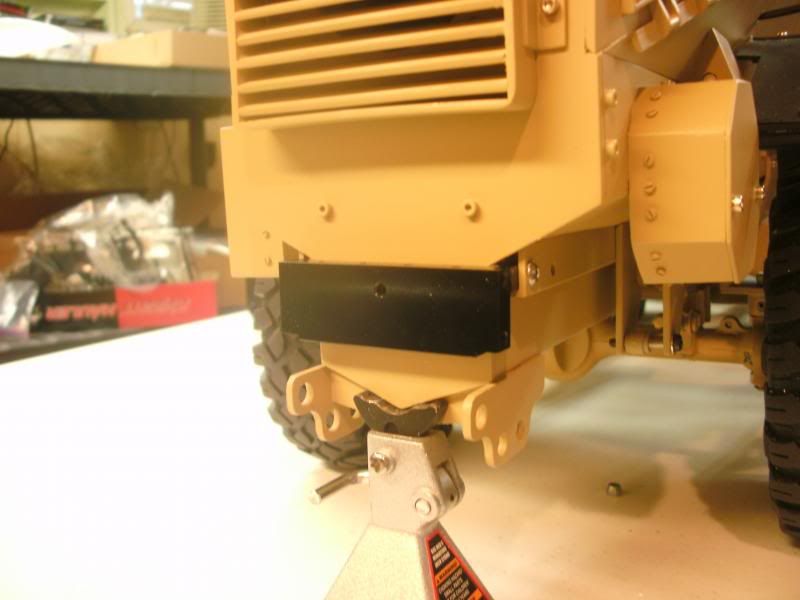
next I using a solid 1/4 x 3/4 inch alum bar for the main support
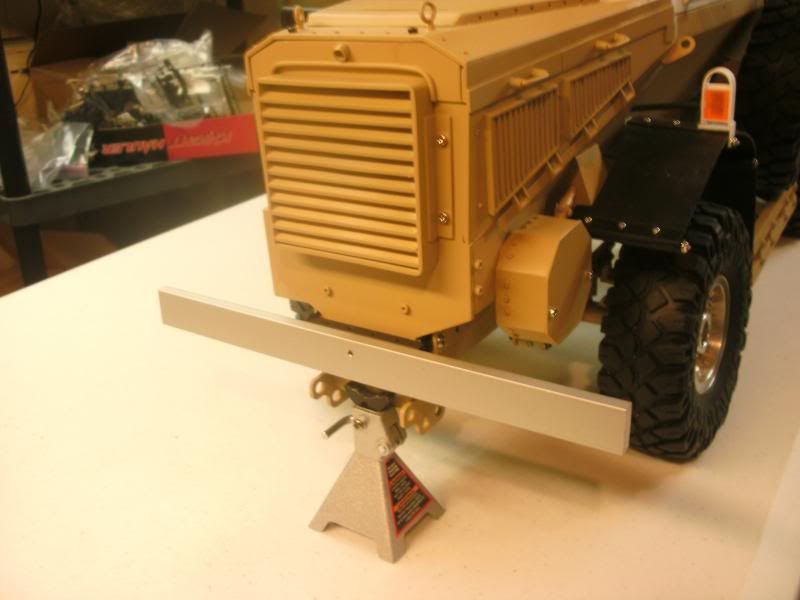
next I made the hydraulic arm support
here I start wrapping the alum with styrene
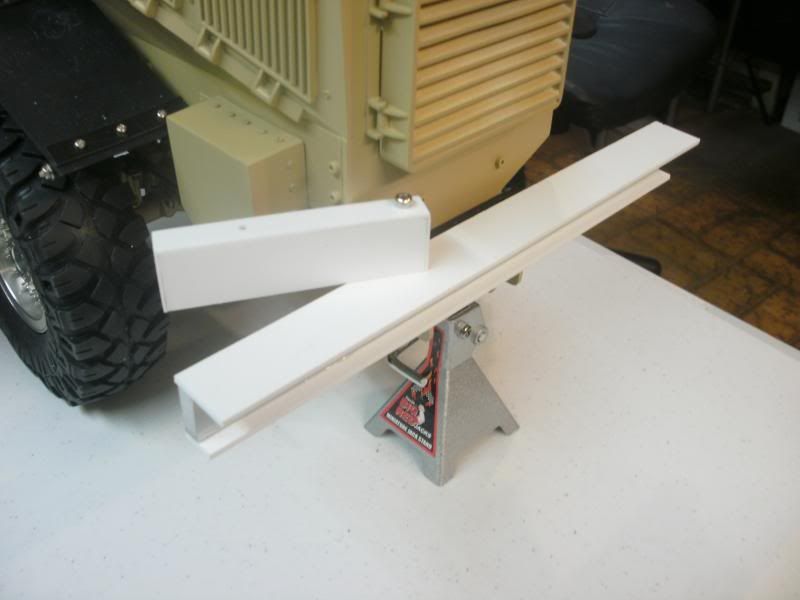
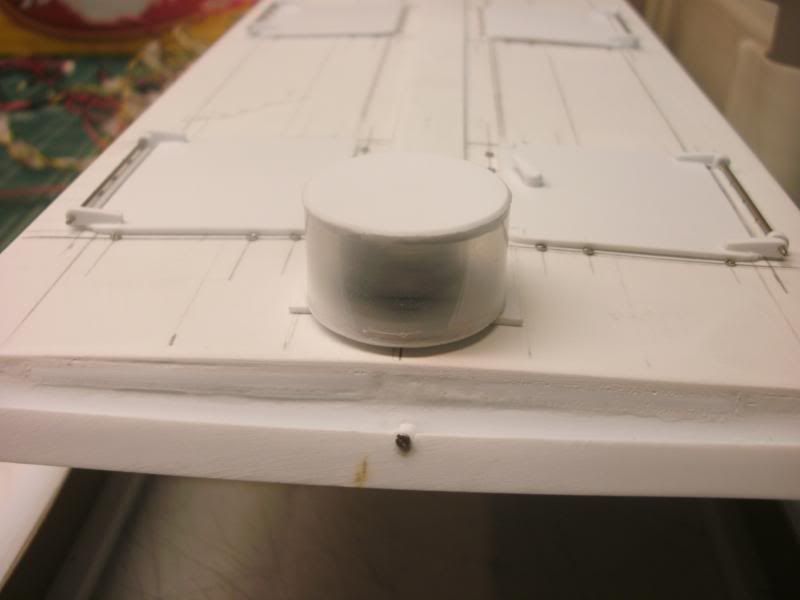
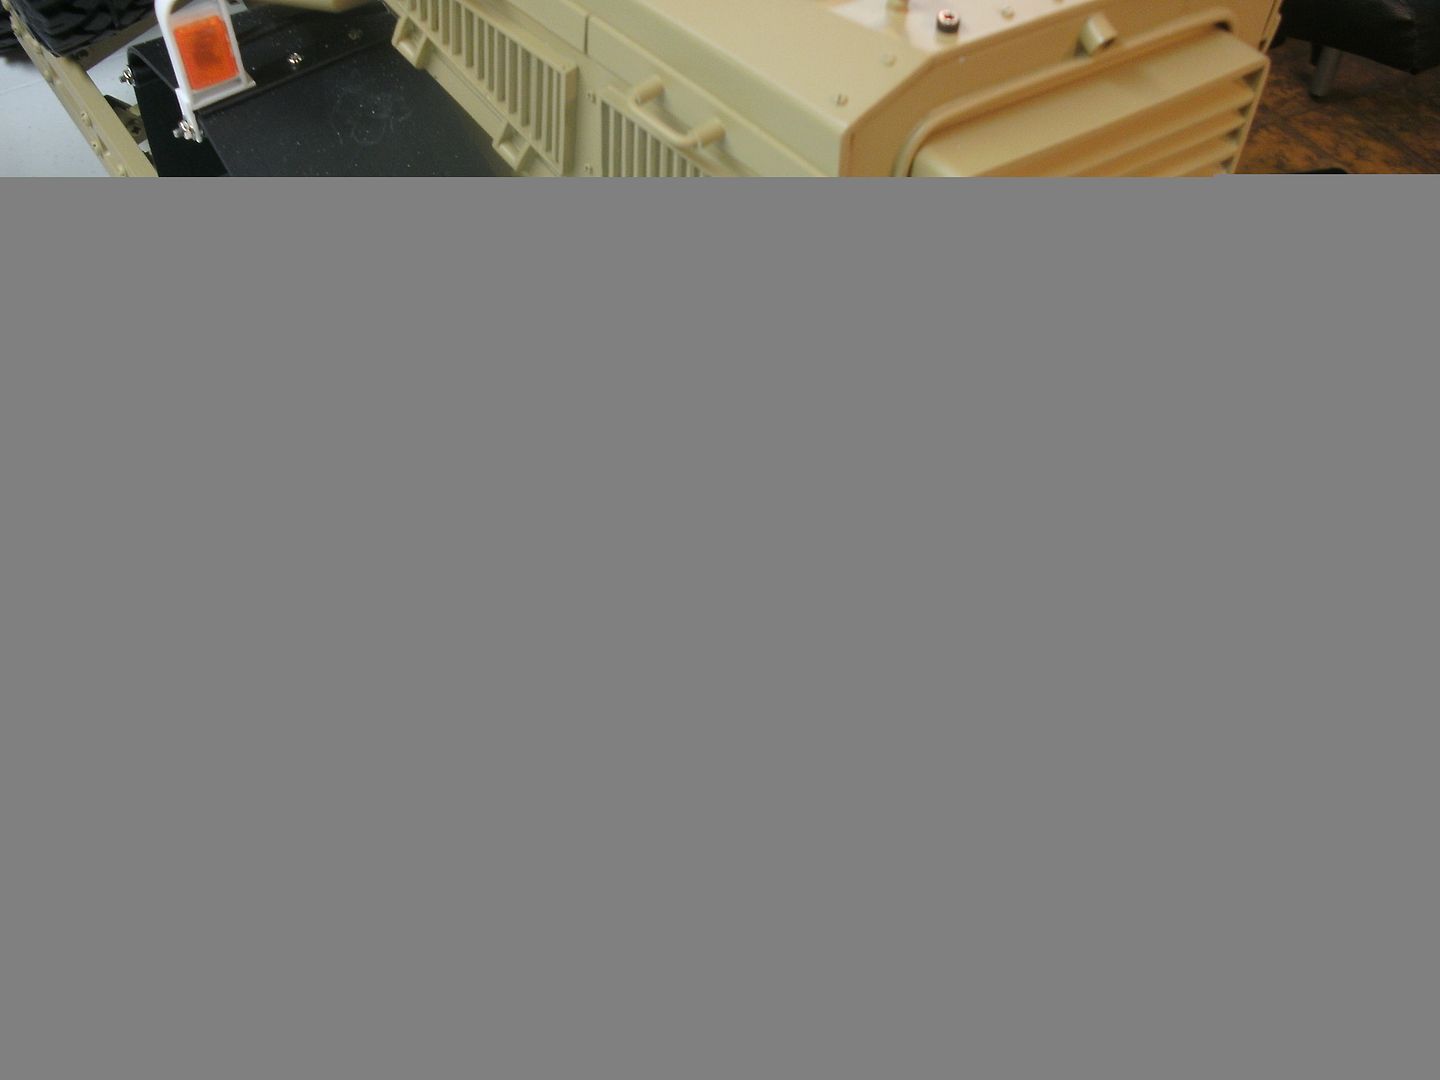
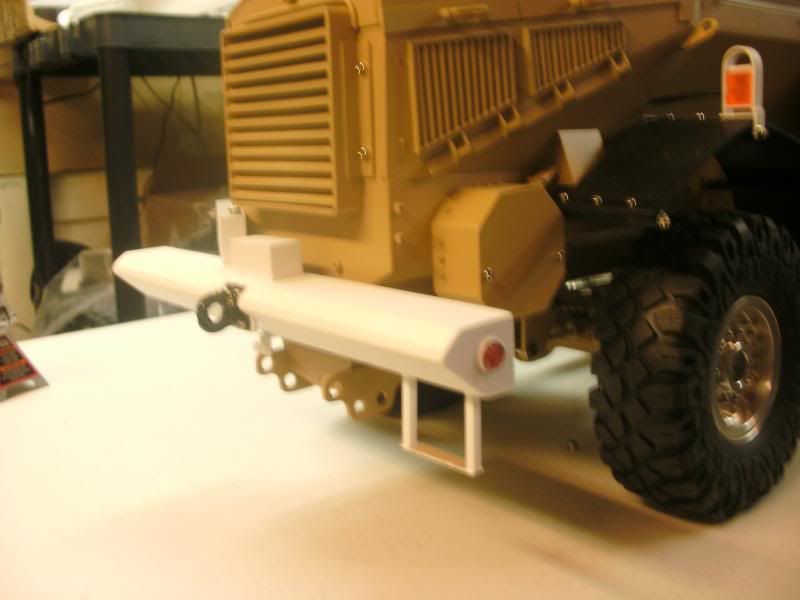
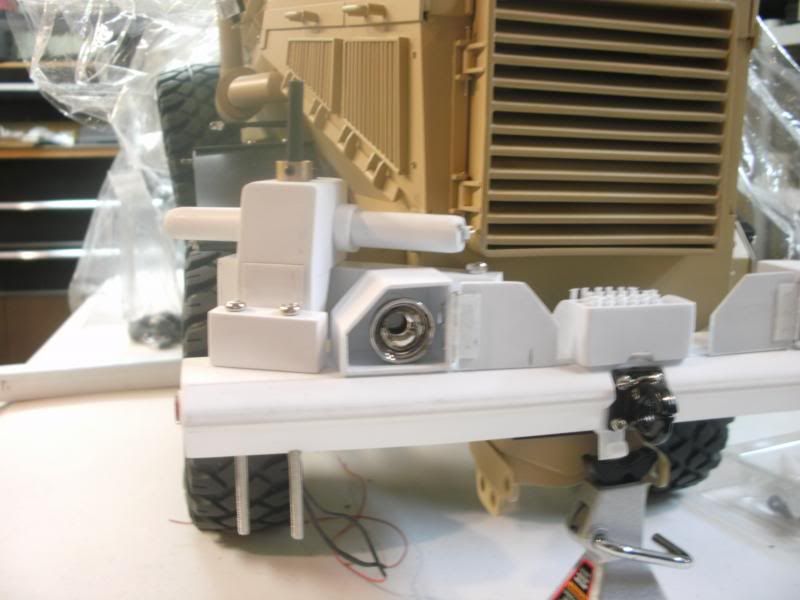
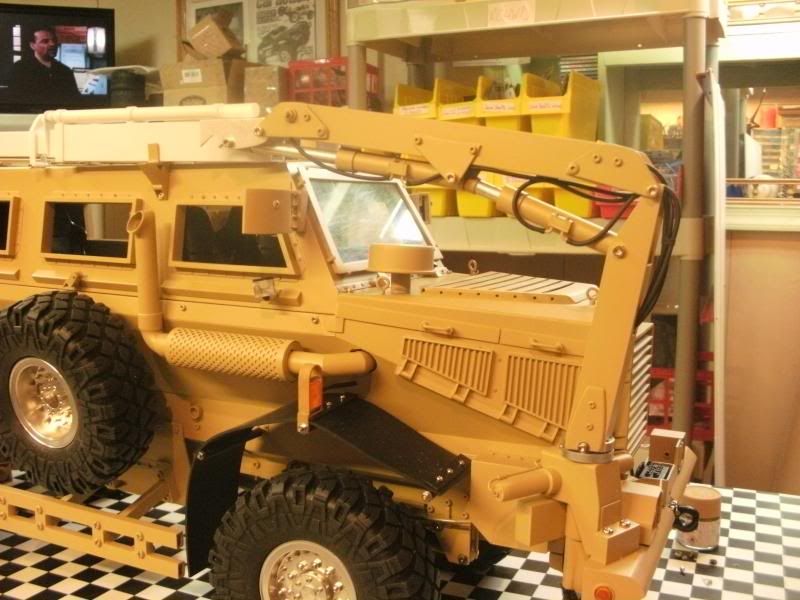
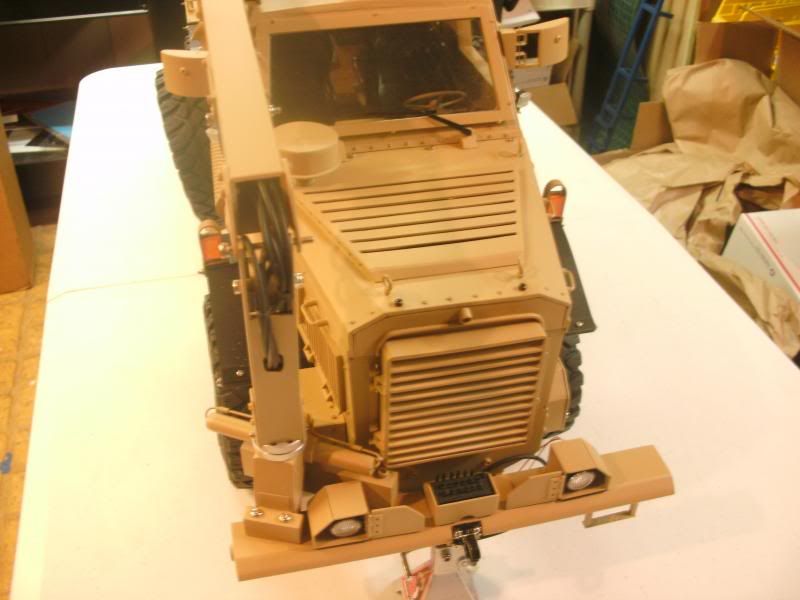
1st I notice the bumper was sitting 8mm to low , so I had fix that will quick. ive added some side orange refecters , a ladder and started on some kind of unit that mounted on the top bumper, im thinking its some kind of hydraulic block


cant wait for paint and the round styrene to come in so I can finish the roof, should be here Thursday
so in the mean time, I will get started on the bumper,i was able to mod the king hauler front bumper mount for this part

next I using a solid 1/4 x 3/4 inch alum bar for the main support

next I made the hydraulic arm support

here I start wrapping the alum with styrene

1st I notice the bumper was sitting 8mm to low , so I had fix that will quick. ive added some side orange refecters , a ladder and started on some kind of unit that mounted on the top bumper, im thinking its some kind of hydraulic block

 09-19-2014, 01:24 PM
#34
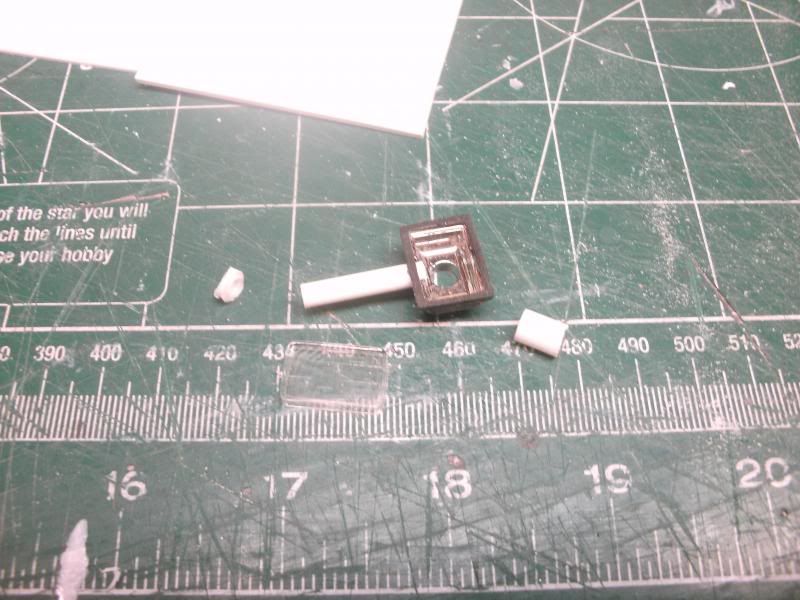
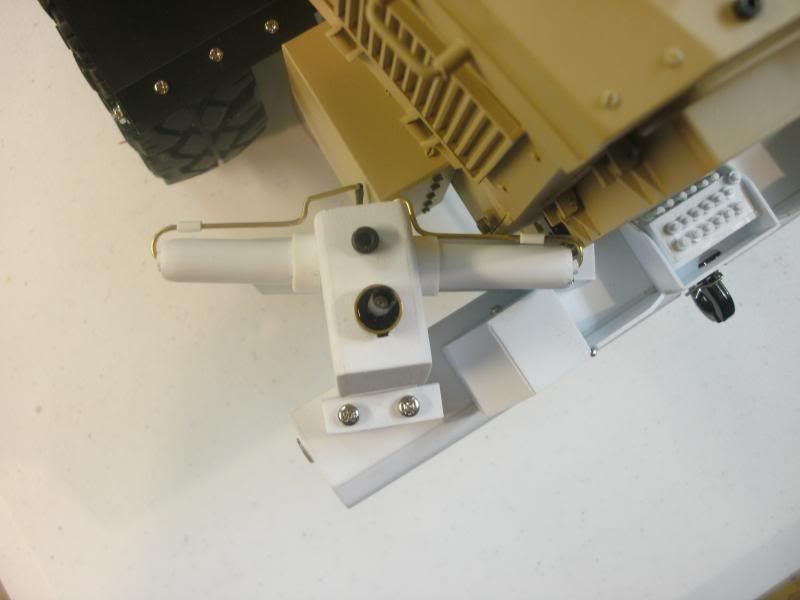
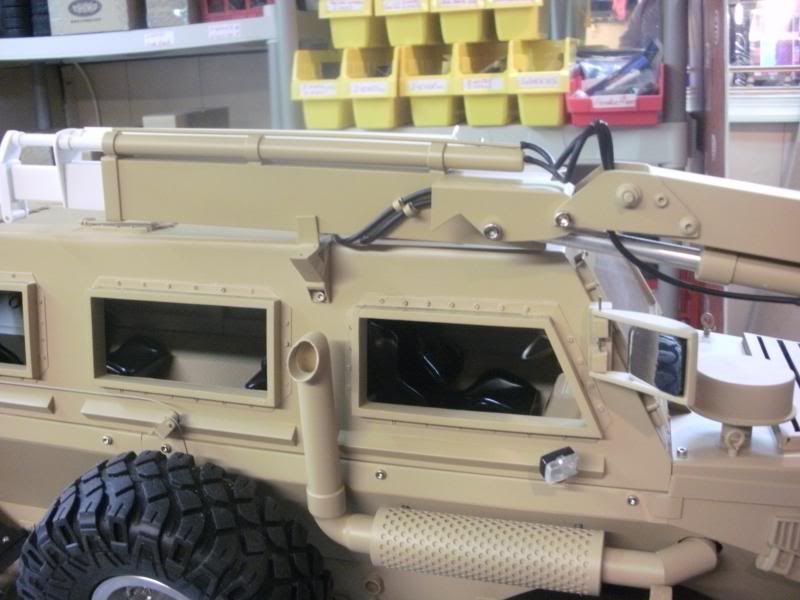
today I started on box that's mount on top / center bumper, not sure what the function is, so I was thing maybe hydraulics or electrical . any way here it is. also made the right head light with working door


both light buckets almost done

time to catch up on some painting


started on the interior


 09-20-2014, 05:56 AM
#35
a lot of painting to do and a lot of reassembling
hopefully everybody had a safe and wonderful holiday
but break is over, time to get back on this beast
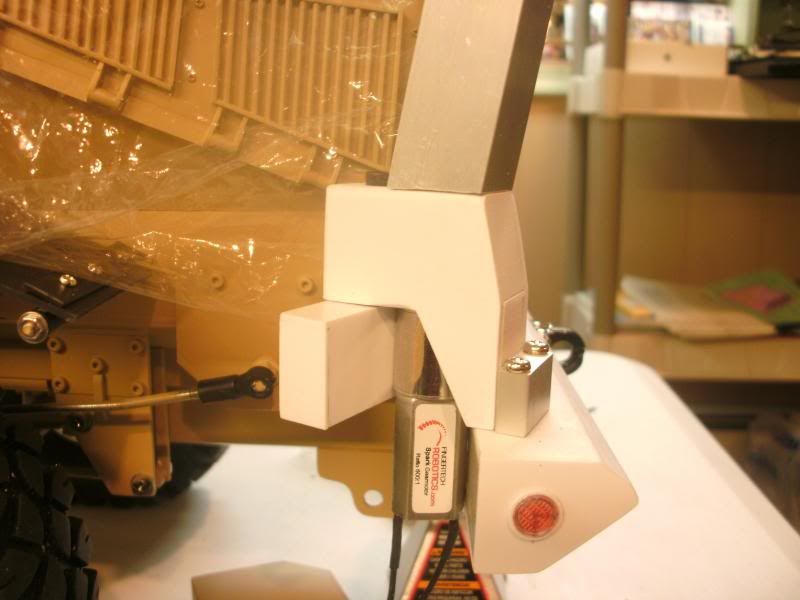
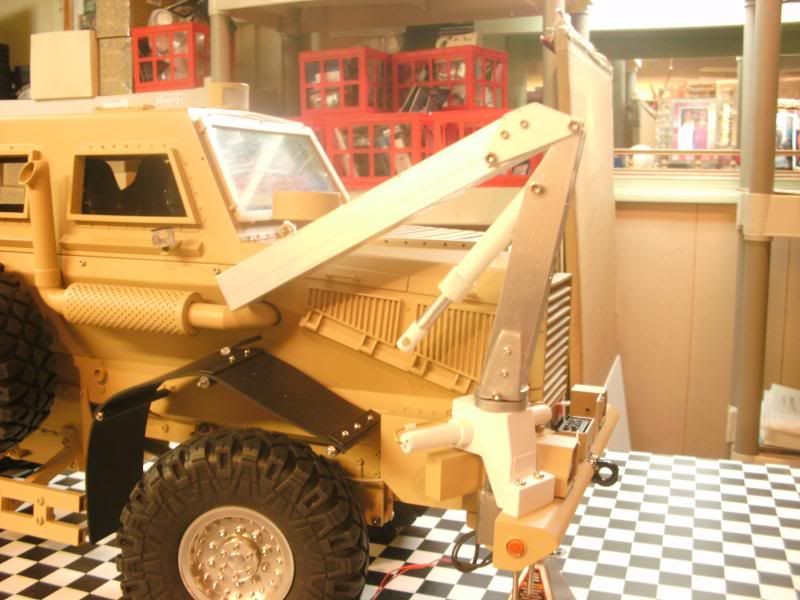
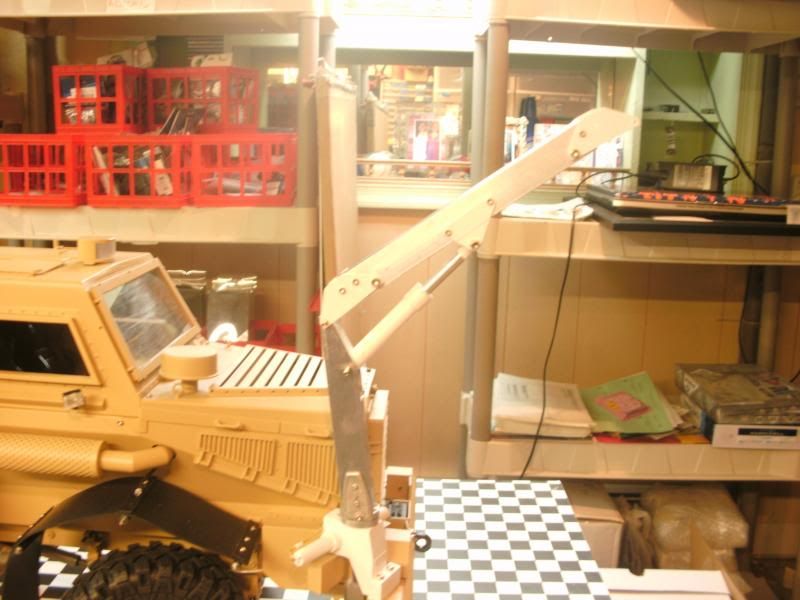
motor is mounted, wires add, the base is in closed and 1st arm is prefitted, inside base is metal and out side casing is plastic. motor is 600:1, plenty torque
added more detailed parts , cany wait to put some paint to these parts
started working on the cylinder and the arm
working on the second arm


hopefully everybody had a safe and wonderful holiday
but break is over, time to get back on this beast
motor is mounted, wires add, the base is in closed and 1st arm is prefitted, inside base is metal and out side casing is plastic. motor is 600:1, plenty torque


added more detailed parts , cany wait to put some paint to these parts


started working on the cylinder and the arm

working on the second arm

 09-20-2014, 02:50 PM
#36
working on the second arm
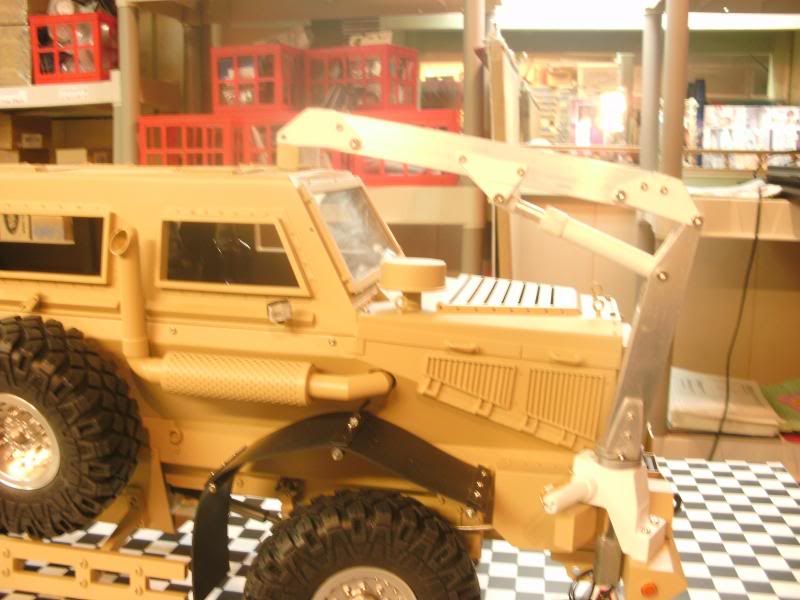
next arm and cylinder is mounted
started on the 3rd arm and roof mount
next arm and cylinder is mounted

started on the 3rd arm and roof mount

 09-20-2014, 02:54 PM
#37
all stages built, time to sand, paint and detail

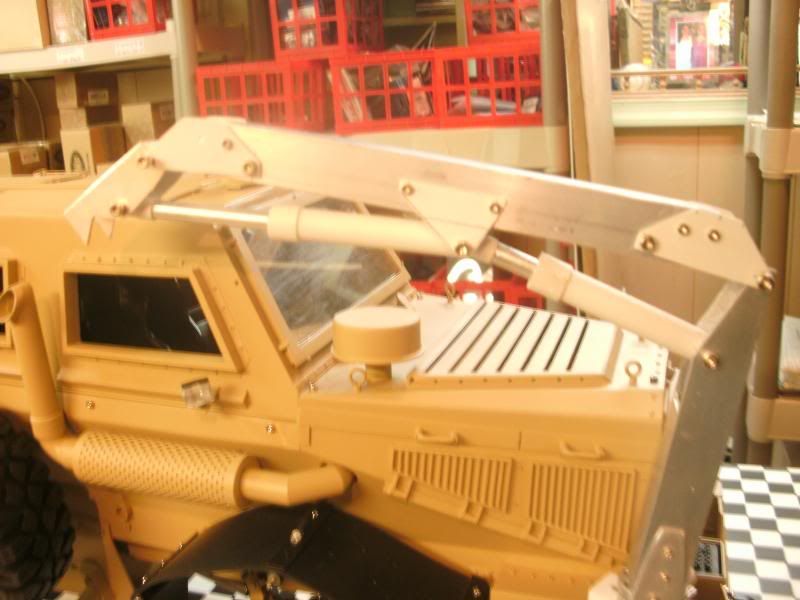
did some painting , made couple parts and added some hose
I've ran some lines and painted the next arm
work on the other side


did some painting , made couple parts and added some hose

I've ran some lines and painted the next arm

work on the other side

 09-20-2014, 02:56 PM
#38
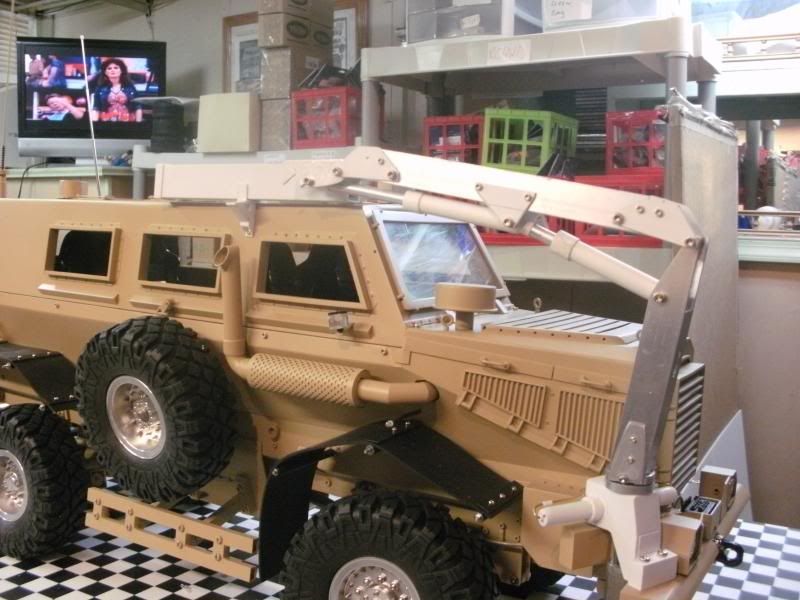
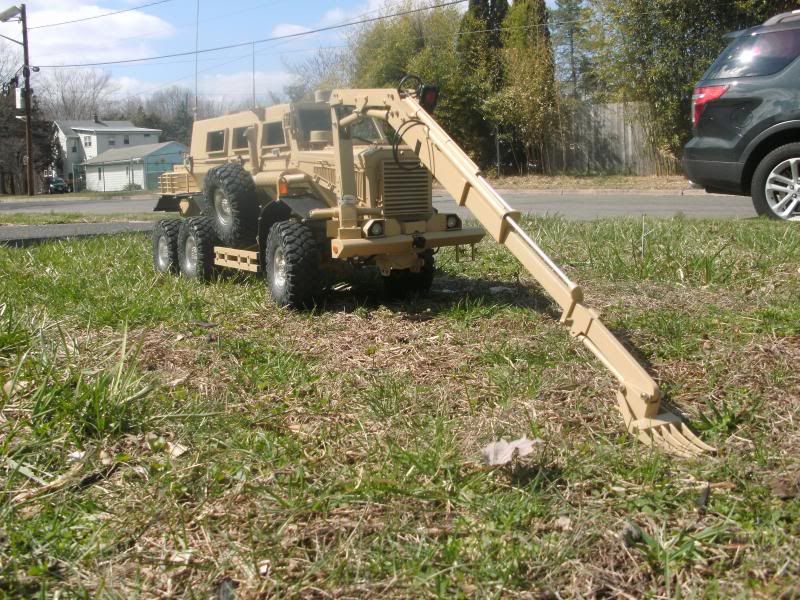
working on the last extension and fork. also installed a search light
made the fork today and I made the cylinder.. this sucks , I have no paint
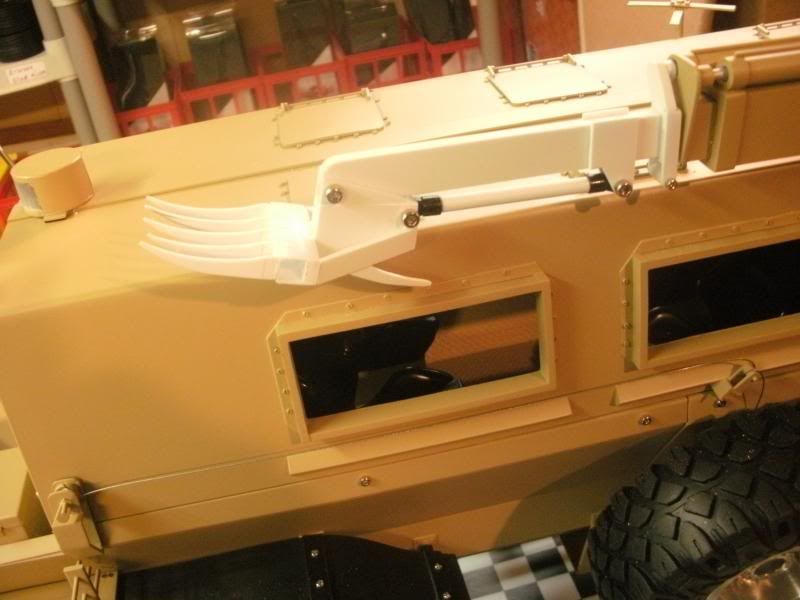
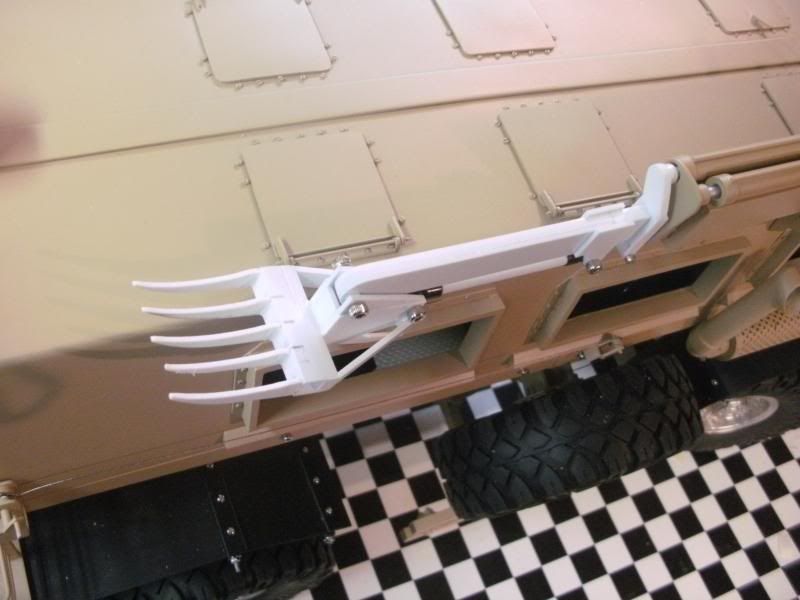


made the fork today and I made the cylinder.. this sucks , I have no paint


 09-20-2014, 02:57 PM
#39
here for comparing next to a 1/14 scale 28 inch long Tamiya king hauler

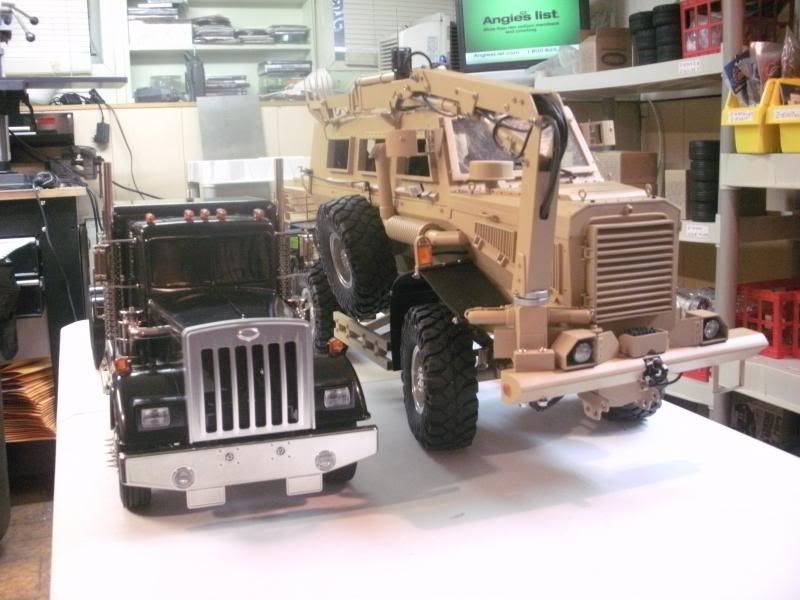
out door pictures , wahoo!!!
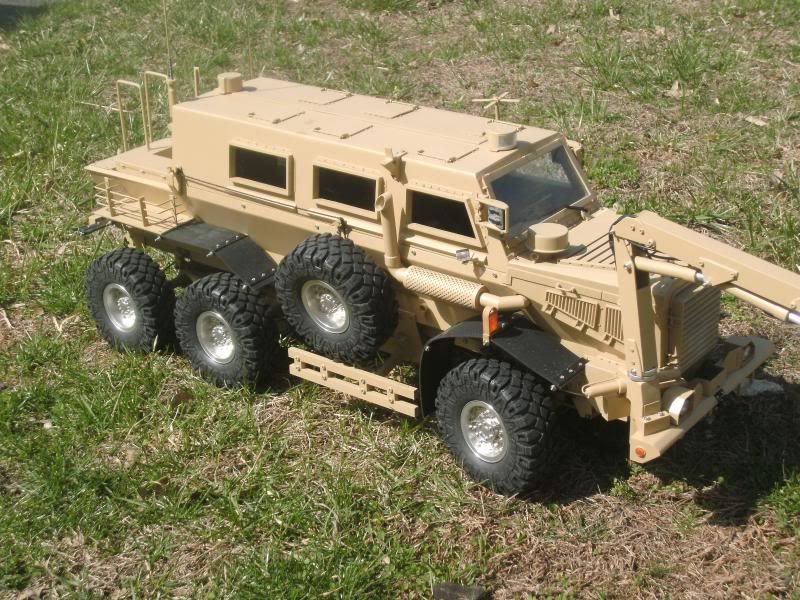

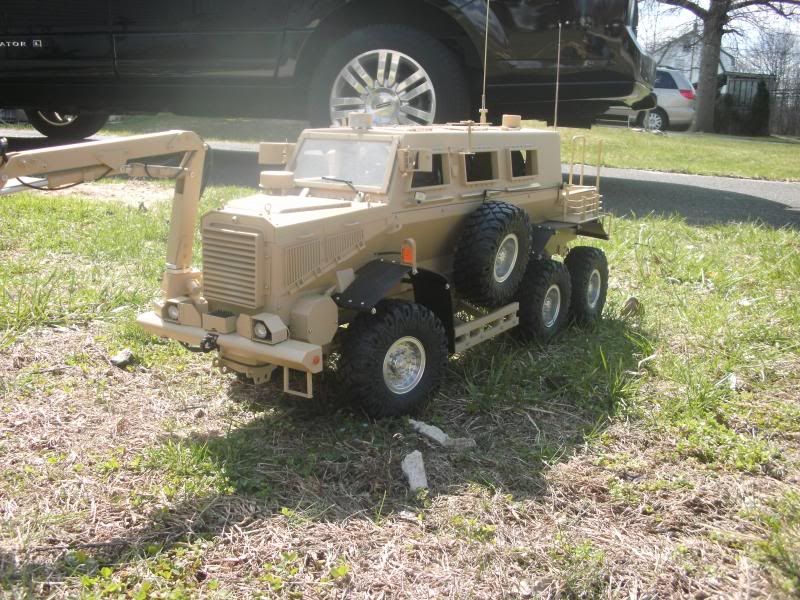
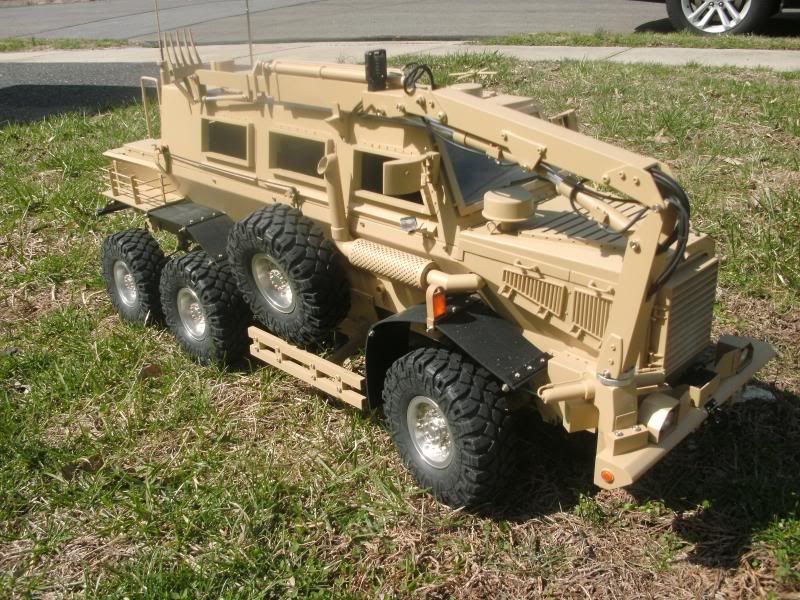
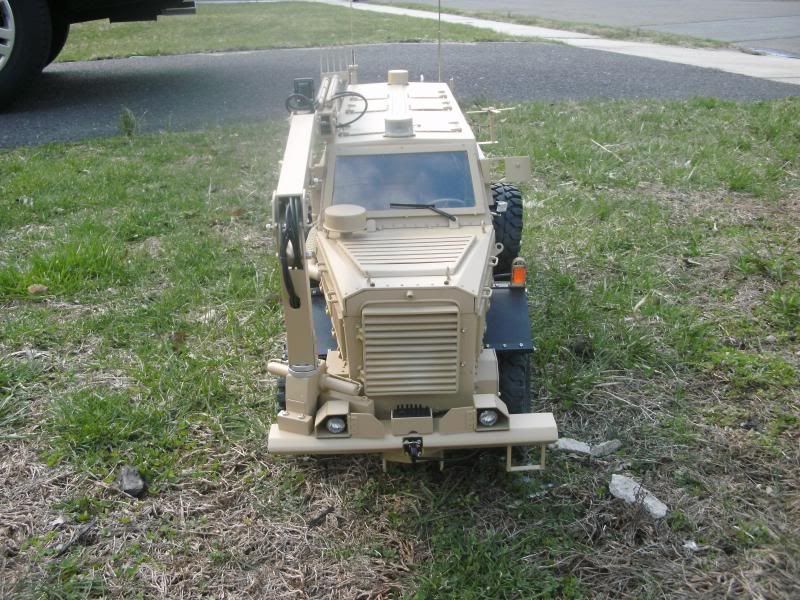
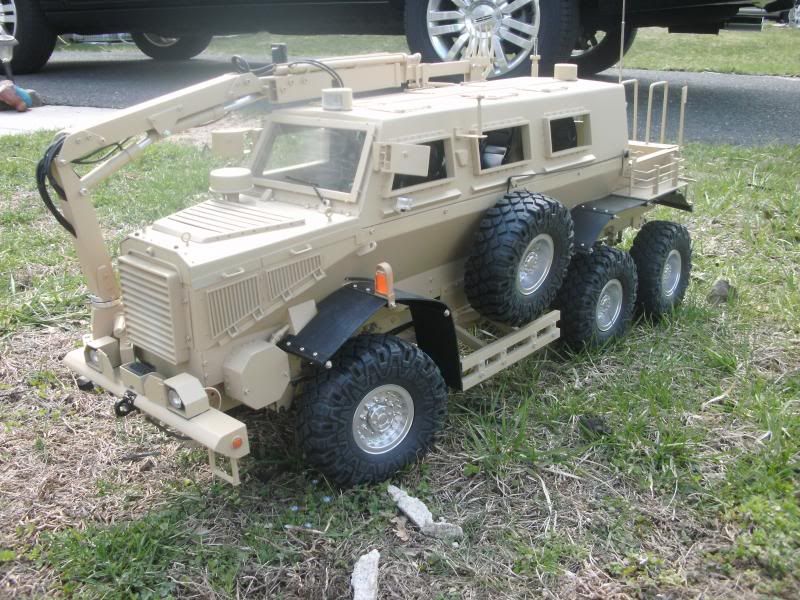
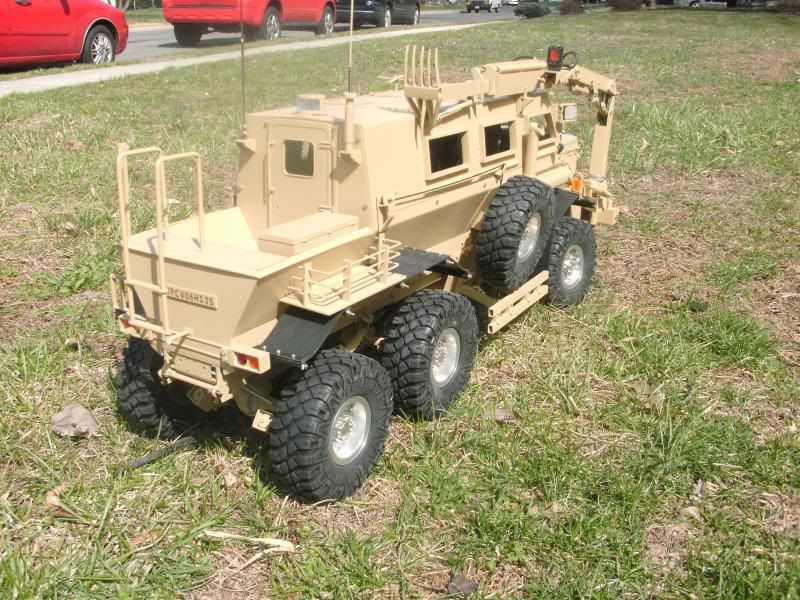
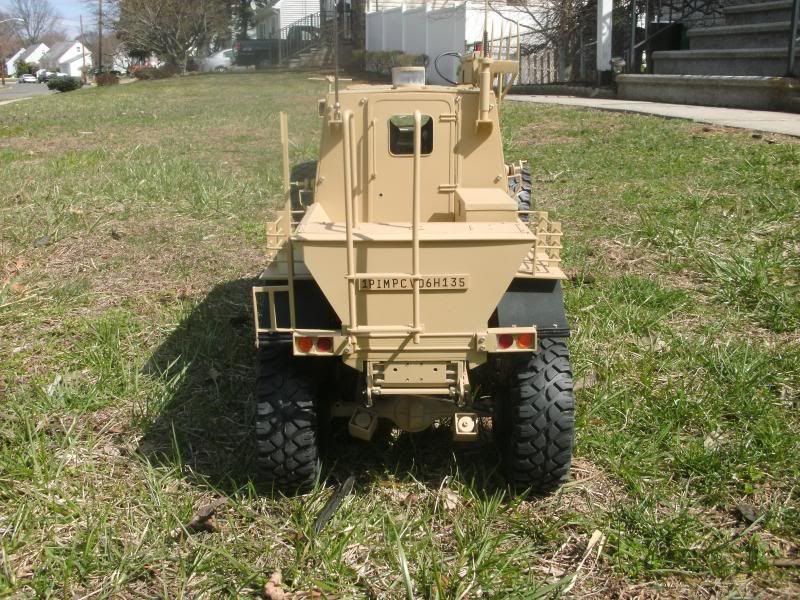
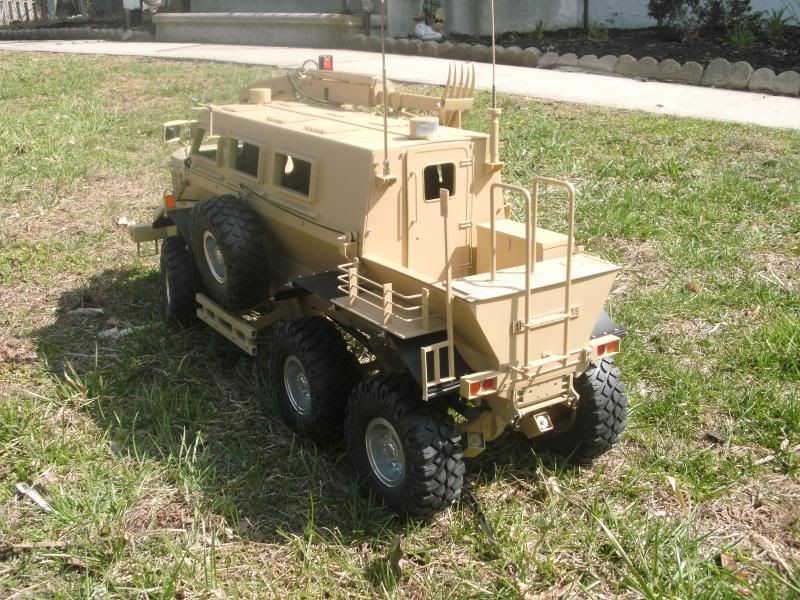


out door pictures , wahoo!!!


 09-20-2014, 07:21 PM
#40
Tech Regular
That's crazy dude! Thanks for sharing for real. Real pleasure to follow the thread.
09-21-2014, 04:25 PM
#41
Currently Active Users Viewing This Thread: 1 (0 members and 1 guests)
