18Likes
RSD RR12 12th Scale Pan Car Kit
 11-08-2015, 05:38 PM
#286

Got to run my V2 conversion today...
 11-09-2015, 10:44 AM
#288
I'm running 50 on the timing but I forgot rollout this weekend. I didn't bother with it because I was getting the car together. If I had to guess I'd say 86mm. I wish we had the old layout down on the track so I could truly compare the V2 to my RR12 custom, but so far it's ok. I'm happy that it's at least 20 grams lighter. What I'm not a fan of is the 2 piece bumper. It spaces the front mounts out further and alignment is easily messed up if you tap a board which can cause the front of the body to warp and drag in corners. This happened in the main when I had a brain fart when passing someone and tapped the board. After that my lap times were inconsistent. I prefer body mounts on the chassis. Plus you cannot use your original bodies. The holes are all in different locations. I was, however, using aluminum screws. I will switch to steel ones next time and add some foam. Other than that it's been an awesome smooth car. Couldn't be happier.
11-09-2015, 10:55 AM
#289
I think that is why the hole in the middle of the bumper is there. To keep it lined up by placing a set screw in the hole. The bumper was added to keep the front from digging in and dragging on bumpy tracks like ours. It enabled the chassis to be shortened on the front.
11-09-2015, 11:53 AM
#290
Brian is correct, you are missing the locating screw in the back of the bumper. This helps out quite a bit to keep it centered. you can use a set screw or a spec-r shoulder screw from the bottom or a button head from the top just threading in far enough to locate the bumper.
Additionally the holes were moved out because it increases the life on the bodies and protects the front end much more this way. Yes, it is a different location, but so are the rear holes (remember the pivots moved). Re-drilling or having to purchase a new body should not be deemed as a negative, but I guess you can't make a perfect car, as much as I try.
Additionally the holes were moved out because it increases the life on the bodies and protects the front end much more this way. Yes, it is a different location, but so are the rear holes (remember the pivots moved). Re-drilling or having to purchase a new body should not be deemed as a negative, but I guess you can't make a perfect car, as much as I try.
11-09-2015, 02:11 PM
#291
I was wondering about that 3rd hole since it wasn't countersunk. Makes more sense now. Thanks. As for the body mount location, just thought I'd mention it for those who are switching from V1 to V2. I just redrilled the front holes for a temp fix until my new body is painted for this weekends Toys for Tots race at MBR. It did move the body forward a few millimeters which gave me a little extra steering on my AMR yesterday. Still waiting on Cristain to get off his butt and get some more of his bodies made. 
11-09-2015, 03:45 PM
#292
On the bodies, you ain't the only one waiting. I'm sick of the protoform quality. I keep getting fender tears on them. I painted one and it ripped when simply scoring the wheel hole and compass then bending it. I was so pissed. Ripped a line (not a paint line score) about 2.5" long. It had an imperfection in the Lexan there that looked like a seam almost.
11-09-2015, 05:35 PM
#293
Brian is correct, you are missing the locating screw in the back of the bumper. This helps out quite a bit to keep it centered. you can use a set screw or a spec-r shoulder screw from the bottom or a button head from the top just threading in far enough to locate the bumper.
11-10-2015, 05:54 AM
#296
So I went and looked at mine last night after this and an M3 screw goes right through the holes. Maybe the one in the bumper is smaller (hard to tell if my screw went through both pieces since my transponder is mounted above the center hole) but the hole in the chassis is definitely 3mm.
11-10-2015, 02:20 PM
#299
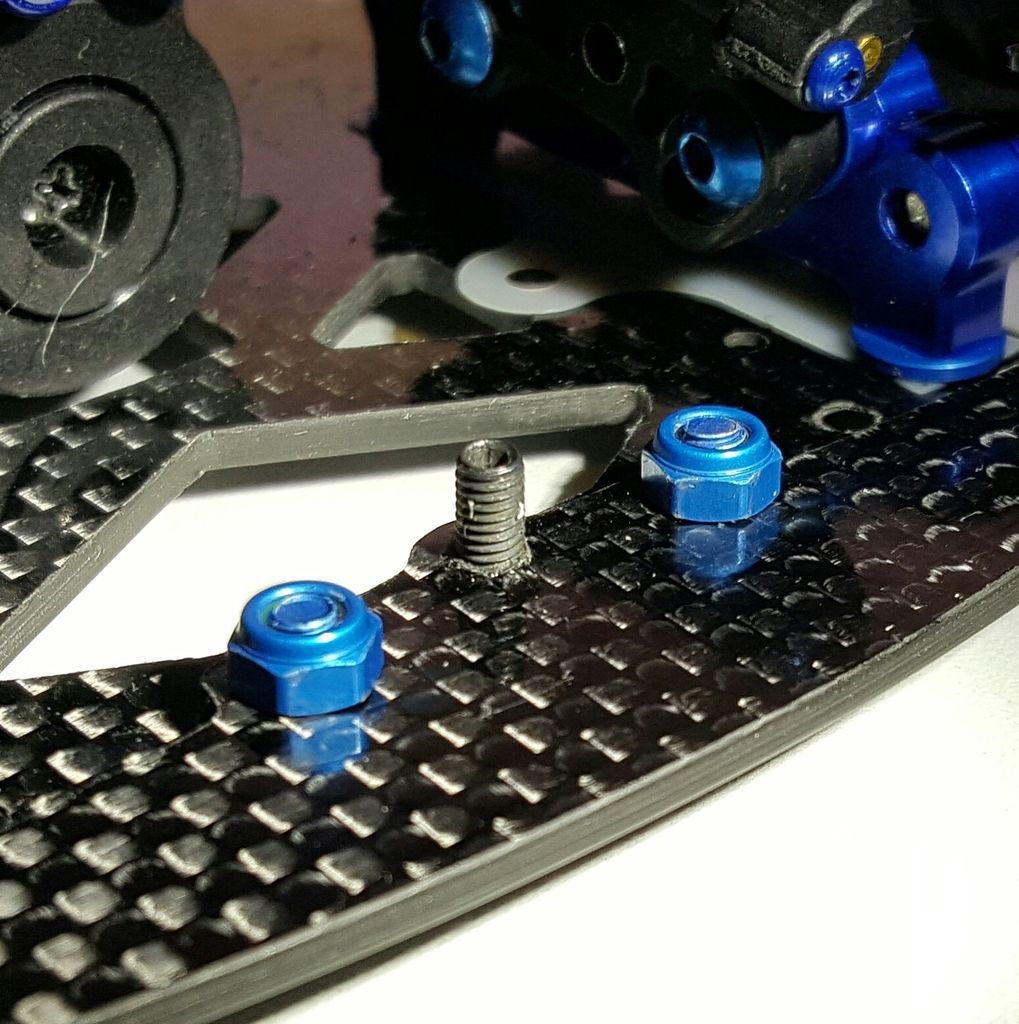
11-10-2015, 07:59 PM
#300
I'm awake! Here is my pic of the bumper. The alignment of the bumper now is super tight fitting. The set screw is long, but that's all I had laying around.