


 164Likes
Tamiya TB Evo 6

 01-15-2015, 01:15 PM
#872
Tech Apprentice
Have the servo at neutral position and I cant get it perfectly straight up?
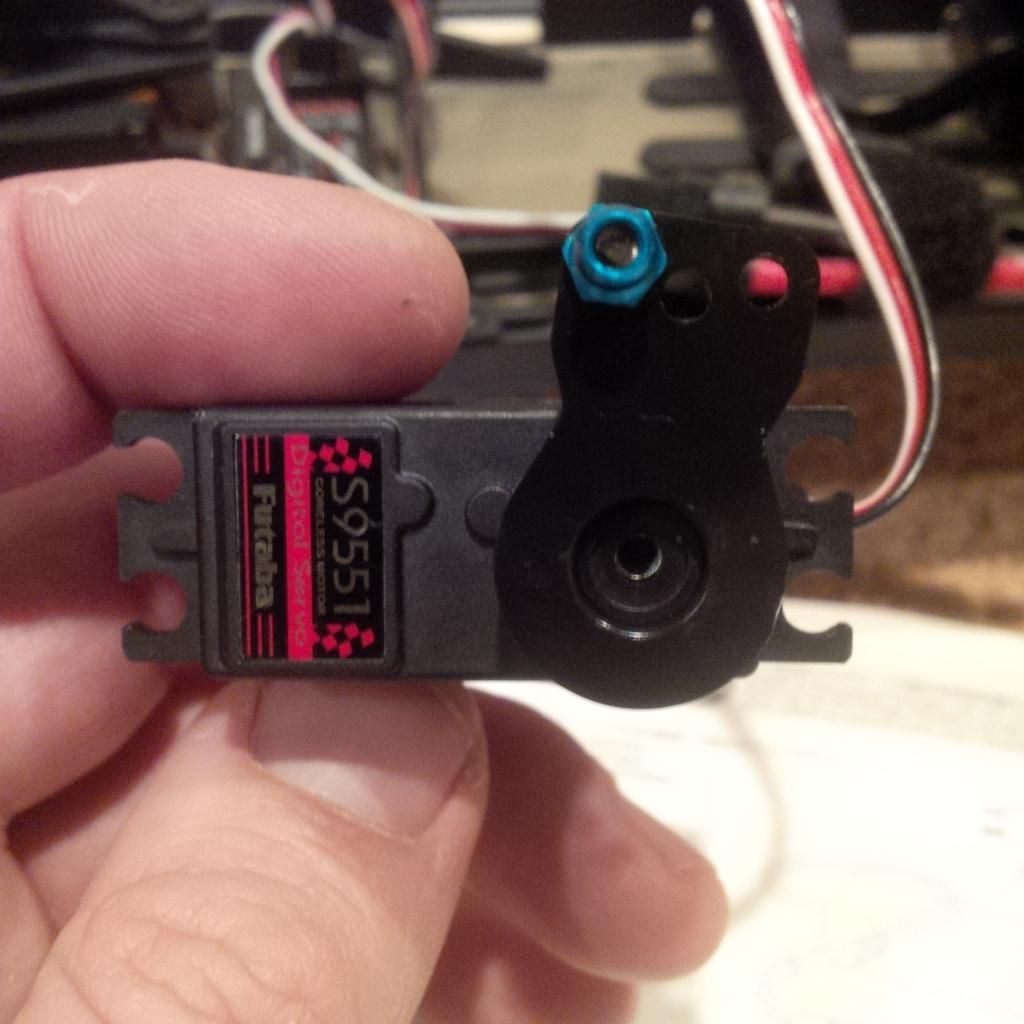
Should I put it left (in pic) or one notch to the right - cant get it straight so what's the preferred "bias"?

Should I put it left (in pic) or one notch to the right - cant get it straight so what's the preferred "bias"?
01-15-2015, 03:04 PM
#873

Servo arm should be perpendicular to rod at neutral point, otherwise steering rack travel won't be symmetrical.
01-15-2015, 04:37 PM
#874
Tech Apprentice
That's at neutral so could you suggest a solution? It would be impossible to get it perfectly perpendicular with this futaba 9551. Since the ball stud is straight up will it work as is in pic?
01-15-2015, 04:51 PM
#875
Put the servo in the car in the correct position, connect the rod (link) to the rack and adjust rod length such that at neutral, the servo arm will be perpendicular to the rod and only after that push the servo arm on the servo splines. It won't be anywhere near vertical as you try to have it.
01-15-2015, 04:58 PM
#876
You have to fiddle with the subtrim setting of your transmitter and the length of the servo linkage to get a symmetrical result.
As Niznai said, the idea is to have the imaginary line going from the center of the servo spline to the center of the ball stud on the servo arm, perpendicular with the linkage. Your steering bellcranks also have to be centered, obviously. Once this is done you should be pretty close to a symmetrical overall throw. From there you just fine tune for each side with the end-point adjustment.
As Niznai said, the idea is to have the imaginary line going from the center of the servo spline to the center of the ball stud on the servo arm, perpendicular with the linkage. Your steering bellcranks also have to be centered, obviously. Once this is done you should be pretty close to a symmetrical overall throw. From there you just fine tune for each side with the end-point adjustment.
01-15-2015, 05:50 PM
#877
Tech Apprentice
Thanks Niznai and heretic - just wanted to make sure I wasn't missing anything with the servo horn not being straight up.
The only other thing puzzling me is the "glass tape" for batt - I have some sticky tack to keep it from sliding but no tape in kit? What is everyone using to affix battery and how?
The only other thing puzzling me is the "glass tape" for batt - I have some sticky tack to keep it from sliding but no tape in kit? What is everyone using to affix battery and how?
01-15-2015, 11:00 PM
#878
Sliontec 19mm fibre tape.
You can get it branded as TRF, Hudy, Xenon etc etc.
ie: http://www.fast-webshop.com/tonisport/eshop/7-1-Xenon/27-2-Battery-Accessories-Tape/5/2109-Xenon-Battery-Tape-Blue
You can get it branded as TRF, Hudy, Xenon etc etc.
ie: http://www.fast-webshop.com/tonisport/eshop/7-1-Xenon/27-2-Battery-Accessories-Tape/5/2109-Xenon-Battery-Tape-Blue
01-15-2015, 11:34 PM
#879
Thanks Niznai and heretic - just wanted to make sure I wasn't missing anything with the servo horn not being straight up.
The only other thing puzzling me is the "glass tape" for batt - I have some sticky tack to keep it from sliding but no tape in kit? What is everyone using to affix battery and how?
The only other thing puzzling me is the "glass tape" for batt - I have some sticky tack to keep it from sliding but no tape in kit? What is everyone using to affix battery and how?
Either way, Futabas have 23 splines or 25? - either way, an odd number which means horns are bound to be centered to one side and off centre to the other side. I would hazard a guess this is by design, to create a finer adjustment when positioning the horn in situations where you can have it either way.
01-15-2015, 11:37 PM
#880
Tech Apprentice
Sliontec 19mm fibre tape.
You can get it branded as TRF, Hudy, Xenon etc etc.
ie: http://www.fast-webshop.com/tonispor...tery-Tape-Blue
You can get it branded as TRF, Hudy, Xenon etc etc.
ie: http://www.fast-webshop.com/tonispor...tery-Tape-Blue
01-15-2015, 11:40 PM
#881
Tech Apprentice
Sliontec 19mm fibre tape.
You can get it branded as TRF, Hudy, Xenon etc etc.
ie: http://www.fast-webshop.com/tonispor...tery-Tape-Blue
You can get it branded as TRF, Hudy, Xenon etc etc.
ie: http://www.fast-webshop.com/tonispor...tery-Tape-Blue
01-15-2015, 11:43 PM
#882
Tech Apprentice
Why do you care if it's vertical or not? The point is to move the rack symmetrically, and when it's vertical it doesn't.
Either way, Futabas have 23 splines or 25? - either way, an odd number which means horns are bound to be centered to one side and off centre to the other side. I would hazard a guess this is by design, to create a finer adjustment when positioning the horn in situations where you can have it either way.
Either way, Futabas have 23 splines or 25? - either way, an odd number which means horns are bound to be centered to one side and off centre to the other side. I would hazard a guess this is by design, to create a finer adjustment when positioning the horn in situations where you can have it either way.
Futaba is 25 spline and i'm good to go on that front now! Thanks man!
01-16-2015, 02:03 AM
#883
Same tape. Just 15mm and with a tamiya header card.
I think mine is 17mm actually.
01-16-2015, 07:12 AM
#884
Tech Apprentice
Did you guys find that you had to make your EPA uneven - ex. 81Left/97 Right to make it even travel?
I have the arm perpendicular but with EPA's at 100/100 starting point, full lock left was making the servo howl a bit wheras the right full lock was fine, hence the uneven adjustments to the endpoints.
If I put the servo "horn" one notch the other direction, it just reverses the "uneven" travel before for the howl and gets the servo arm OUT of perpendicular alignment
SO -- just confirming that the EPA's are normally different settings on an ON ROAD car like this? I'm trying to be as exact as possible, but not used to it from off road
Thanks again for all the help from the experts here
01-16-2015, 08:10 AM
#885
Tech Apprentice
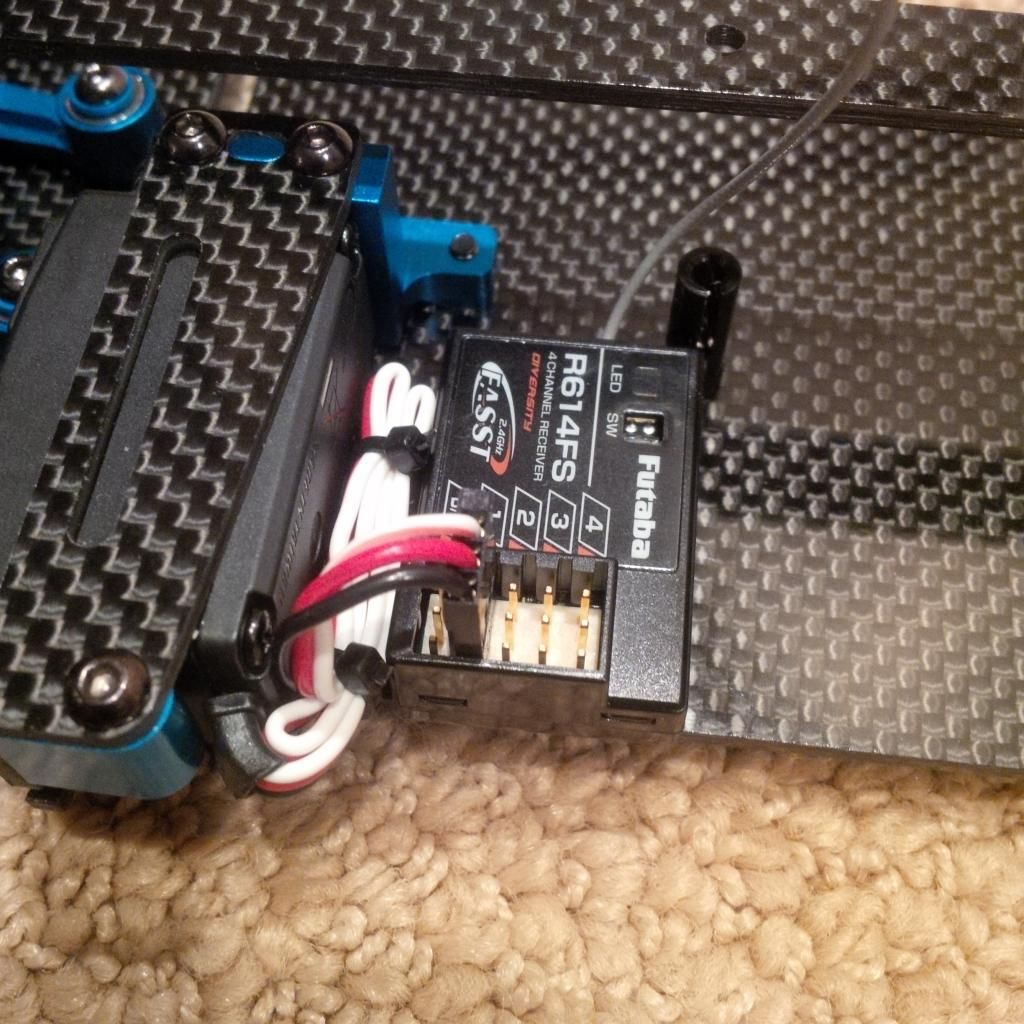
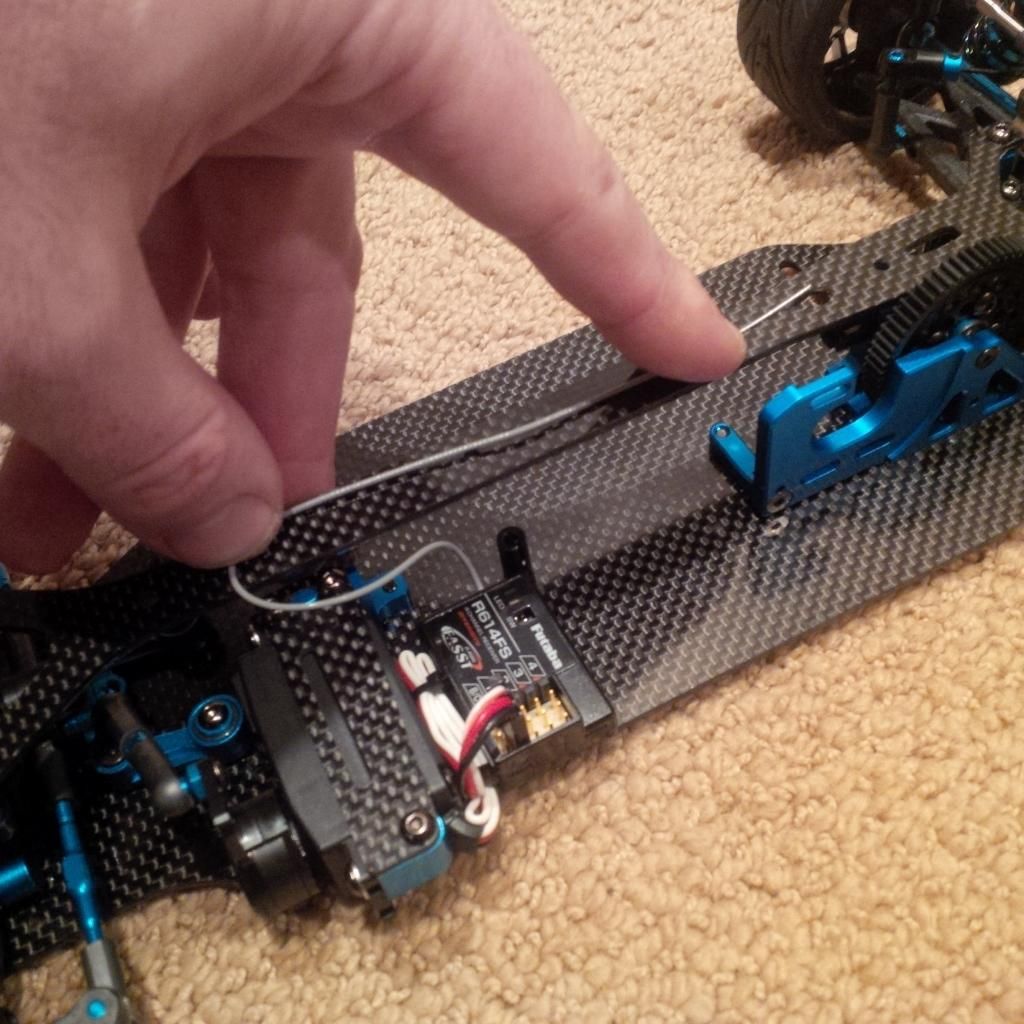
Antenna mounting --- the Rx (these are the only ones I use) has a 5-6 inch ant ----- should I zip tie in a tube on the top deck?
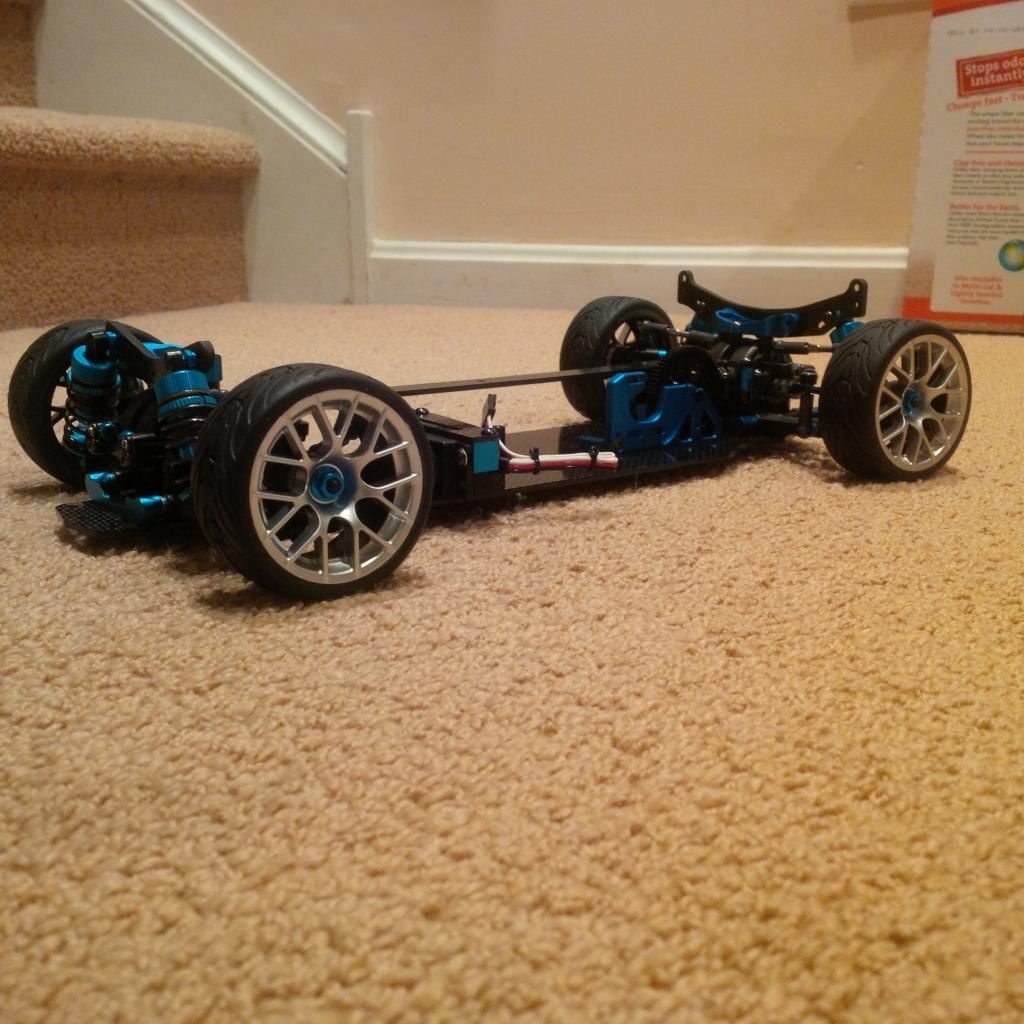
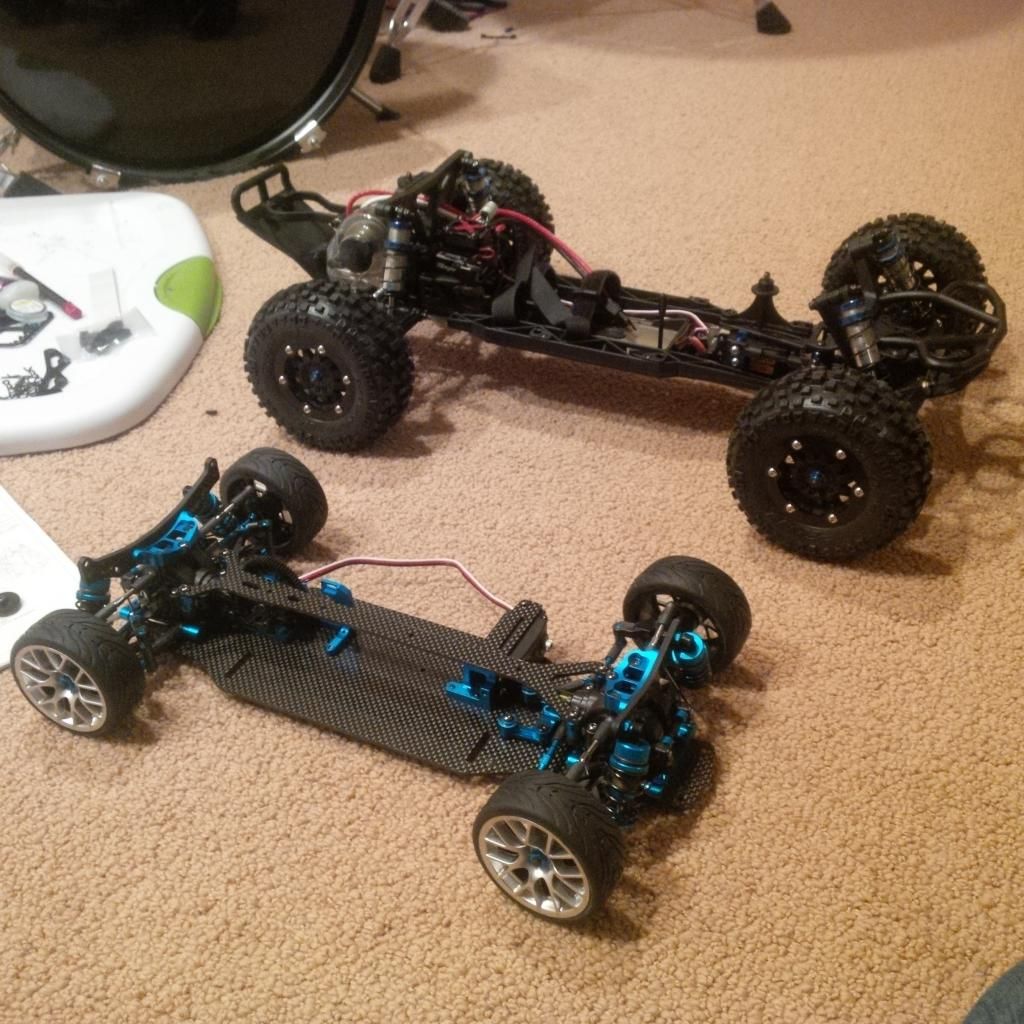
Some other pics too --- size comparo to my 1/10 Proline Pro2 Buggy -
I know, the treads are backwards
Some other pics too --- size comparo to my 1/10 Proline Pro2 Buggy -


I know, the treads are backwards

