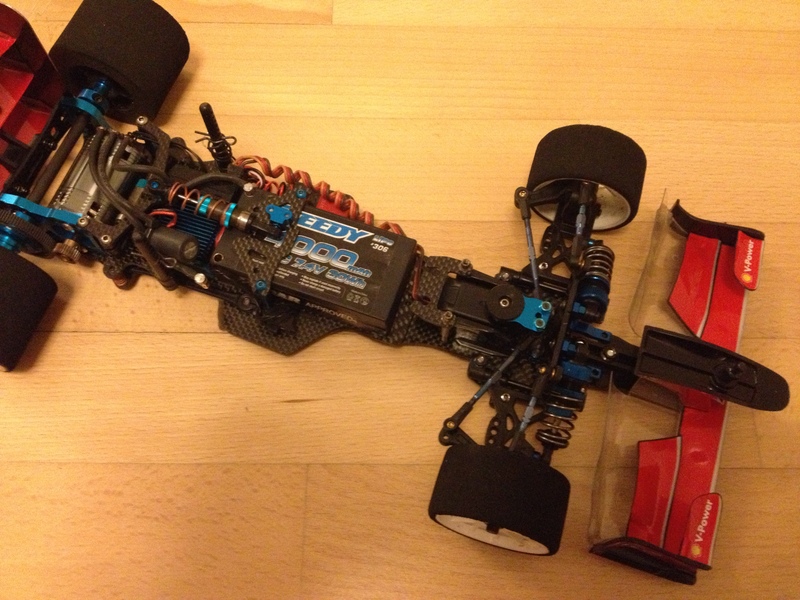
Tamiya F104 Version 2
#1412
Tech Fanatic
I think he is a little to extreme. The car is not that edgy if the setup is a little wrong. At least this is my experience. The strongest improvement with this chassis is a dampened front axle. Once you inert the axle the car can be driven much faster into the corner.
...just my two cents
...just my two cents
I tried everything to get some better handling and nothing helped to get the car better.
This when i was the fastest guy on the track if the race was on an indoor track.
I was very dissapointed about the V2 that i said to myself that i don't want to run an F1 anymore on an outdoor track.
The V2 is a dream car to drive on an indoor high grip track, but outdoor it isn't the best car when using foam tires.
This is my experience from this year at the tamiya races and i'm not the only one who's having problems to get the V2 with foam tires planted at the track.
Everybody i know who is driving the V2 with foam tires have been switching back to the F104 PRO or the X1 version.
#1414
I am quite happy with my F104v2 with foam tires on our low grip outdoor track. Of course it is only competitive to WGT with F103 rear tires and a good front suspension (and a good aerodynamic downforce).
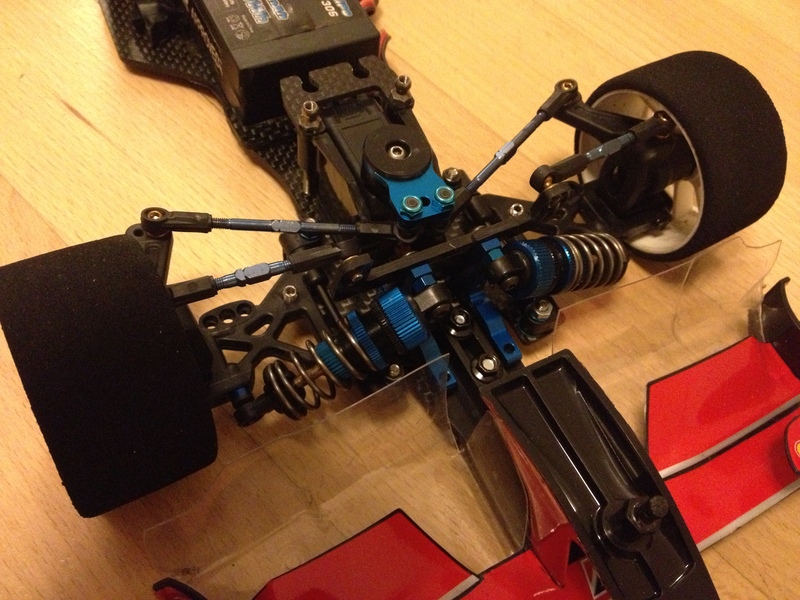
As we have more open F1 rules I decided for an easy coversation to better the front. I removed the original axle and mounted an adapted tc axle: http://www.rctech.net/forum/12439897-post9223.html
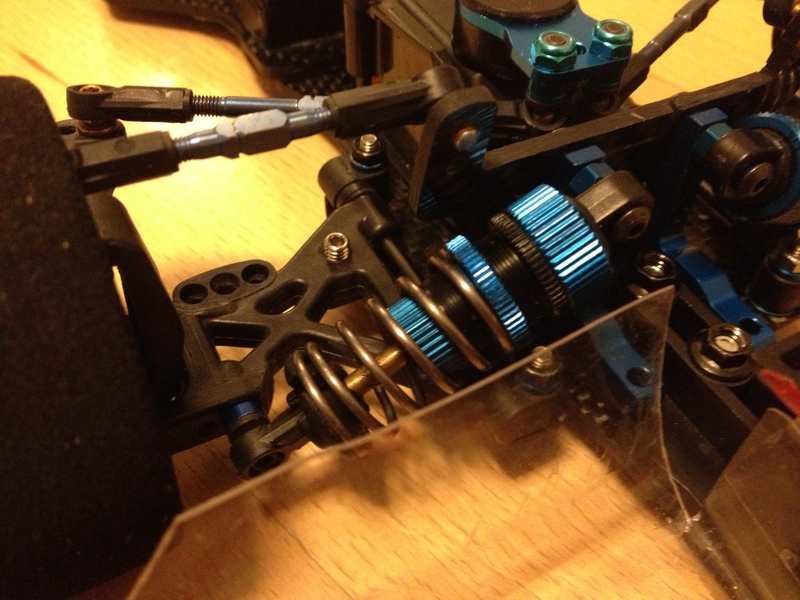
To inert the original axle you will need really short oil shocks or attach a piston which moves in grease at least. Then still the suspension geometry has potential...
#1416
No I haven't posted pics of the chassis yet. I will do so on sunday here 

#1417
Tech Master
iTrader: (41)
Look at my tight aluminum body posts!
I always had a loose body post that I had to tighten every other race. No more. Now I can tighten it without worrying about stripping the thread.

They are more like royal blue so the color does not match 100% with the tamiya parts but close enough. And the length was 40mm which was also very close to my trimmed plastic ones.
I always had a loose body post that I had to tighten every other race. No more. Now I can tighten it without worrying about stripping the thread.

They are more like royal blue so the color does not match 100% with the tamiya parts but close enough. And the length was 40mm which was also very close to my trimmed plastic ones.
#1418
Tech Fanatic
Look at my tight aluminum body posts!
I always had a loose body post that I had to tighten every other race. No more. Now I can tighten it without worrying about stripping the thread.

They are more like royal blue so the color does not match 100% with the tamiya parts but close enough. And the length was 40mm which was also very close to my trimmed plastic ones.
I always had a loose body post that I had to tighten every other race. No more. Now I can tighten it without worrying about stripping the thread.

They are more like royal blue so the color does not match 100% with the tamiya parts but close enough. And the length was 40mm which was also very close to my trimmed plastic ones.

The part nr is 53617 TA04 front aluminium body mount (65mm)
Or with part nr 53616 TA04 Front aluminium body mount (60mm) but these ones are anodised in grey
#1419
#1421
Tech Fanatic
Today i went to an indoor high traction carpet track and the V2 was just dialed, the car was absolutely very stable and quick.
The chassis carried good speed when turning in to corners, had a great time.
However i did blew up a Torque tuned brushed motor, after a long run of about 15 minutes (mostly at high speed) i meassured the internal temperature and it showed 203.6°c. Never thought it could become that hot.
After the motor blew up i switched to my dark titanium with a speed passion cirtix club stock esc with a V3 21.5T motor and it was just the same, great speed into the turns and also very stable.
I used the TCS tires, for sure the best combo on this track.
#1422
#1423
1. two tc shocks
2. the suspension parts for a front axle, TC6 style suspension mounts preferred
3. two bearing caps that carry the shock tower
4. M3 screws, nuts and ballstuds
5. a sheet of carbon fiber 2-3mm thick or similar
Measure everything to achieve the wanted width and wheelbase. Based on this cut the cfk-sheet and drill the holes for the suspension mounts. I recommend a paper model to check geometry before cutting the final shape. Make sure this plate will fit on the front between servo and front wing of your F104. Drill two 3mm holes in the middle part. These holes are used to attach the new axle to the car and to mount the bearing caps that later will act as mounts for the camber links and as shock tower. So make sure these bearing caps will sit in the right position to allow the shocks to work properly and to prevent great angles for the camber links. The shocktower will also be the mount for the camber links. Therefore again take measurements to achieve the wanted geometry before cutting. At this point it is important to position the holes for the shockmounts perfectly to match your shocklength and tire size! Get the screws ready and check what needs to be sunk. Don't forget the holes in the F104 chassis plate.
First attach the little shocktower to the bearing caps, add the shockmounts and ballstuds. Align the holes of the plate and the chassis and push two screws through them. Hold the screws in place and push the bearing cap-shocktower-unit over them. Now secure everything with the nuts. Attach the suspension mounts, arms and shocks and everything else.
Depending on your parts choice and shockangle you may need to remove material from your suspension arms.
That is in short how it basically works. If you want more info or detailpictures feel free to ask ...

#1424
Not sure how to change ride height on front end of VII? THANKS
#1425
Tech Fanatic
By adding spacers directly above or under the steering blocks you can change the front ride height.
But when you do so, check your front toe-in cause this will change a little bit when you change the ride height.
Hope this helps.
But when you do so, check your front toe-in cause this will change a little bit when you change the ride height.
Hope this helps.


 2Likes


