Go Back  R/C Tech Forums > General Forums > Electric Off-Road
Team Associated B6 & B6D thread >

Team Associated B6 & B6D thread

Like Tree649Likes

Team Associated B6 & B6D thread

    Hide Wikipost
Old 06-07-2017, 10:46 AM   -   Wikipost
R/C Tech ForumsThread Wiki: Team Associated B6 & B6D thread
Please read: This is a community-maintained wiki post containing the most important information from this thread. You may edit the Wiki once you have been a member for 90 days and have made 90 posts.
 
Last edit by: RCBuddha
Welcome to the B6 Wiki!

Quick links to all the sections on the first page!

Frequently asked questions - the most common questions you may have answered here!

Aftermarket Parts - parts for the B6 and B6D

Tech Tutorials- tuning guides, ball diff and shock building videos and tutorials

How to's and build-specific posts

Team Associated Laydown transmission conversion for B6D:
Laydown conversion

Instruction Manuals:

B6: B6 Manual and setup sheets

B6D: B6D Manual and setup sheets

How to Sand and Seal carbon fiber:
Sanding and sealing carbon fiber
Sanding and sealing carbon fiber 2
Sanding and sealing carbon fiber 3
Sanding and sealing carbon fiber 4

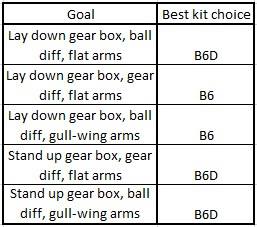
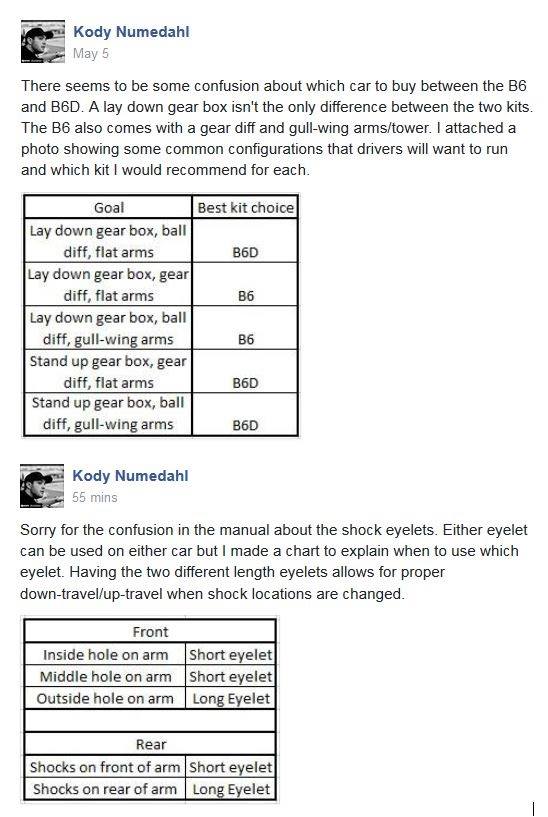
Charts for Quick reference:


1) put inner bearing in hub
2) slide large shim over axle all the way up to the back of the axle
3) slide axle/bone into hub carrier
4) slide small shim onto axle through hub carrier
5) push outter bearing into hub carrier

using that i'm able to put my normal male silverback gorilla wheel nut tightening job and there's no binding. in the pictures that come with the shims (the pic socket posted) it seems like they want you to slide both shims onto the axle before sliding the axle into the hub carrier and like i said, that doesn't work.


I've traditionally done the diff screw head on the left side (driver's side), but have since switched to the Right side (passenger side) regardless of transmission type (3 gear RM vs 3 gear MM and 4 gear MM).

Kdub (Kurt Wenger, former AE designer) had this to say on the matter:

Originally Posted by kdub
I think I count as an authority on the matter. I always run my diff screw on the right side (when sitting "inside" the car). I take off the tire and pull the outer hinge pin to get to the adjustment screw.

The right rear is the way the AE manuals state (or used to state). It really shouldn't matter since you go around turns both left and right.
B6D 3-gear:

Print Wikipost

Old 08-25-2016, 04:04 PM
  #2836  
Tech Initiate
 
Join Date: Dec 2015
Posts: 24
Default

The horn is about .5mm - .7mm too small by the looks of it. I can't even line it up for the screw.
microjam is offline  
Old 08-25-2016, 04:12 PM
  #2837  
Tech Adept
 
3n90t's Avatar
 
Join Date: Apr 2014
Location: Sydney
Posts: 125
Default

Originally Posted by mellow
I think the spline is just extremely tight fitting. It should go on there...now getting it off is another story.
Yeah, from My B5, B5M and B44.3, they are tight but they are right.
I find that it's better to install the blue collar on the horn, then gently press horn on the servo with a hobby vise or similar. To remove, I just use a flat screw driver to slowly yank out
3n90t is offline  
Old 08-25-2016, 04:40 PM
  #2838  
Suspended
 
Join Date: Aug 2016
Posts: 7
Default

Originally Posted by rvrslt1
I am having an issue with my car pushing real bad in the corners. What can be done to reduce this?
Adding front droop helped my push on my B6D.
Popcornfart is offline  
Old 08-25-2016, 06:45 PM
  #2839  
Tech Initiate
 
Join Date: Dec 2015
Posts: 24
Default

Hey I just wanted to follow up on the servo horn for "Futaba" thing. I finally hammered it down with a small mallet that has one plastic hammerhead, made for wristwatch band link adjustments (can't post photos yet, cuz too new here). I basically had to slightly ream a new spline grove in to the servo horn. I was able to remove it with needle nose pliers, just prying it off. All good now!
microjam is offline  
Old 08-25-2016, 07:06 PM
  #2840  
Tech Fanatic
iTrader: (24)
 
mellow's Avatar
 
Join Date: Aug 2009
Location: Central CA
Posts: 931
Trader Rating: 24 (100%+)
Default

Good to hear!
mellow is offline  
Old 08-25-2016, 07:12 PM
  #2841  
Tech Elite
iTrader: (45)
 
goehm's Avatar
 
Join Date: May 2010
Location: Northern VA
Posts: 2,765
Trader Rating: 45 (100%+)
Default

Originally Posted by timannnn6
Their site was hacked and the last backup they had was from November 2015. All new data gone.
Actually, lots is still there. If you go to the main page with setup links to all the brands/models you won't even see B6D.

However, you can go directly here and see B6 setups (as recent as 08/21/16):
http://site.petitrc.com/setup/associ...tedRC10B6.html
goehm is offline  
Old 08-25-2016, 07:18 PM
  #2842  
Tech Adept
iTrader: (14)
 
mick33b4's Avatar
 
Join Date: Dec 2012
Location: Metro Detroit, MI
Posts: 116
Trader Rating: 14 (100%+)
Default

Originally Posted by rvrslt1
Thanks for the help. Will try to turn a little more

3 gear lay down. Brass C mount AE front bulk head Gray front 32.5 oil 2x1.6 green rear 30wt oil green spring 2x1.7. Schelle rear hubs 22mm front and back ride. -1 camber front and rear. Clay track with proline electrons
Real close to Kurt's set up from Schelle

Thanks
Try lightening up the front spring. Go all the way down to green, and see how it feels. The pace the pros can push, plus the amount of brake they use in every corner makes their setup different than us mortals. Stiff front spring makes the car turn in harder, and easier/smoother to throttle steer out.

Adding weight can get you in to trouble too. Try going back to stock plastic. Between the 3 gear lay down, and extra front bulkhead weight, probably too much front weight bias for the grip the fronts can generate.
mick33b4 is offline  
Old 08-26-2016, 01:01 AM
  #2843  
Tech Elite
iTrader: (4)
 
ray_munday's Avatar
 
Join Date: Apr 2006
Location: Melbourne, Australia
Posts: 2,811
Trader Rating: 4 (100%+)
Default B6D Outdoor setups

Hi guys,

We have been working hard on low~med grip outdoor setups with the B6D in Australia and I've posted up some info on our latest setup sheet and what we have found. Any questions please ask.


http://www.rctech.net/forum/14637375-post1257.html

https://www.facebook.com/ray.munday/...55775313306959

Ray
ray_munday is offline  
Old 08-26-2016, 06:21 AM
  #2844  
Suspended
 
Join Date: Aug 2016
Posts: 7
Default

Originally Posted by psycho02
Any tips for associated x rings? Soak em? Slime em? Just put them in?
Kody says 30 minute soak. No slime.
Popcornfart is offline  
Old 08-26-2016, 07:41 AM
  #2845  
Tech Fanatic
iTrader: (11)
 
Orion_2kTC's Avatar
 
Join Date: Sep 2010
Location: Lincoln, NE
Posts: 942
Trader Rating: 11 (100%+)
Default

Edit: Running stock

I can't search via mobile, so sorry.

What's everyone running for a battery? I picked up a Reedy 5300 70C. It was recommended by a local pro driver on the basis that it will be more consistent throughout the run on the track. It is however 60 grams heavier than the 3900 mah counterpart.
Orion_2kTC is offline  
Old 08-26-2016, 07:45 AM
  #2846  
Tech Champion
iTrader: (170)
 
Matt Trimmings's Avatar
 
Join Date: Jun 2006
Location: Tucson AZ
Posts: 6,272
Trader Rating: 170 (100%+)
Default

Originally Posted by Orion_2kTC
I can't search via mobile, so sorry.

What's everyone running for a battery? I picked up a Reedy 5300 70C. It was recommended by a local pro driver on the basis that it will be more consistent throughout the run on the track. It is however 60 grams heavier than the 3900 mah counterpart.
Im running the protek 4250mah pack. It's a full size shorty. There is, imo, no need for the slim shorty packs in this car.
Matt Trimmings is offline  
Old 08-26-2016, 10:01 AM
  #2847  
Tech Prophet
iTrader: (84)
 
Wildcat1971's Avatar
 
Join Date: Apr 2012
Location: Arizona
Posts: 17,388
Trader Rating: 84 (100%+)
Default

Originally Posted by Popcornfart
Kody says 30 minute soak. No slime.
Socket, you made it back to rctech. nice
Wildcat1971 is offline  
Old 08-26-2016, 10:02 AM
  #2848  
Tech Fanatic
iTrader: (24)
 
mellow's Avatar
 
Join Date: Aug 2009
Location: Central CA
Posts: 931
Trader Rating: 24 (100%+)
Default

Anddd..gone
mellow is offline  
Old 08-26-2016, 11:09 AM
  #2849  
Tech Prophet
iTrader: (84)
 
Wildcat1971's Avatar
 
Join Date: Apr 2012
Location: Arizona
Posts: 17,388
Trader Rating: 84 (100%+)
Default

Originally Posted by mellow
Anddd..gone
Poor socket
Wildcat1971 is offline  
Old 08-26-2016, 12:14 PM
  #2850  
Tech Rookie
 
Join Date: Aug 2016
Posts: 18
Default

Planning to get a b6d. This is my first 10th scale 2wd buggy.

What are some basic must have upgrades to start? I'm planning to run stock class at ocrc. Anyone know how much weight savings the titanium screw set and the turnbuckles give?
M2126 is offline  

Thread Tools
Search this Thread

Contact Us - Archive - Advertising - Cookie Policy - Privacy Statement - Terms of Service -

Copyright © 2024 MH Sub I, LLC dba Internet Brands. All rights reserved. Use of this site indicates your consent to the Terms of Use.