TLR 22 3.0 Race Kit Thread!
|
|||
#2521
Any chance a carpet version will be offered in a complete kit form? I'll make do with the current 3.0 on carpet so I don't have much work to do when visiting clay tracks, but if a complete carpet kit were available for $330 or so, I'd buy it to have a dedicated carpet setup. It's a more difficult equation when a dedicated carpet rig would cost the normal $330 plus the carpet conversion. But maybe I need to decide how serious I am anyway... If I'm serious enough, cost won't matter 

#2522
#2523
Tech Initiate
I purchased the 22 3.0 after quite a few years out of the hobby and just started assembling it.
On step A-11 where ti calls for loctite on the bell crank steering, will the loctite ruin the bearings if it gets on them?
On step A-11 where ti calls for loctite on the bell crank steering, will the loctite ruin the bearings if it gets on them?
#2524
Have you done the step already or are you preparing to?
#2525
Tech Initiate
I'm guessing use a toothpick or something to put only a little on the part that it screws into (not sure the name of the part). It seems just using the supplied tube to apply it will put too much on it.
Was mostly curious to see if loctite would negatively affect the bearing, you would think the manual would have a warning or something there.
#2526
Most locktites are not like glue in that they only cure in the absence of air. If there is excess, you can just wipe it away.
#2527
Well I did it by putting one drop of loctite on the screws as depicted in the manual, but too much loctite fell onto the washer and bearing for my liking so I cleaned it off with brake cleaner right away.
I'm guessing use a toothpick or something to put only a little on the part that it screws into (not sure the name of the part). It seems just using the supplied tube to apply it will put too much on it.
Was mostly curious to see if loctite would negatively affect the bearing, you would think the manual would have a warning or something there.
-W
#2528
Tech Adept
Well I did it by putting one drop of loctite on the screws as depicted in the manual, but too much loctite fell onto the washer and bearing for my liking so I cleaned it off with brake cleaner right away.
I'm guessing use a toothpick or something to put only a little on the part that it screws into (not sure the name of the part). It seems just using the supplied tube to apply it will put too much on it.
Was mostly curious to see if loctite would negatively affect the bearing, you would think the manual would have a warning or something there.
I'm guessing use a toothpick or something to put only a little on the part that it screws into (not sure the name of the part). It seems just using the supplied tube to apply it will put too much on it.
Was mostly curious to see if loctite would negatively affect the bearing, you would think the manual would have a warning or something there.
I wouldn't expect blue loctite to absolutely ruin bearings...it breaks down into an almost powder-like substance under physical duress. That residue could be easily cleaned out.
That said, I doubt that getting loctite in your bearings is a great thing for them either.
#2529
Tech Initiate
Ok, so wiping any excess off the bearing should be good enough. Just being overly paranoid!
#2530
I use loc tite on my ball cups. They have never popped off.
#2532
Tech Adept
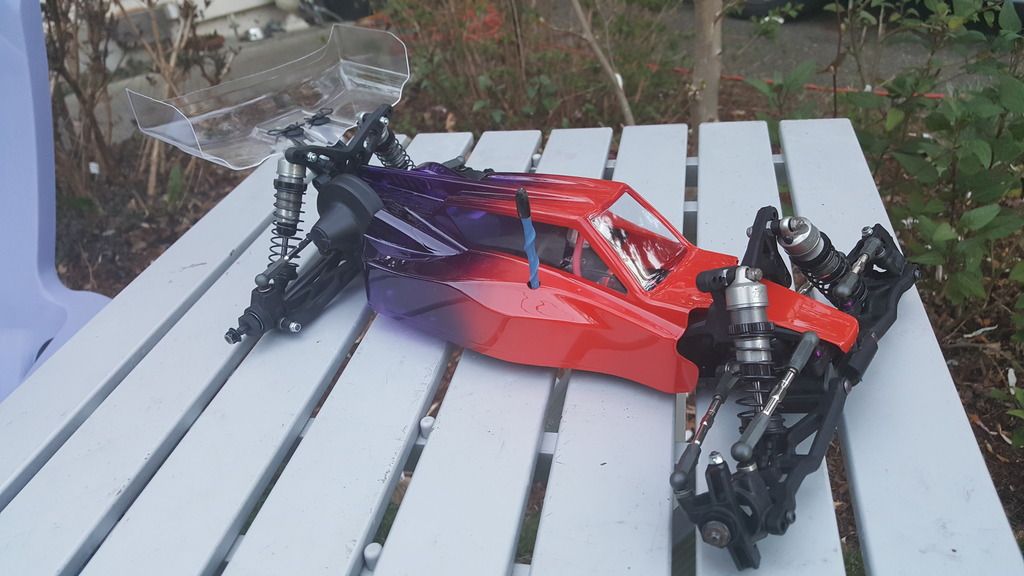
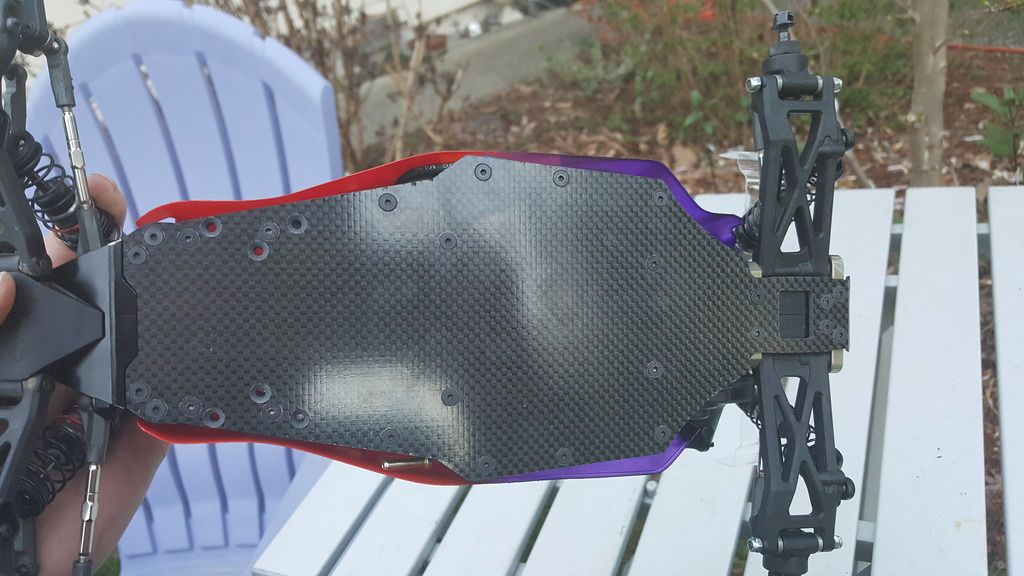
The yz2 body looks fantastic and with a little velcro will fit not too bad. Also thanks to rc10nick for the carbon fiber chassis, im currently working on my own design that can bolt in either a stock transmission or my low profile transmission that i have been working on.


Last edited by gokarter64; 04-02-2016 at 08:58 AM.
#2533
Tech Fanatic
iTrader: (15)
^ nice. i like that body. i also like the proline predator. i have one being painted now.
what does everyone recommend for a setup change for carpet? like from the box stock setup, what is everyone changing for carpet? i simply went a little lower. played with some shock oils but i have no concrete setup yet.
what does everyone recommend for a setup change for carpet? like from the box stock setup, what is everyone changing for carpet? i simply went a little lower. played with some shock oils but i have no concrete setup yet.
#2534
Tech Initiate
My 3.0 was put through the ultimate test yesterday, a 6hr carpet enduro and I'm glad to say we came out on top!
6hrs, 4 drivers, 3 sets of tires and over 1100 laps completed. We didn't have one single breakage the whole day (swapped to the new rear camber block before the meeting just in case). I also fitted those Kyosho diff O-rings to the losi gear diff before the event and after 6 hers all the fluid was still in the diff!
Car was super stable and easy to drive on everything from new right down to bald tyres. The rear tire wear was amazing. Running yellow Schumacher mini pins, after 2hrs they looked like they could still have done another 45mins. The fronts on the other hand were not so good. We ran 6mik's and they were completely smooth after their 2hr stints (will be looking to make some setup adjustments to try fix this).
(can't get PDF small enough to upload) Here's my setup sheet for anyone interested. Track surface is a longish pile carpet that provides extremely high grip. The track was quite tight and our jumps are small-medium size square wooden ones so not very forgiving at all.
#2535
Tech Fanatic
iTrader: (15)
My 3.0 was put through the ultimate test yesterday, a 6hr carpet enduro and I'm glad to say we came out on top!
6hrs, 4 drivers, 3 sets of tires and over 1100 laps completed. We didn't have one single breakage the whole day (swapped to the new rear camber block before the meeting just in case). I also fitted those Kyosho diff O-rings to the losi gear diff before the event and after 6 hers all the fluid was still in the diff!
Car was super stable and easy to drive on everything from new right down to bald tyres. The rear tire wear was amazing. Running yellow Schumacher mini pins, after 2hrs they looked like they could still have done another 45mins. The fronts on the other hand were not so good. We ran 6mik's and they were completely smooth after their 2hr stints (will be looking to make some setup adjustments to try fix this).
(can't get PDF small enough to upload) Here's my setup sheet for anyone interested. Track surface is a longish pile carpet that provides extremely high grip. The track was quite tight and our jumps are small-medium size square wooden ones so not very forgiving at all.
6hrs, 4 drivers, 3 sets of tires and over 1100 laps completed. We didn't have one single breakage the whole day (swapped to the new rear camber block before the meeting just in case). I also fitted those Kyosho diff O-rings to the losi gear diff before the event and after 6 hers all the fluid was still in the diff!
Car was super stable and easy to drive on everything from new right down to bald tyres. The rear tire wear was amazing. Running yellow Schumacher mini pins, after 2hrs they looked like they could still have done another 45mins. The fronts on the other hand were not so good. We ran 6mik's and they were completely smooth after their 2hr stints (will be looking to make some setup adjustments to try fix this).
(can't get PDF small enough to upload) Here's my setup sheet for anyone interested. Track surface is a longish pile carpet that provides extremely high grip. The track was quite tight and our jumps are small-medium size square wooden ones so not very forgiving at all.
Can you help me with mine. I ran it on carpet today and I was getting a slight push. Other than that it handled very well, I was in love.
My setup was as follows...
Setup - box stock w/ some changes and upgrades...
- 19mm ride height
- 32.5wt rear shock oil
- 30wt front shock oil
- Serpent SRX2 gear diff (2 gear, 15k oil)
Tires:
- Schumacher mini pin 2 (blue for practice w/ med inserts)
- Schumacher low pro cut stagger (no insertcs, cut wheels)
Power/electronics:
- 7.5t Trinity d4
- Tekin rsx
- Ko propo kr413fh
- 81t spur, 17 tooth pinion
- Avid triad slipper
- Trinity revtek 5000mah shorty (all the way forward)
- Spektrum s6270 servo
Upgrades:
- TLR alu hubs
- TLR alu hexes
- TLR alu front axles
- TLR low pro serrated wheel nuts
- Exotek alu front camber
- Exotek alu servo mounts
- Exotek alu steering rack
- TLR ti turnbuckles
- Lunsford ti ball studs
- Lunsford ti shock standoffs
- Schumacher alum nuts
Last edited by lyons238; 04-03-2016 at 06:40 AM.


 26Likes


