


X-Ray 808e by "targetingxmod"
 11-25-2014, 01:37 AM
#31
Tech Elite

Thread Starter
Time to check the other diffs...
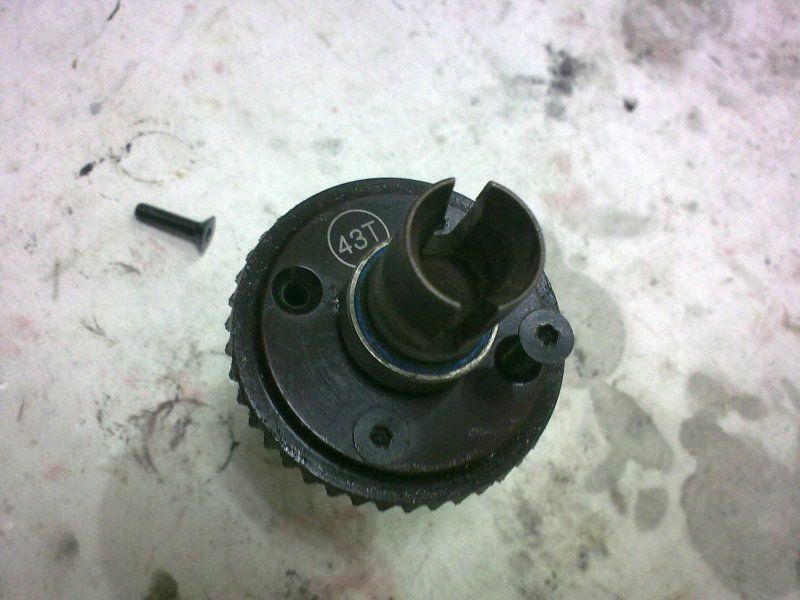
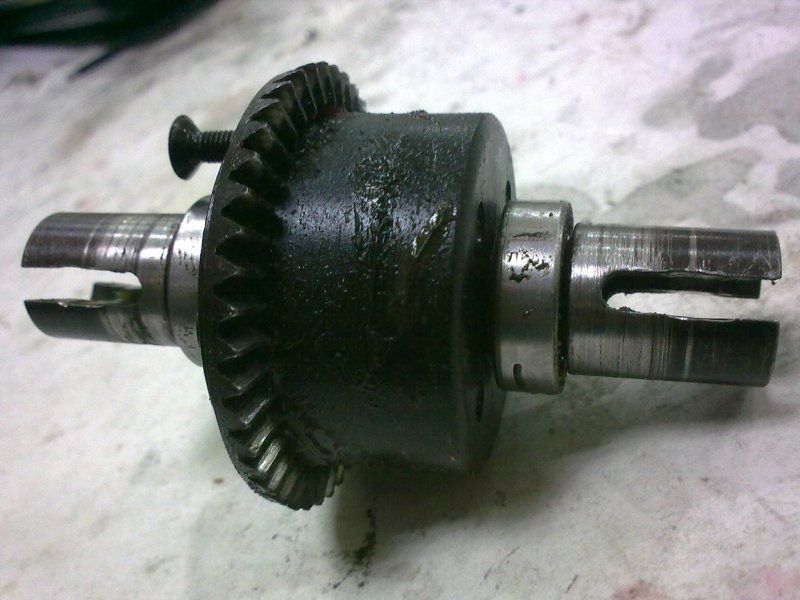
-Rear diff, out!
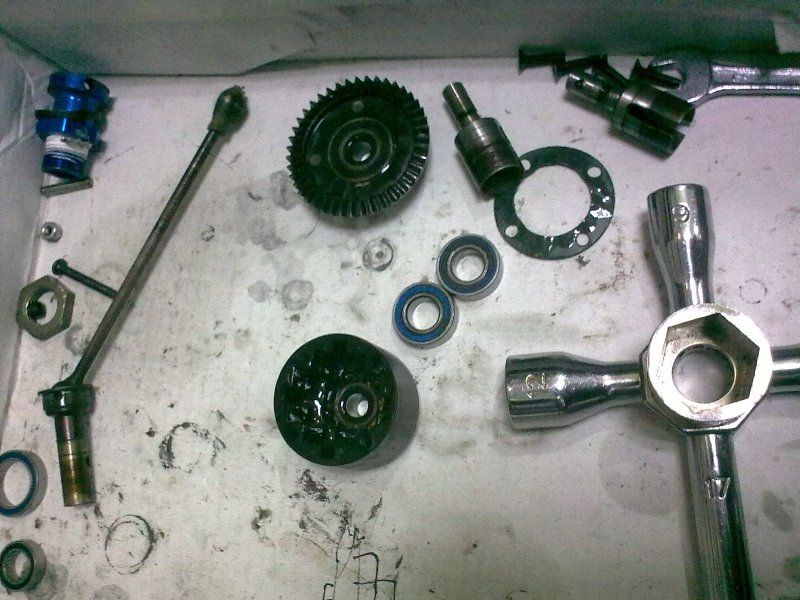
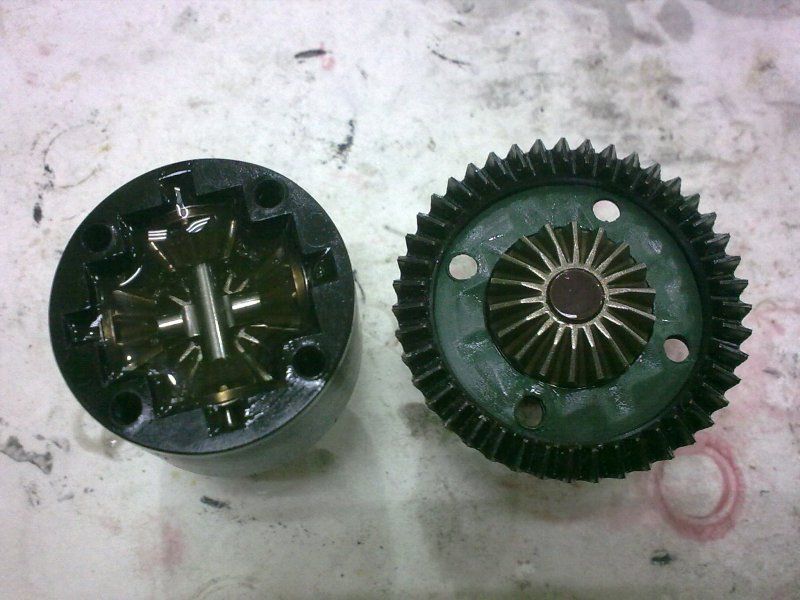
-Open, clean, relube!
-Ring pinion bearings greased!
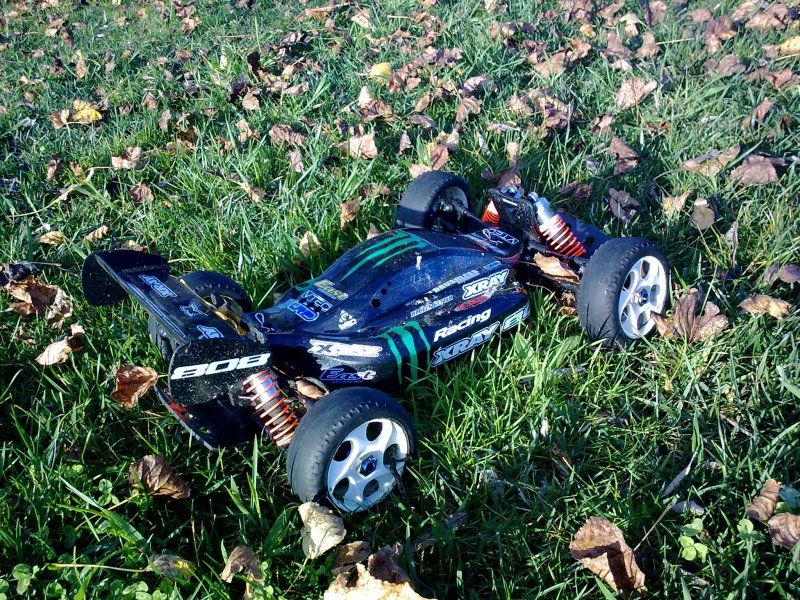
Ready for some bash...


-Rear diff, out!


-Open, clean, relube!

-Ring pinion bearings greased!
Ready for some bash...


| + YouTube Video | |
 11-25-2014, 02:44 AM
#32
You need some of those fake buggy badlands on there, will rip up the grass and have your car stay not so clean  .
.
.
11-25-2014, 04:05 AM
#33
Tech Elite
Thread Starter
And i got some tire in the "looks" for it! Just need to wait for money fall of the tree
 11-25-2014, 04:23 AM
#34
Bring me some of those trees
01-07-2015, 06:46 AM
#35
Tech Elite
Thread Starter


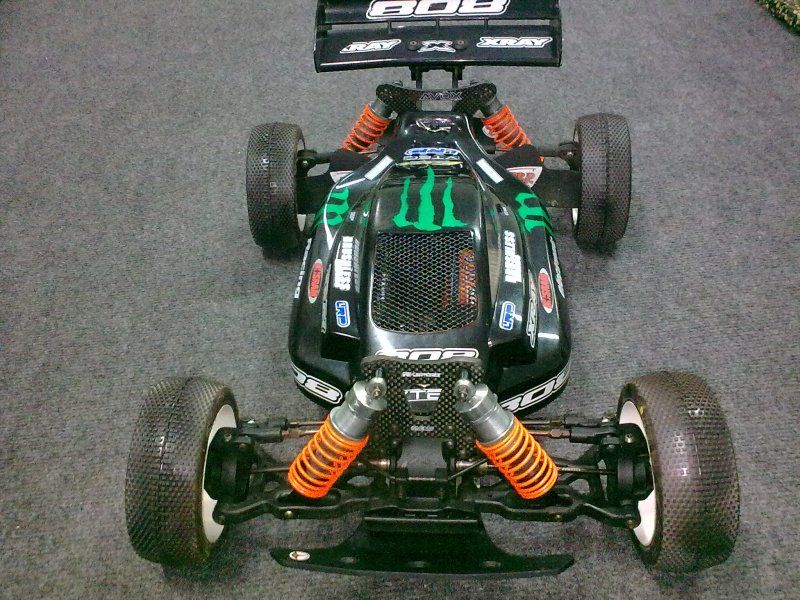
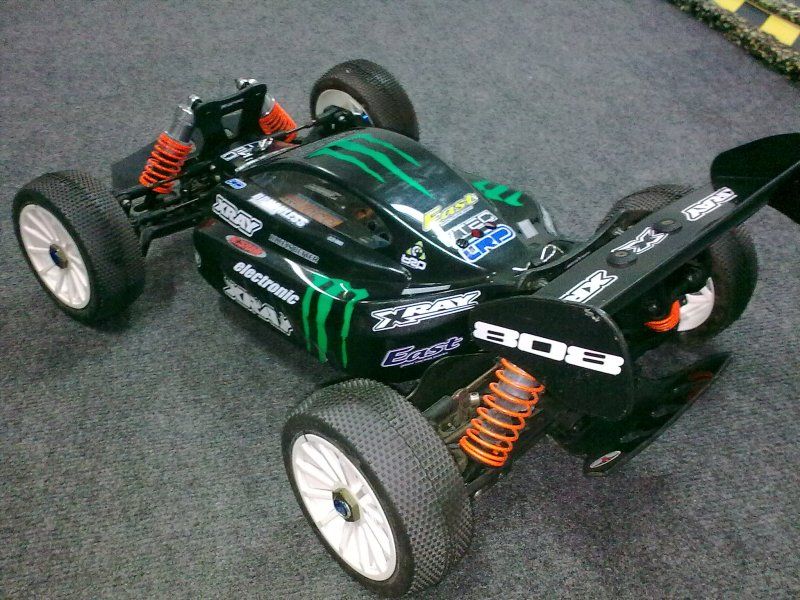
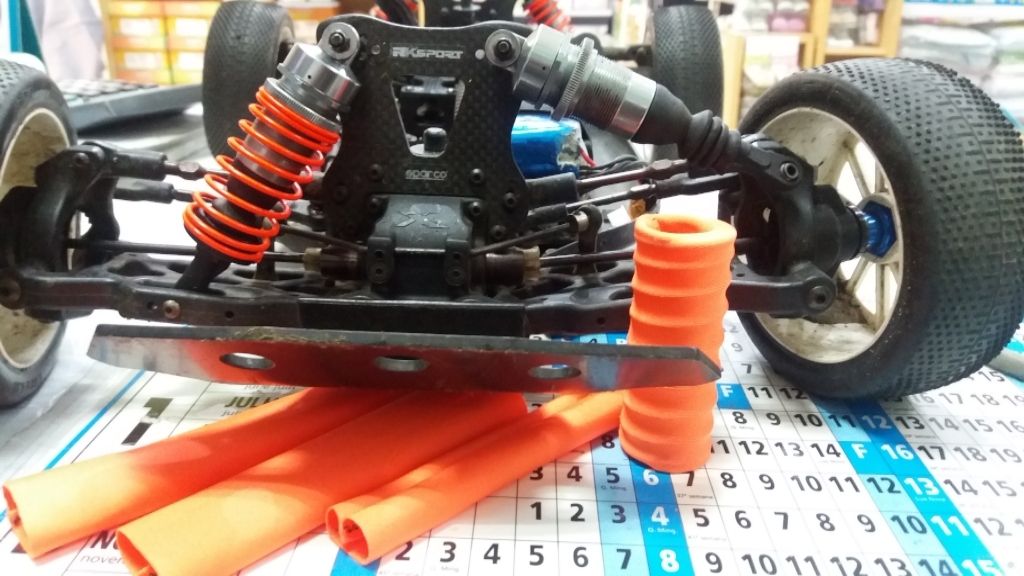
-New shoes and a new wheel balancer from TrackStar for 11 euros!
-Tires are Pro-Line Hole Shot M2 that were on sale for 8.90euros a pair in my LHS.
The plasticine i used from my son's work school! Let's hope she stays in there when the rc in playing!
01-07-2015, 07:55 AM
#36
Cool, it's a nice and simple balancer and really helps keeping vibrations down.
Does yours work well like that? I need to mount the wheels the other way around, with the inside out, so that red adaptor thing goes in the hole of the wheel and the chrome nut locks the wheel from the inside of the hex... Or maybe I just don't get the design.
Does yours work well like that? I need to mount the wheels the other way around, with the inside out, so that red adaptor thing goes in the hole of the wheel and the chrome nut locks the wheel from the inside of the hex... Or maybe I just don't get the design
.
01-07-2015, 10:53 AM
#37
Tech Elite
Thread Starter
Since there is no instructions... there are various ways of doing the same way.
Youtube videos show's what you are saying but for me i don't get it, i get it work like the pics i show.
In my opinion there is various ways of doing the same thing.
Not saying mine is right or wrong!
Youtube videos show's what you are saying but for me i don't get it, i get it work like the pics i show.
In my opinion there is various ways of doing the same thing.
Not saying mine is right or wrong!


Last edited by targetingxmod; 01-07-2015 at 12:50 PM.
03-15-2015, 02:32 PM
#38
Tech Elite
Thread Starter

Last edited by targetingxmod; 03-22-2015 at 02:22 PM.
03-22-2015, 11:58 AM
#39
Tech Elite
Thread Starter
12-11-2015, 07:50 AM
#40
Tech Elite
Thread Starter
Shock's revision!
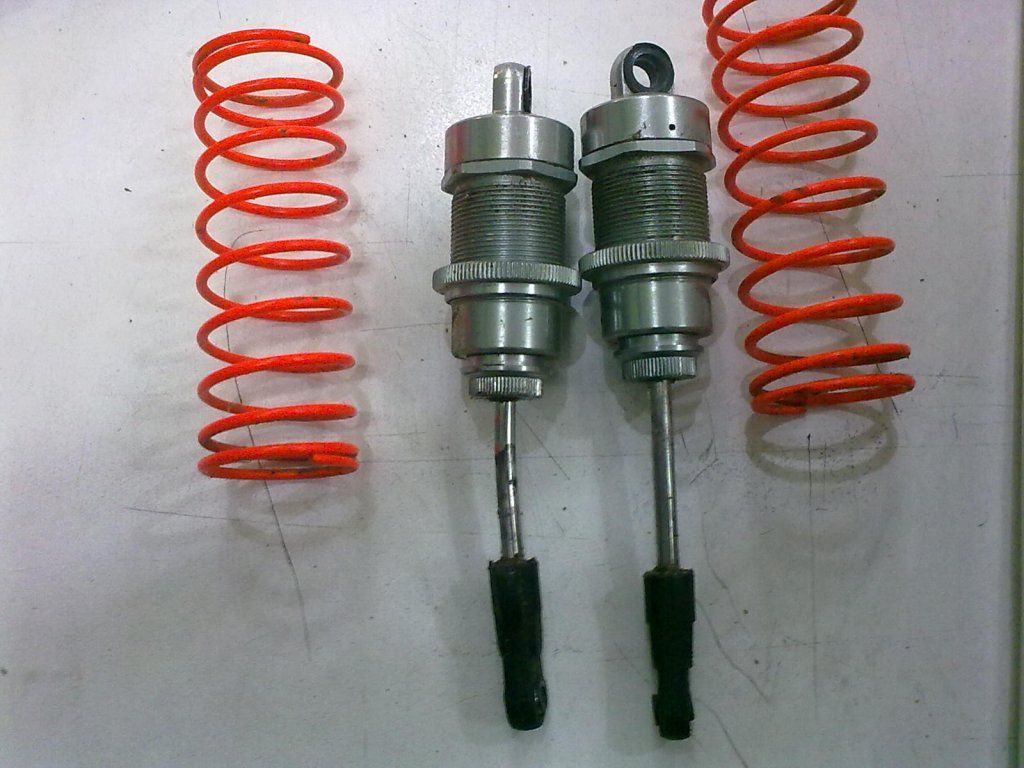
-There was one crooked shaft! An hammer and a plier, and it's straight again!
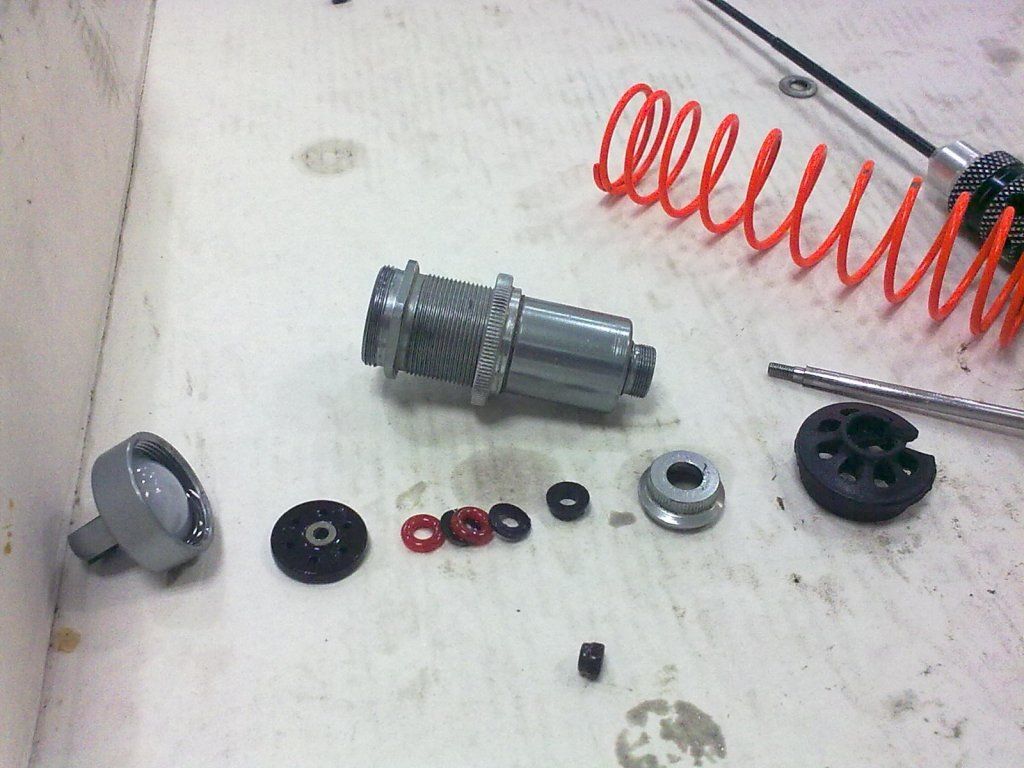
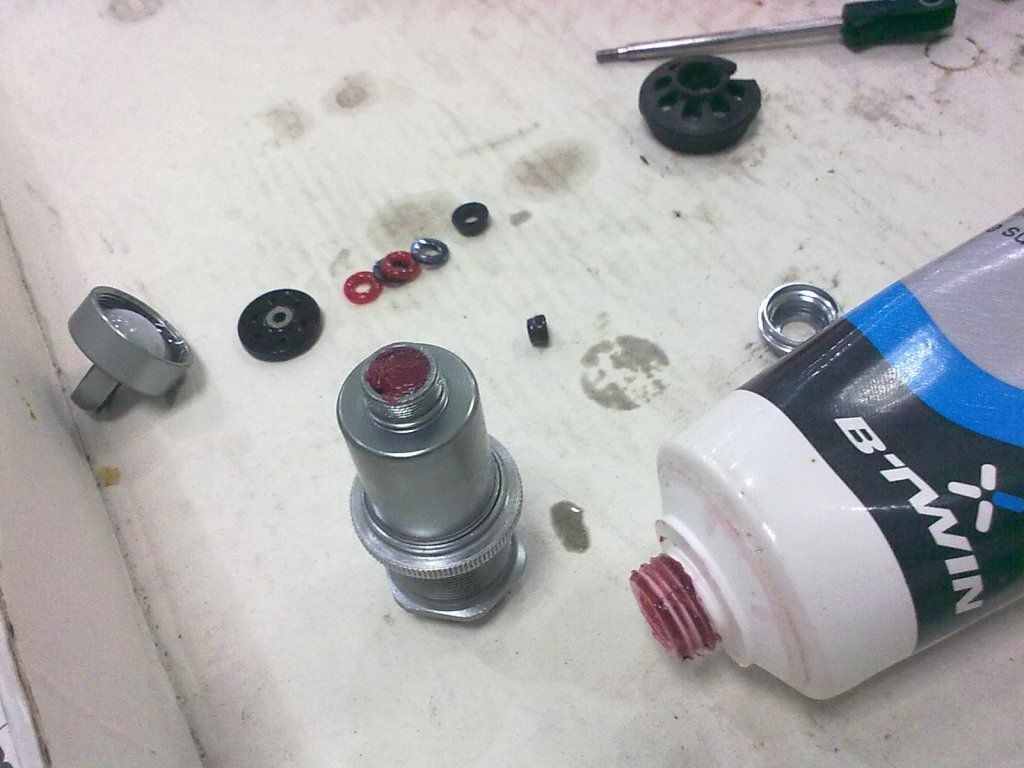
-Orings grease... wrong,right? It slide's better!
-Spring only, no shock oil inside it!
-After the clean, this is how the shocks oil's was!
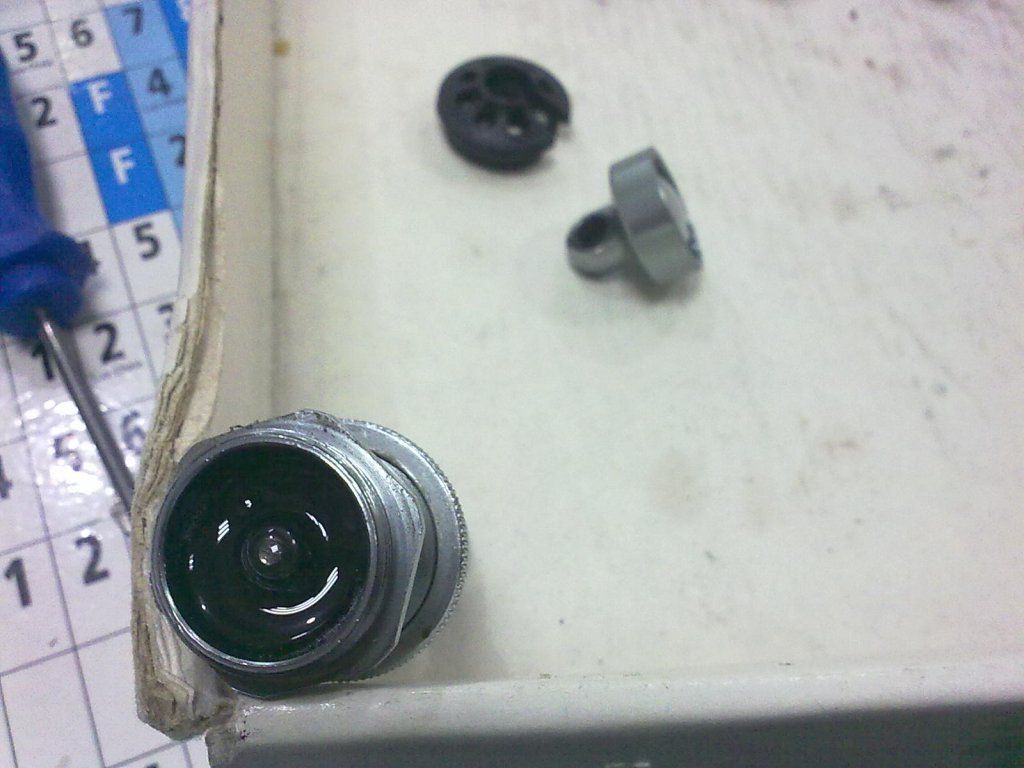
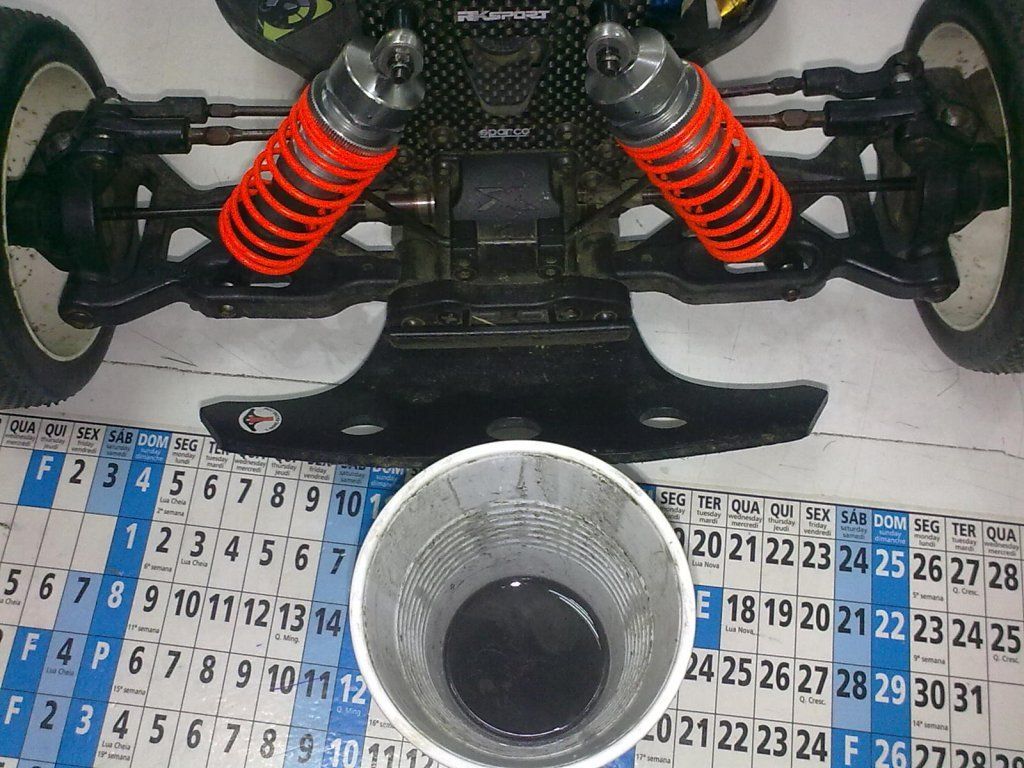
And now after clean, new socks! :P

-Keeps dirt out of shock shafts!

-There was one crooked shaft! An hammer and a plier, and it's straight again!


-Orings grease... wrong,right? It slide's better!
-Spring only, no shock oil inside it!


-After the clean, this is how the shocks oil's was!
And now after clean, new socks! :P


-Keeps dirt out of shock shafts!
12-23-2015, 03:57 AM
#41
Tech Elite
Thread Starter
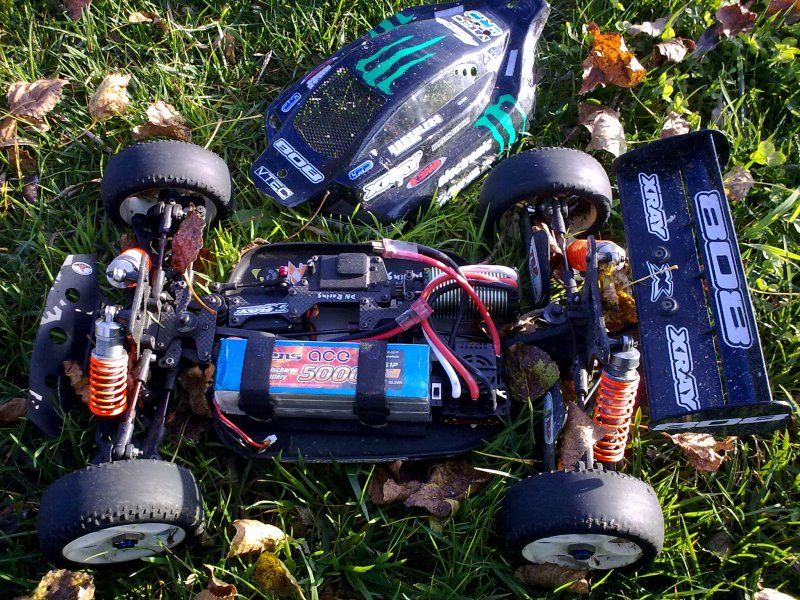
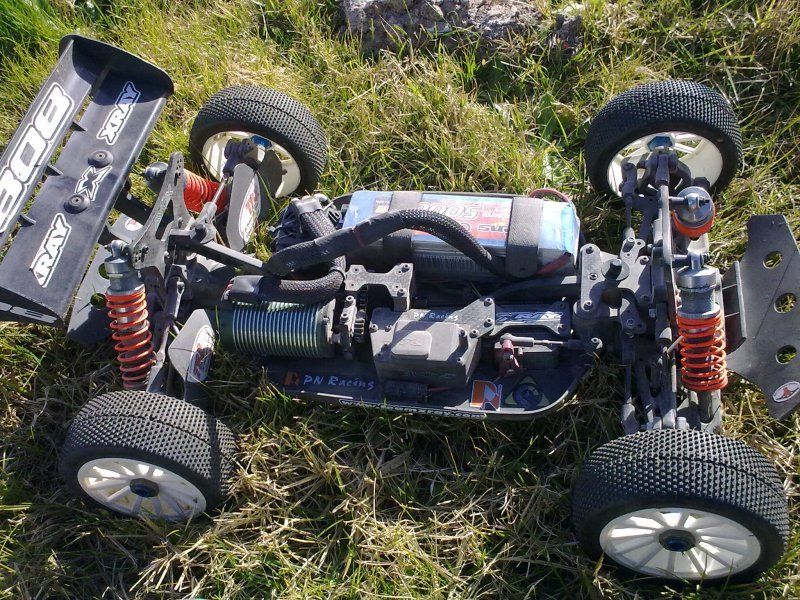
So a couple of more things done to it...
Tested it's speed:
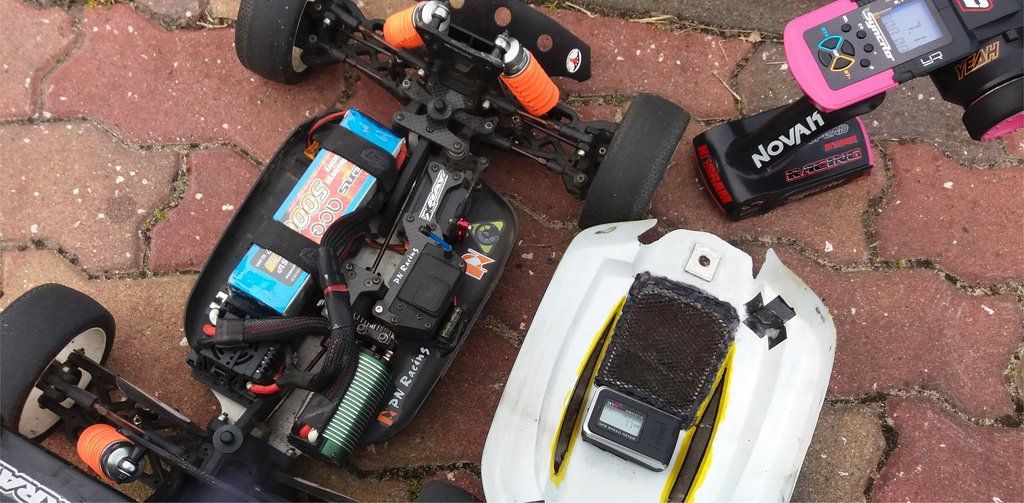
-77kmh!
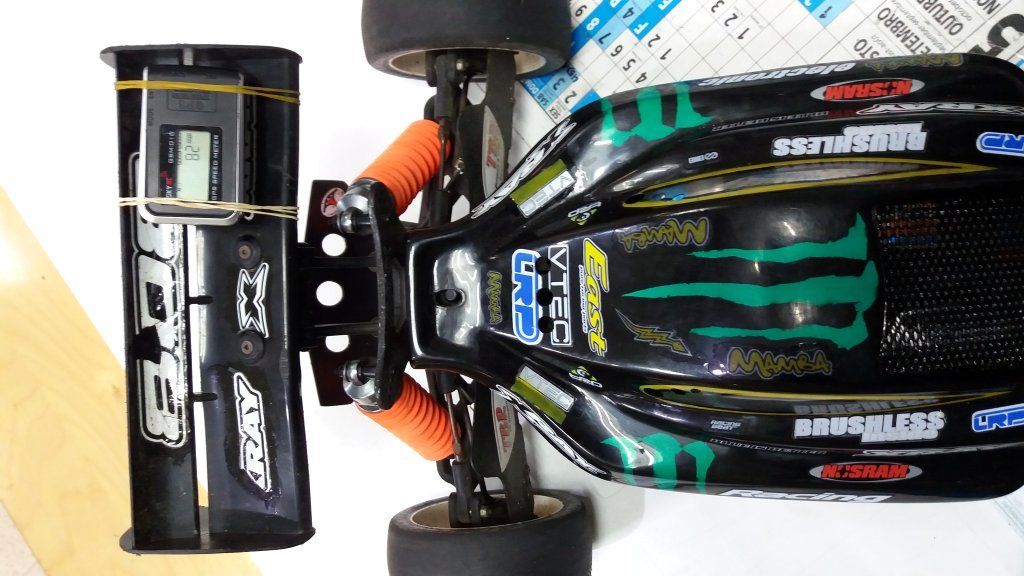
-82kmh!
And then after some use, it broked a pinion tooth!
Some Wd40 on the screw's... and i had a rotten screw... grrrr
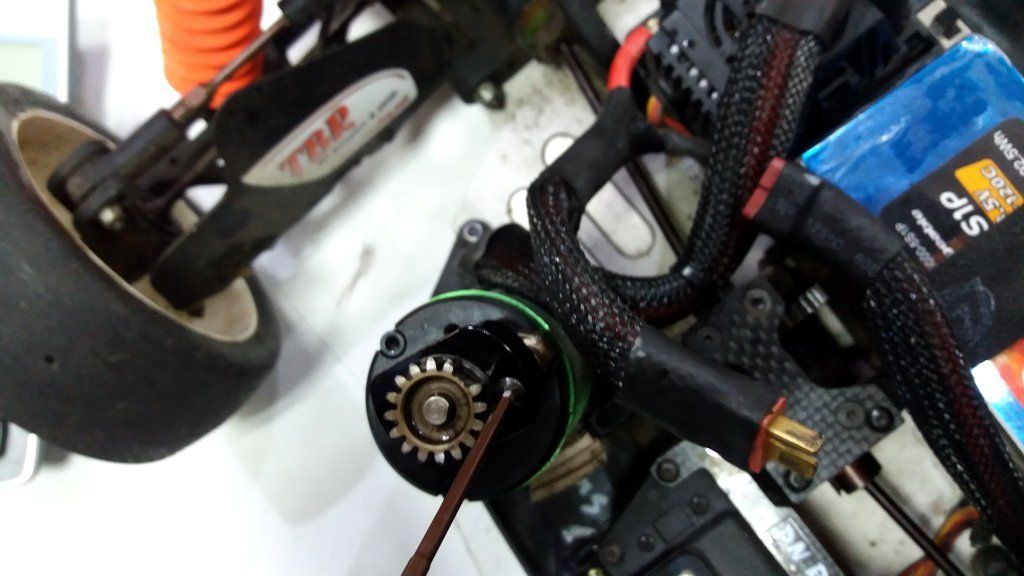
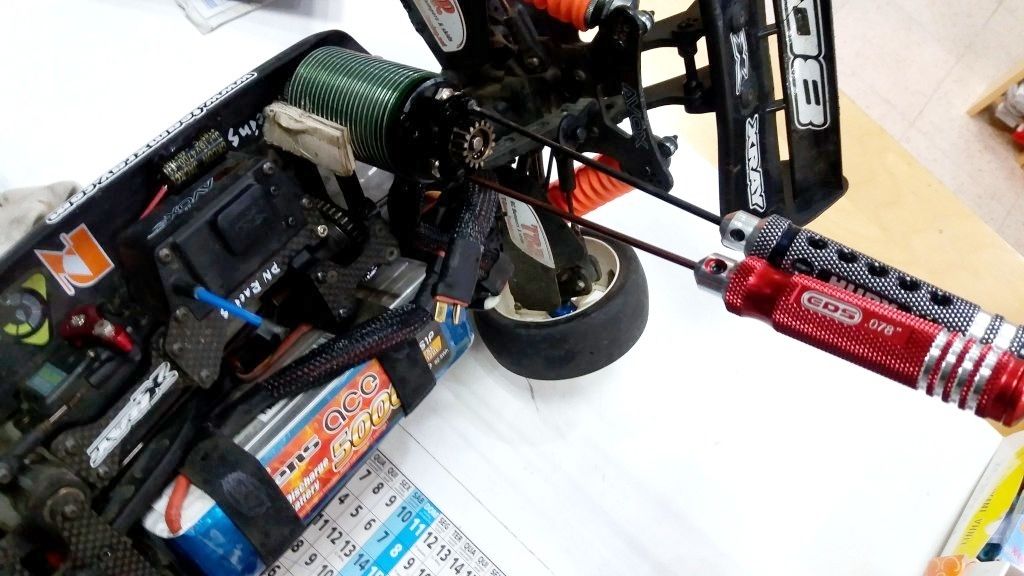
-Used an american hex 0,078" that grabbes better on the rotten hex of the screw and lickly it pulled out without ruin the motor mount with the dremel to flat a head on the screw to remove! The pinion only got out by heating up to melt the loctite glue! Nothing big deal, but good to know!
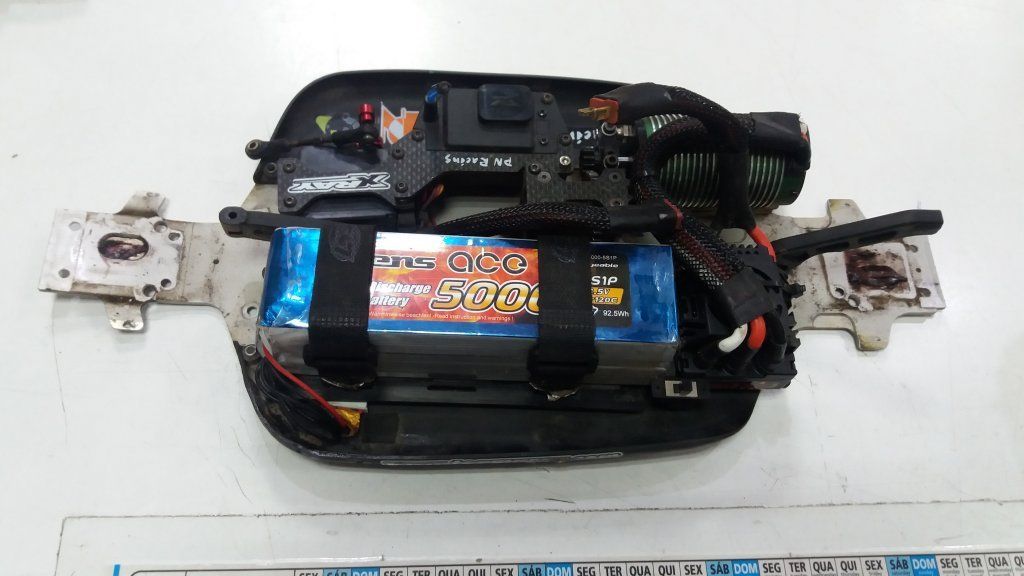
Then it was time to atack the pins on the central shafts....since i bought it on second hand that they were wear out, but i still use it...cause i haven't the tools or knowlodge to remove old and put new!... And not buying new CVD's cause those ones are in perfect shape, less the pins! lol

-Used some 2,9mm from my mp9e to pull them since they are 3mm....
Tested it's speed:

-77kmh!

-82kmh!
And then after some use, it broked a pinion tooth!
Some Wd40 on the screw's... and i had a rotten screw... grrrr


-Used an american hex 0,078" that grabbes better on the rotten hex of the screw and lickly it pulled out without ruin the motor mount with the dremel to flat a head on the screw to remove! The pinion only got out by heating up to melt the loctite glue! Nothing big deal, but good to know!
Then it was time to atack the pins on the central shafts....since i bought it on second hand that they were wear out, but i still use it...cause i haven't the tools or knowlodge to remove old and put new!... And not buying new CVD's cause those ones are in perfect shape, less the pins! lol
-Used some 2,9mm from my mp9e to pull them since they are 3mm....
12-23-2015, 04:03 AM
#42
Tech Elite
Thread Starter
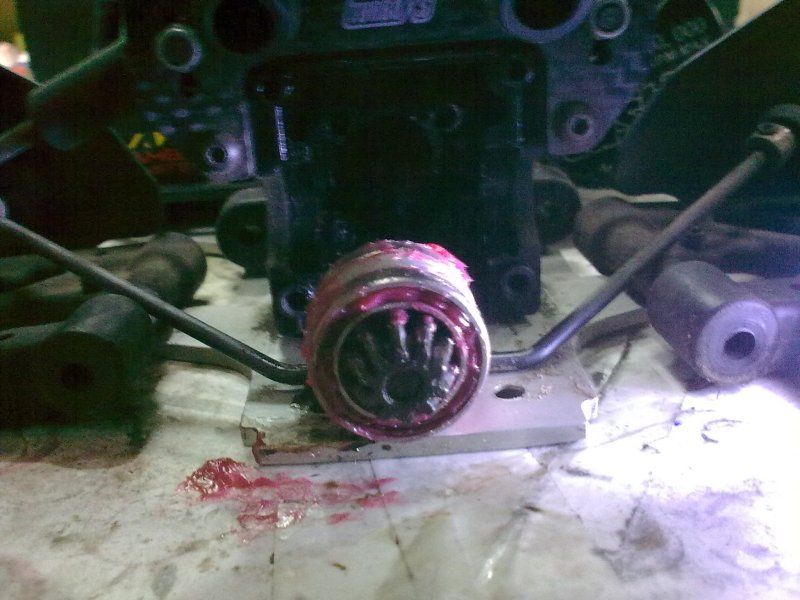
Tought job!
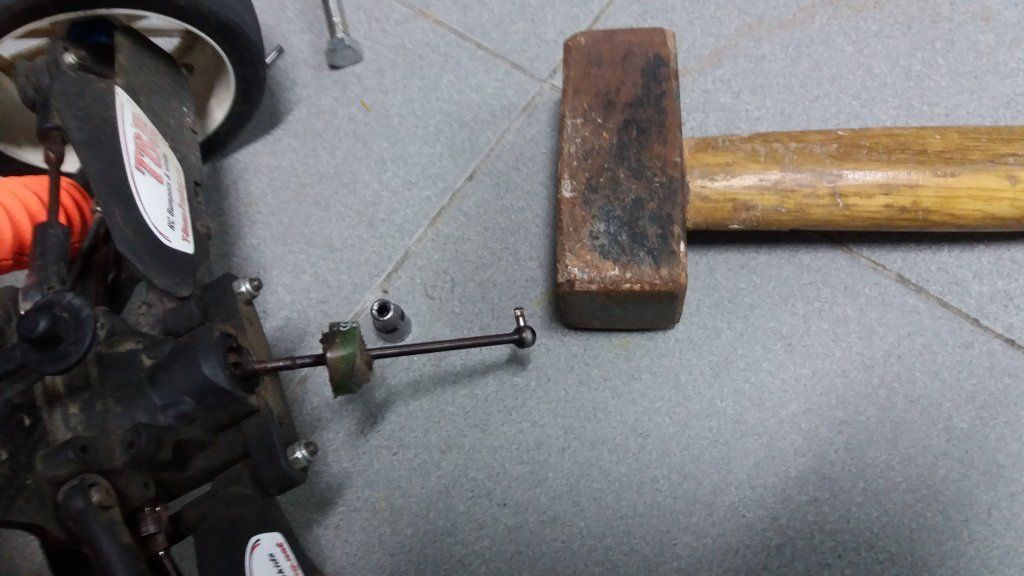
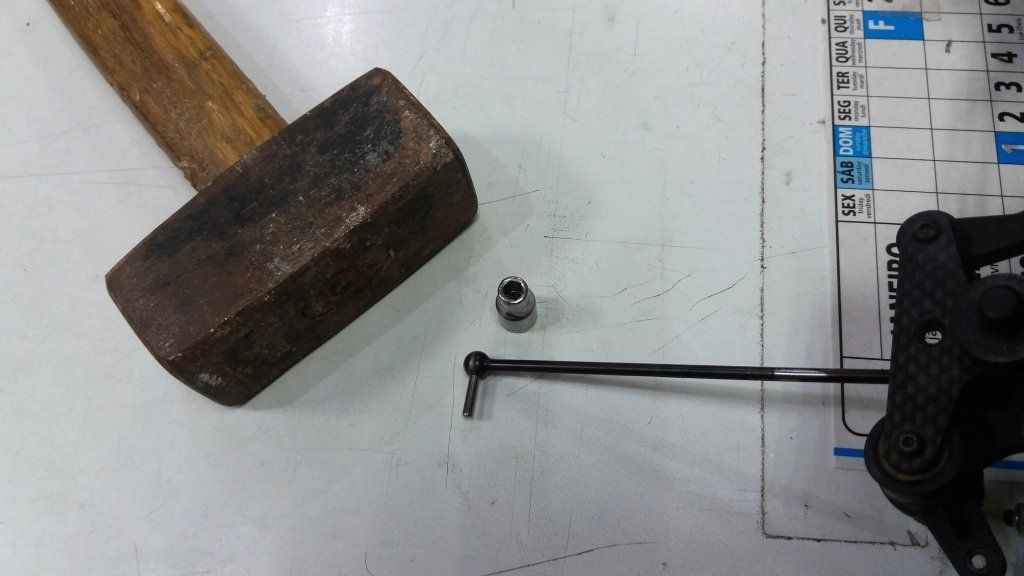
-First thing. Remove the central shafts!
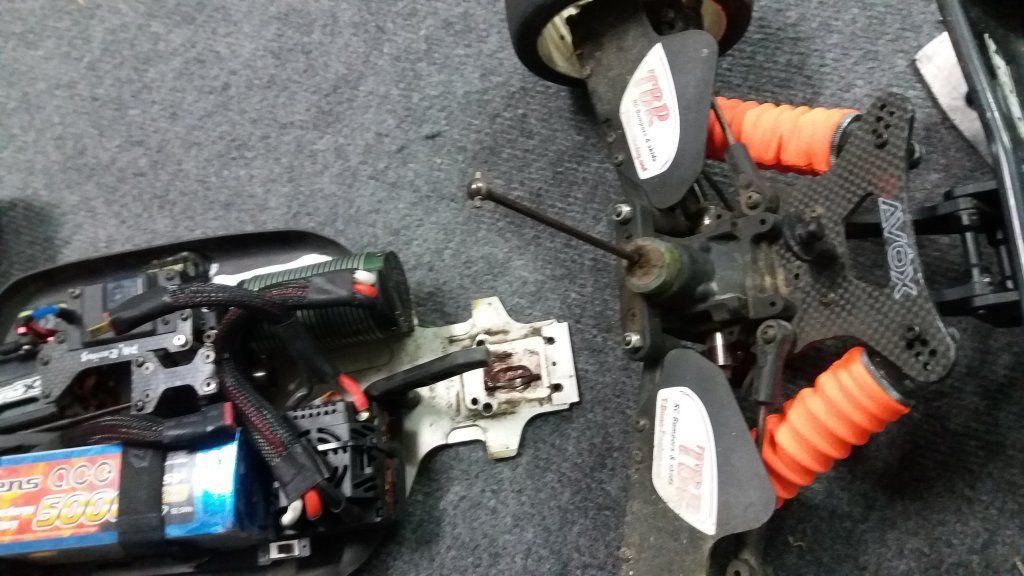
-Go for the rear now! :P
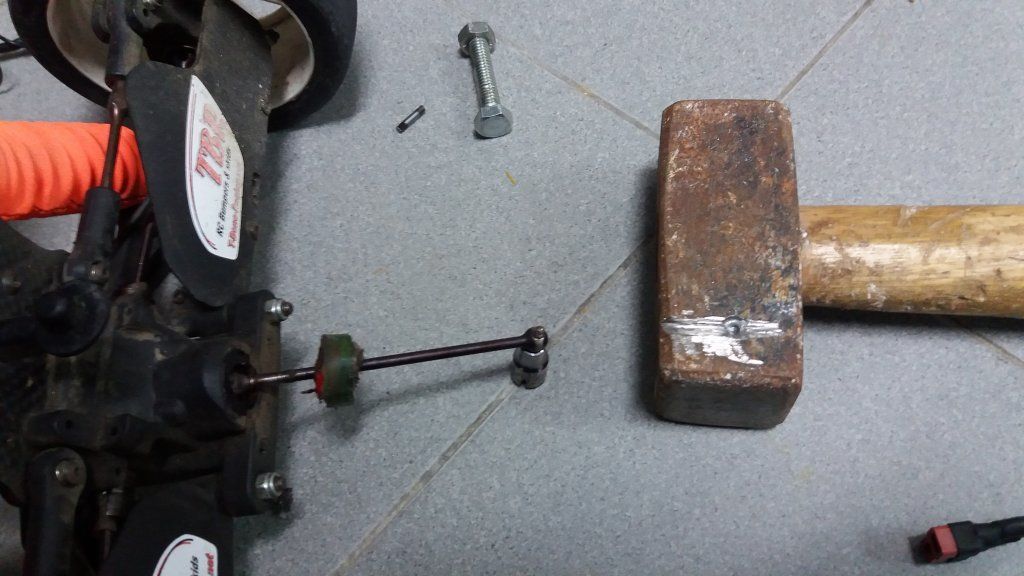
-It must be an heavy hammer. A normal hammer won't do nothing... just tickles! Used an 4mm socket to hold the shaft on hammering!
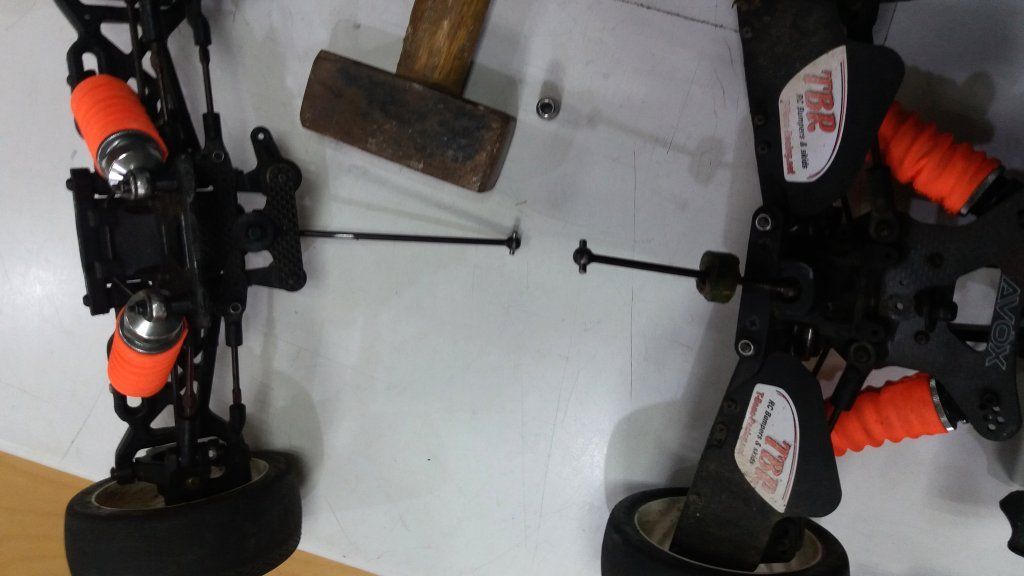
-The easy part is done.
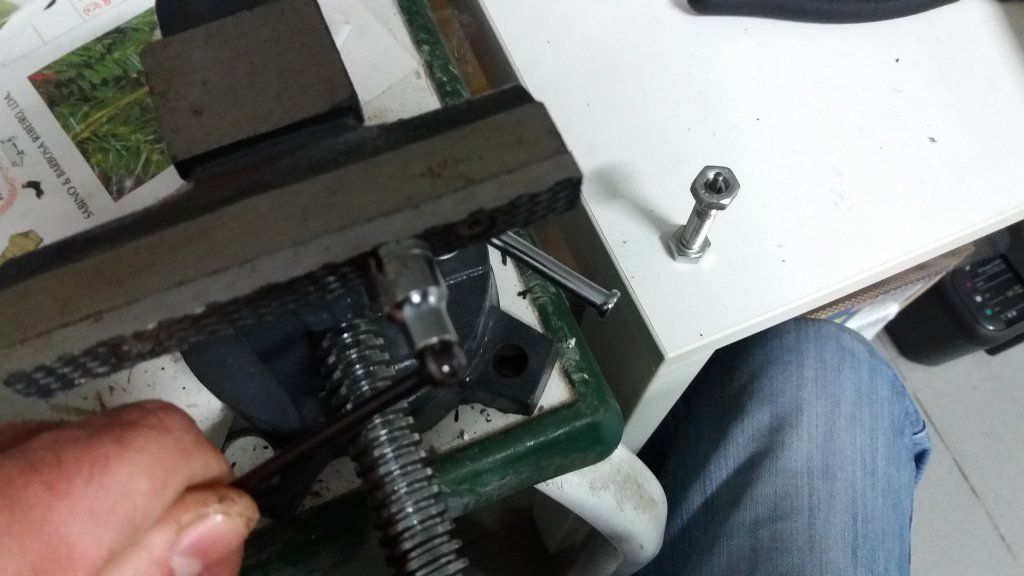
-That screw with a pin, i used a 3mm steel drill to make the hole for the pin! Reason is to hold it on the vise.
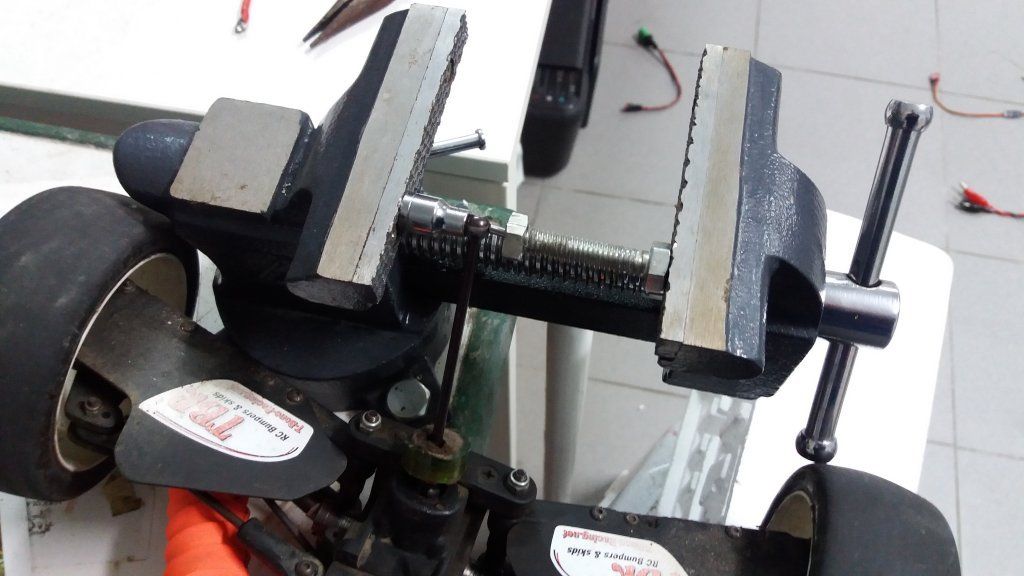
-All aligned and brute force on the vice...

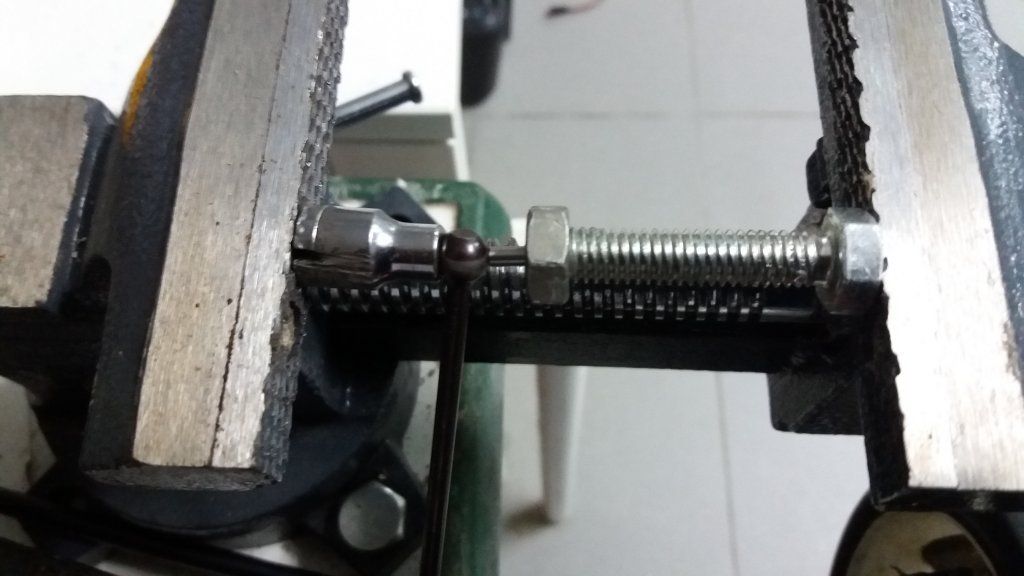
-Since the new pin starts and grabs the hole, i prefer to remove them from the vice and hammer on the sock!

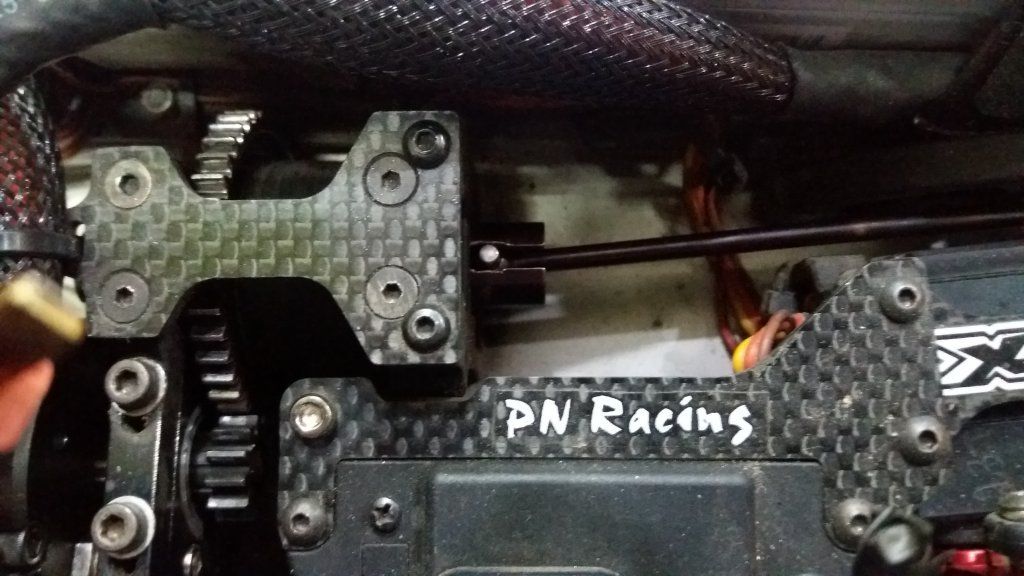
-Did the same to the front!

-Done!

-First thing. Remove the central shafts!

-Go for the rear now! :P

-It must be an heavy hammer. A normal hammer won't do nothing... just tickles! Used an 4mm socket to hold the shaft on hammering!

-The easy part is done.

-That screw with a pin, i used a 3mm steel drill to make the hole for the pin! Reason is to hold it on the vise.


-All aligned and brute force on the vice...

-Since the new pin starts and grabs the hole, i prefer to remove them from the vice and hammer on the sock!


-Did the same to the front!

-Done!


Last edited by targetingxmod; 12-23-2015 at 04:14 AM.
12-23-2015, 03:28 PM
#43
Tech Addict
Nicely done !!!! Its very cool way,so you don't need to replace the entire dogbones.what kind of material do you use to make the pins?
12-24-2015, 07:34 AM
#44
Tech Elite
Thread Starter
-For the Mp9e i use a 2,9mm steel pin's i got from ebay, a bag of 100 around 5$. They must not be 3mm like this Xray.
Last edited by targetingxmod; 05-23-2019 at 10:24 AM.
12-24-2015, 11:23 AM
#45
Tech Addict
I'm gona try it,with my old dogbones...
Oh yeah.whats your idea on the dogbones when i going to drive 7s.
Leave the stocks or upgrade dogbones and cups to something better (never saw any bigger tho)
Oh yeah.whats your idea on the dogbones when i going to drive 7s.
Leave the stocks or upgrade dogbones and cups to something better (never saw any bigger tho)