


Project Team Associated TR3 (TC3 truggy)56k warning
 06-15-2007, 12:18 AM
#151
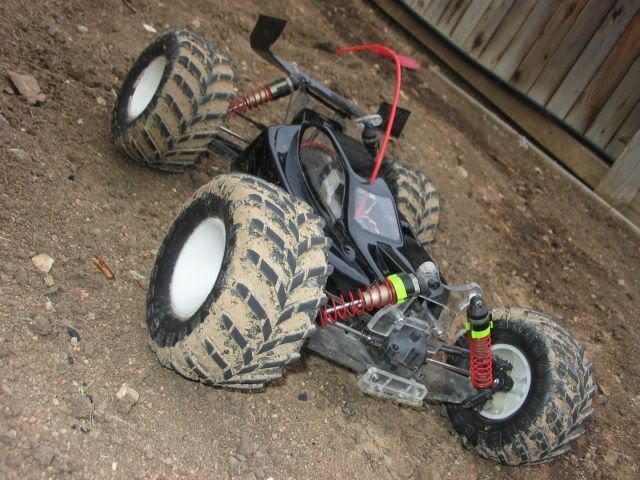
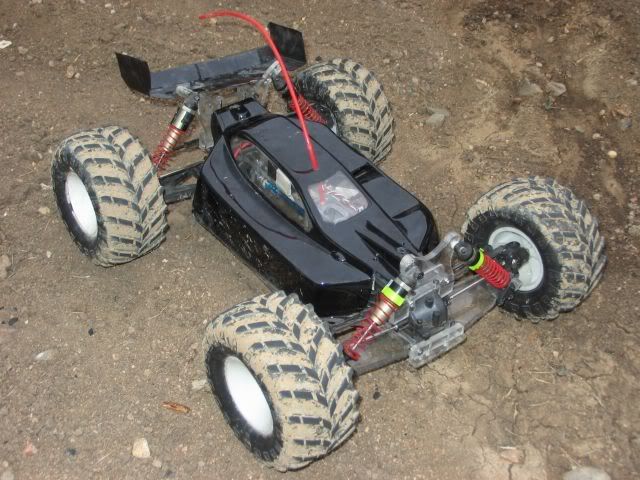
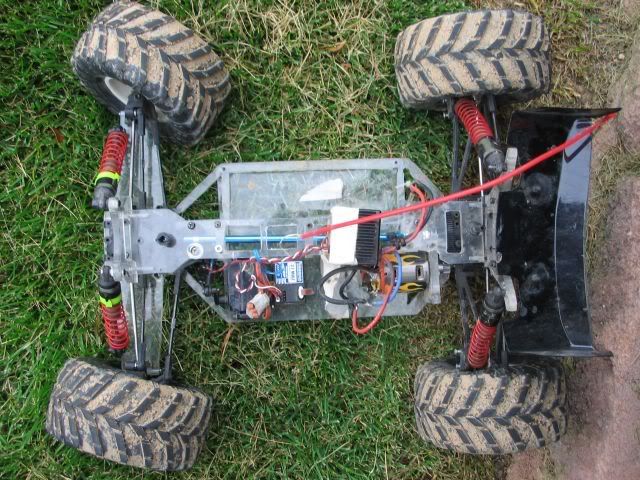
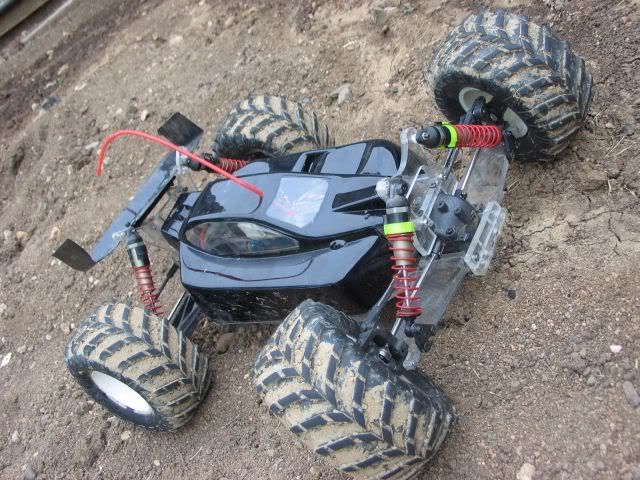
Well Guys I FINALLY got the parts that I broke. So I put it all back together tonight. Tomarrow I will be going to the track to bash it.I might even be able to get updated pics. I guess I am going to call this v1 because I have some radical changes in the making for it. There is one more thing that I would like to do before I deam the project 100% done. So for now its 90% done. Peace Ethan
 06-25-2007, 02:33 PM
#152
Well it didn't go as well as I would have liked it. The batteries kept dumping early and I forgot to bring the tape for the battery so it kept coming out. Also one of the rear cvds kept falling out. Once I got home I ran it again and landed on the rear off a jump int he grass and a week spot in the chassis broke. So I will need to make another chassis.Today I will go and get what I need to complete v1. Though for v2 I am thinking maybe g10/g11 for the next chassis. There are definatly some things I can do to improve it. Current plans I have on the drawing board include: G10/G11 chassis , inboard shock set up,and New a-arm mounting system with some type of RPM a-arms. So pretty much going over the whole car again. But these upgrades will be gradual as I don't have much money at the moment... but my b-day is coming up soon. Peace Ethan
06-25-2007, 04:32 PM
#153
I actually got some teaser vids. They suck cuase it was with a digital camera and my driving sucked cuase I was trying out a stick radio instead of a pistol and it was my first tiem driving sticks so you can imagine...oh yea ignore my mom lol I will have a some much better ones eventually.
http://s8.photobucket.com/albums/a2/...rTourni035.flv
http://s8.photobucket.com/albums/a2/...rTourni029.flv
http://s8.photobucket.com/albums/a2/...rTourni030.flv
http://s8.photobucket.com/albums/a2/...rTourni028.flv
http://s8.photobucket.com/albums/a2/...rTourni035.flv
http://s8.photobucket.com/albums/a2/...rTourni029.flv
http://s8.photobucket.com/albums/a2/...rTourni030.flv
http://s8.photobucket.com/albums/a2/...rTourni028.flv
 07-04-2007, 06:28 PM
#157
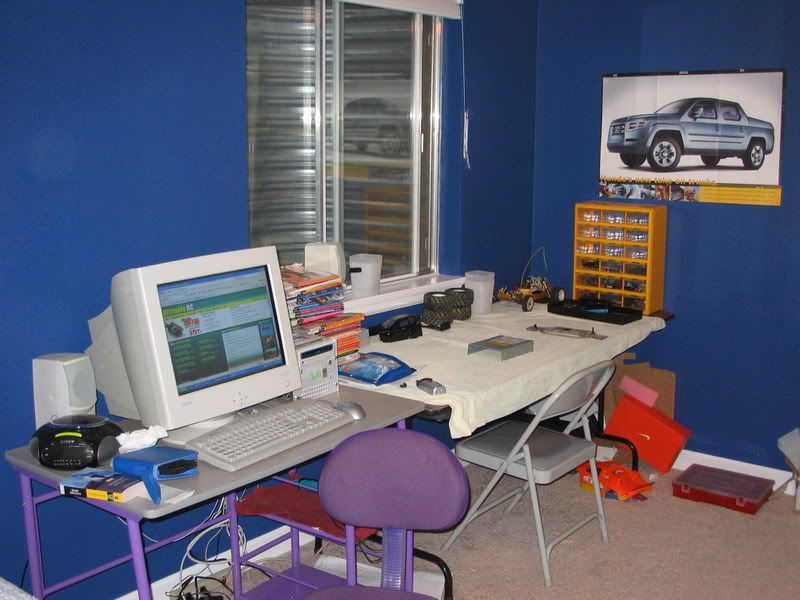
I have been working on designing the new a-arm and mount system. It sounds like the closer together the a-arms are the better handling. So thats exactly what I did I put the a-arms as close to each other as I could get them. I came up with this idea around 3am lol This Version 2 will have lots of innovation.The a-arms and mounts will be made out of 1/4" lexan. The hinge pins are in red and the lexan a-arm mounts are in orange. With the a-arm mounts there willl be multiple hinge pin holes to accomidate for shorter a-arms.This is so that I can put shorter a-arms on for any high traction tracks.The same design will be used in the front as well. Also my parents let me put a 6ft table in my room and this is the design workshop. All the cutting and drilling will happen in the garage. But I love this new set up. Now I have music and computer . Plus my bed is only a few feet away for thoughs late night design ideas. Please let me know wat you think of the a-arm/a-arm mount system. Thanks Ethan

07-06-2007, 12:05 AM
#158
I was thinking of the possibility of making the TR3 longer for V2. I looked I can put a longer drive shaft and it will make it 3/4" longer. Right now its 13 1/2" wide and has a wheelbase of 11 3/8" . With the 3/4" it would have a wheelbase of
12" 1/8. I was wondering if I should do this or not? Or keep it at 11 3/8"? Thanks Ethan
12" 1/8. I was wondering if I should do this or not? Or keep it at 11 3/8"? Thanks Ethan
07-19-2007, 12:58 AM
#159
I have contiued work on the V2. I have all the a-arms all cut out along with the mounts. I mounted a proto rear set up on a piece of lexan cut out in the shape of the rear part of the chassis and it came out excellant. Estimated max ground clearance is 3" with mashers. The a-arms are the longest on a 1/10th truck or buggy ( I don't consider monster trucks as 1/10th) They are 120mm long. The longest factory a-arms are the jato's at about 113mm. I am very impressed with the a-arm and mount design and it looks to be solid and strong. Tomarrow I will be ordering everything I need to finish V2. Maybe just maybe I will order a little surprise to put on this thing too.... I am VERY excited at this point .I can promise you a very sick truggy when I am through. Peace Ethan

 07-20-2007, 05:29 AM
#163
I have supported frankenstien projects like this since I was a kid always taking apart the off the shelf 'toys' and seeing what I could do to modify them. So I would like to offer you some help. It's going to sound like severe criticism, but it's just intended to get the point across and it involves your choice of wheels and tires.
The wheels and tires can and often do play a part in impact absorbsion. The wheels and tires you got on there might look cool, and may have been cheap (I noticed your budget is limited) but when you land that thing you midas well have stone wheels on it as they would be softer then those things!
Here is a pic of whats on my rc10 gold tub truck conversion.. yes it's driven daily, and yes it got a bath after this pic LOL!

Those are HPI mags but someone else here would have to cough up the model because they came with the truck and I have no idea. The tires are run of the mill tamiya all traction utilities found on the pumpkins, lunchboxes, etc. You can still get them new for about 25.00 a set of 4. They would actually fit right on your rims should you want to keep them, and will stance wider. The sidewalls are short, not tall so they will lower the CG a hair, but the extra width puts more tire on the ground.
The key here is to let some of your tires/wheels pre-absorb some of that impact to soften the blow to the suspension systems. I have a kyosho tracker here with the wheels/tires you use and they are entirely too hard for they're own good. Not only are those mags/tires that I run about 10x softer, they track better and break dirt lose better from the tracks as it rolls. They dig well and provide serious cushioning as well. I have never collapsed one completely under hard acceleration, wear is minimal, and the combo weighs in MUCH less then what your currently using. Not to mention they would look sick on your truck! They are 'genderized' so you need to order two sets of rears for your 4wd and they would bolt right up using hex adapters.
If you need to go bigger, try the clodbuster originals. Same tires, just BIGGER. Not sure they make a nice mag aftermarket rim for those though, might be stuck with the tamiya solids and adapters. Another thing to mention is what you cannot actually see with your eyes. Those mags will also absorb some impact in comparison to the solid wheels, another thing to consider. I'm willing to bet a careful changeup of your wheel/tire combo will yield a lighter, better handling and more durable vehicle. I have those wheels/tires that your running on my tracker basher and that chassis/suspension system buckles before they even break a squat out of the sidewalls. Just ridiculously useless tires.. rotational wobble.. high mass.. etc.. I just hate those damn things.. LOL
Save your pennies and ditch 'em. You will thank me.
- Matt
07-20-2007, 05:31 AM
#164
Tech Fanatic
iTrader: (3)
Ethan,
You truggy is really starting to take shape!! Keep up the good work!
That is the way to do a prototype... one piece at a time. When you get all the geometry right let me know. Maybe I can machine the part for your from Carbon Fiber and Delrin.
Dan
You truggy is really starting to take shape!! Keep up the good work!
That is the way to do a prototype... one piece at a time. When you get all the geometry right let me know. Maybe I can machine the part for your from Carbon Fiber and Delrin.
Dan
07-20-2007, 05:38 AM
#165
And I actually took another peek and just noticed I don't see vents in those rims either. If they don't have vents, a cheap improvement would be drilling a few small holes in the backside of the rims into the air chamber to vent pressure on impact. You could always epoxy them shut if you don't like the results and they won't be seen in the back.
- Matt
- Matt